
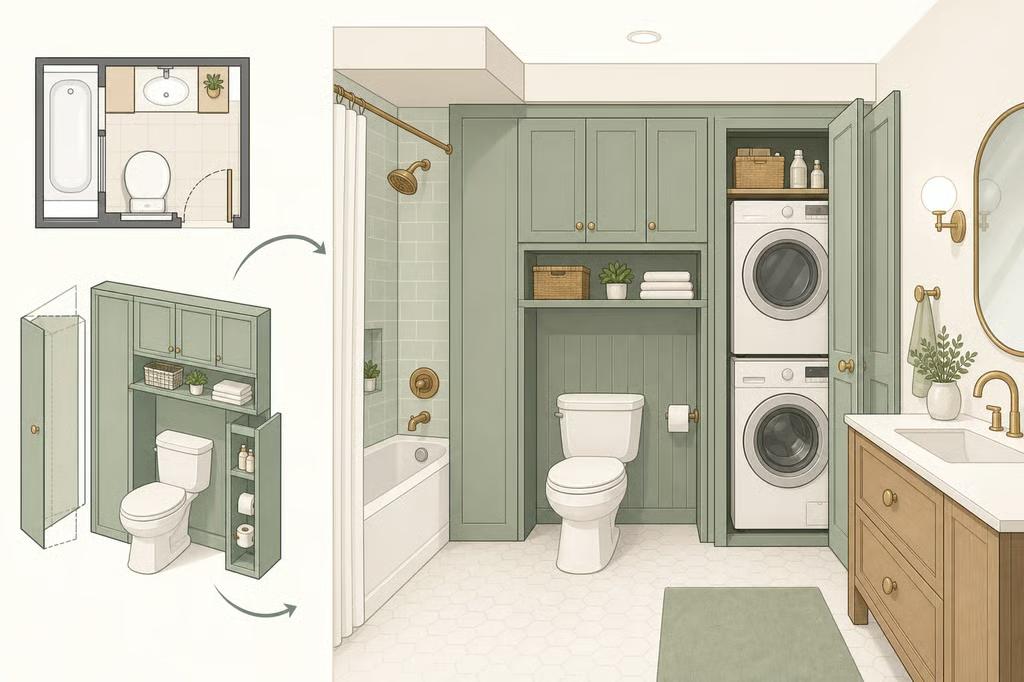
- How to plan a small bathroom renovation with storage: 1960s lessons
- 1. Map the plumbing before changing the layout
- 2. Find space above, beside, and below fixtures
- 3. Measure appliances and storage zones together
- 4. Choose finishes after the storage plan
- 5. Separate a cosmetic update from construction
- 6. Decide who will coordinate the work
- Your pre-contractor checklist
How to plan a small bathroom renovation with storage: 1960s lessons
The best small bathroom storage ideas often begin before shopping. Look at the laundry zone, the bulkhead, the space beside the toilet, and the cabinetry that could hide an appliance. A small bathroom renovation with storage works best when the layout creates room for everyday life instead of adding more baskets to an already crowded floor.
A six-square-metre bathroom in a 1960s North Melbourne apartment offers a useful example. The owners kept their plumbing points largely where they were, reassigned the former laundry area, built storage into an existing bulkhead, and concealed the dryer in a cupboard. The project was not a quick cosmetic refresh, but its decisions offer a practical framework for planning a similar renovation.
1. Map the plumbing before changing the layout
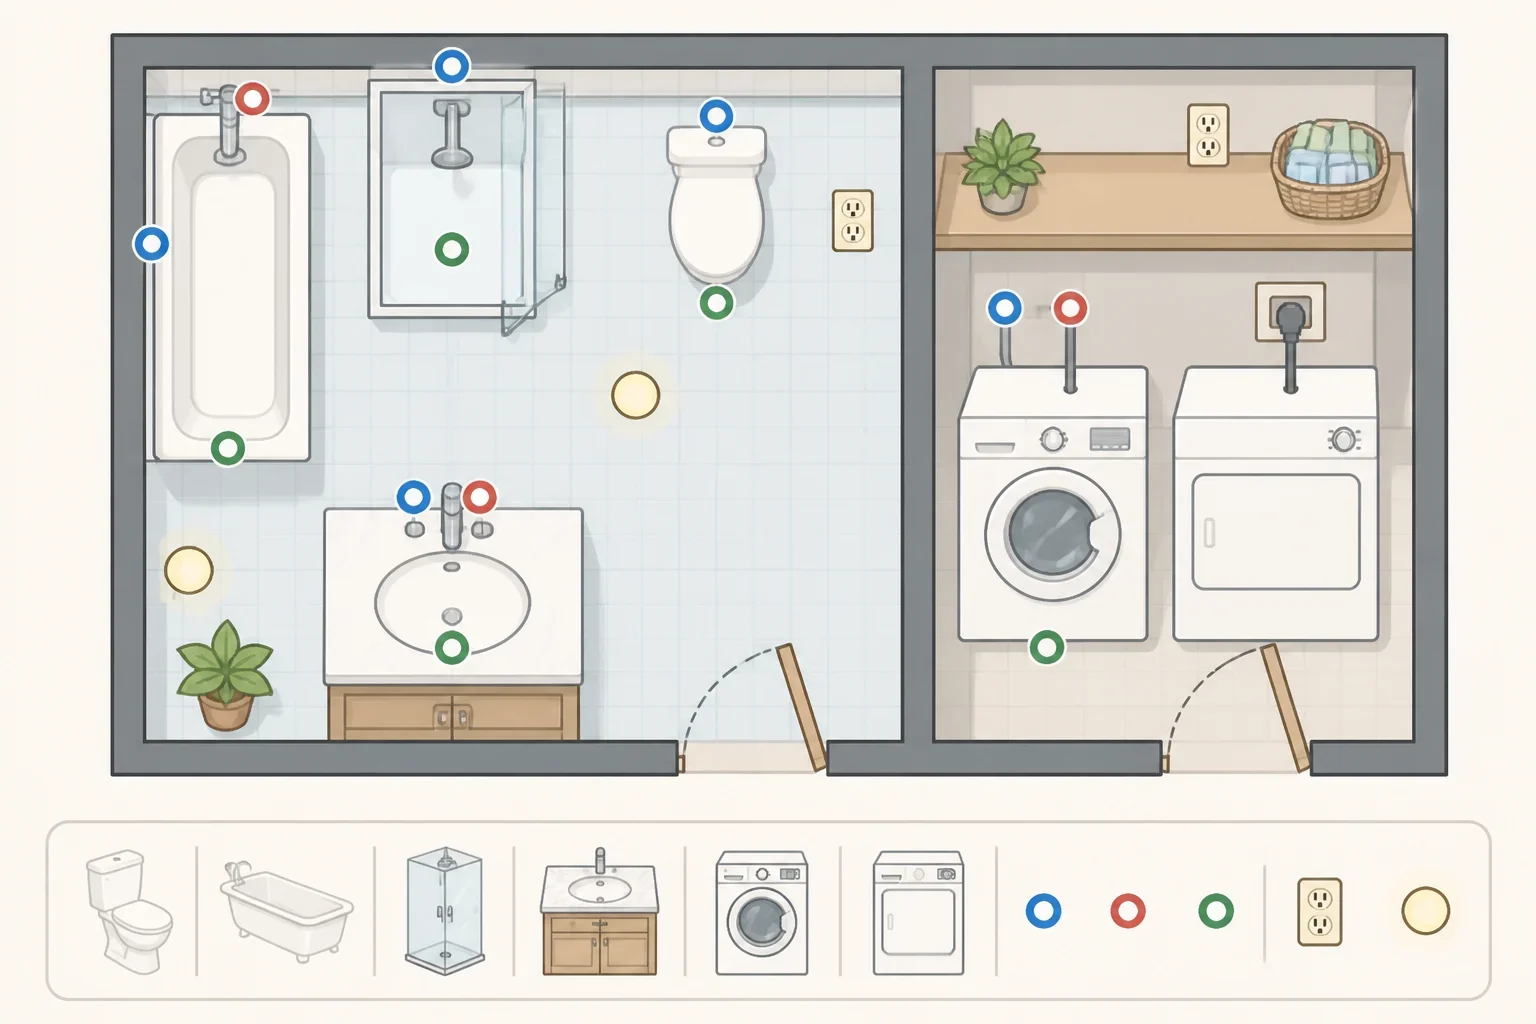
Start by drawing the bathroom and any adjoining laundry or utility space. Mark the locations of the toilet, bath, shower, vanity, washing machine, dryer, floor wastes, water connections, and electrical points. Measure the walls, doors, windows, bulkheads, and ceiling height too. A rough sketch is useful at first, but measured drawings will be needed before cabinetry or fixtures are ordered.
Separate two ideas that are easy to confuse: reassigning space and moving plumbing. In the North Melbourne project, the vanity moved from the original bathroom area into the adjoining laundry zone, while the bath and toilet stayed in the bathroom area. Keeping the existing plumbing points in place was a deliberate way to limit the project’s scope, as The Design Files reported earlier this year.
That choice did not make the renovation simple. The owners still had to deal with demolition, waterproofing, electrical work, cabinetry, wall repairs, and the challenges of an older building. It did give the designer and trades a clearer starting point.
Ask a plumber or bathroom designer to review the sketch before committing to a new plan. The homeowners shifted the toilet only slightly and changed it to an in-wall cistern system to save space. A professional should assess the wall construction, waste connections, finished wall depth, and future access before that decision is made.
A building authority or qualified professional can also explain which approvals, licensed trades, or documentation apply to the property. Requirements vary by location and building type, so use the case study to shape questions rather than as a substitute for local advice.
2. Find space above, beside, and below fixtures
The strongest space-saving bathroom storage ideas in this renovation came from using awkward zones that might otherwise have been ignored. Review each possible location, then match it to what the space can realistically hold.
Use overhead space for long-term storage
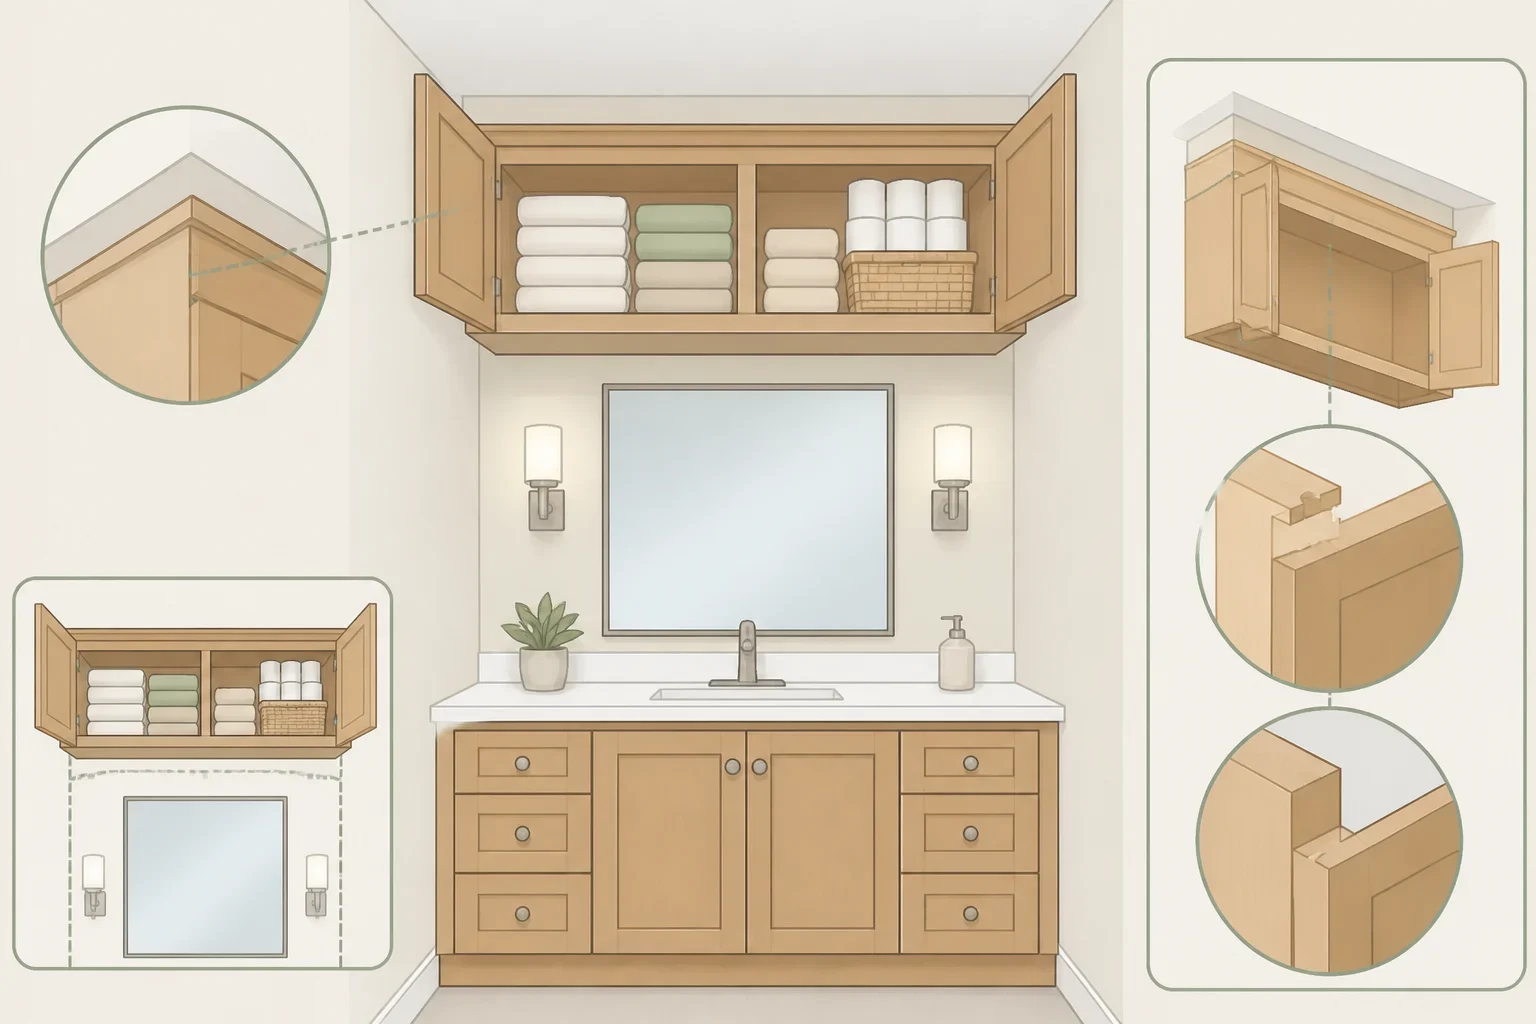
The former laundry area became a vanity station with the washing machine underneath and an operable bulkhead joinery unit above. The owners use that upper storage for tents and bed linen, items that do not need to be reached every day, according to The Design Files.
Before building into a bulkhead, have a cabinetmaker, designer, or appropriate building professional inspect what is behind it. The space may conceal services or require reinforcement before it can accommodate new cabinetry. Keep any access panel usable, and check that doors will open without interfering with the vanity, appliance, or person using the room.
Reserve overhead cupboards for items that can be stored safely and retrieved without awkward lifting. Linens and other infrequently used belongings make more sense there than heavy objects used every day.
Build around the washing machine
Putting the washing machine below the vanity made use of the former laundry area without giving the appliance a separate footprint. Measure the machine before designing the vanity, including its full depth, hoses, plugs, door swing, and service clearance.
Also check how the appliance will enter and leave the room. A cabinet that looks tidy on paper is not a practical solution if the washing machine cannot be serviced or replaced without dismantling the joinery.
Confirm water, waste, and electrical arrangements with the relevant trades. Do not assume an existing connection is suitable simply because the appliance is staying near its original position.
Hide the dryer without trapping it
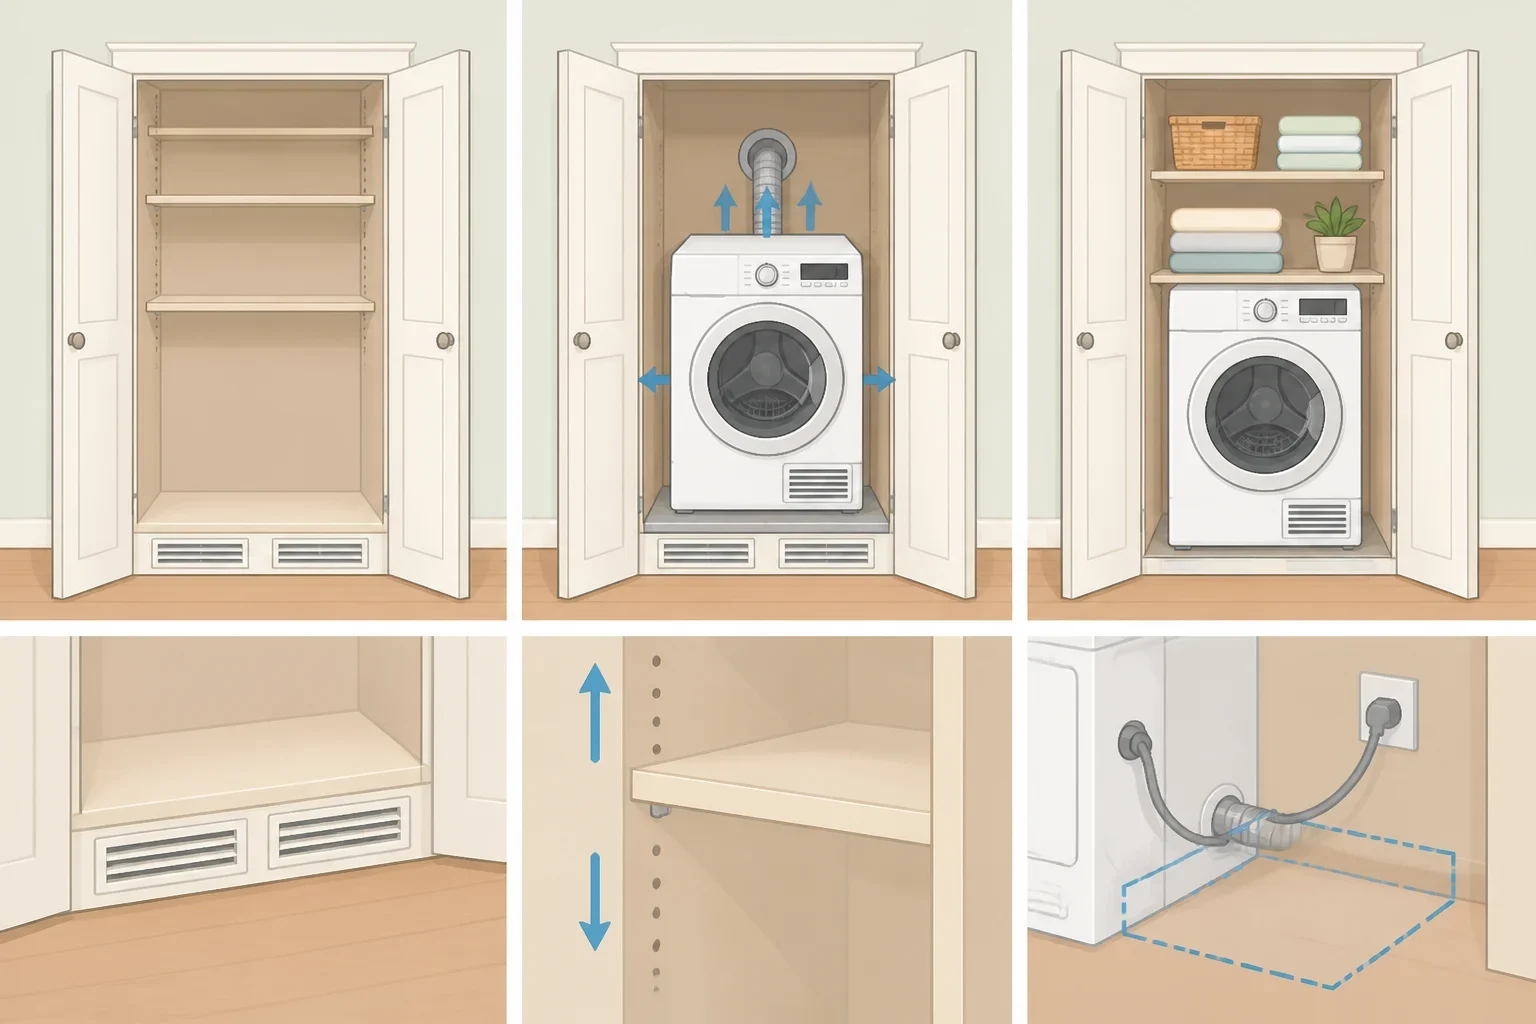
The dryer in the case study was integrated into a cupboard opposite the vanity. The cupboard included adjustable shelves and additional storage, turning a large appliance zone into a more useful wall of cabinetry.
For a similar plan, check the dryer’s installation instructions before drawing the cabinet. Ask the installer or electrician to confirm ventilation, power access, heat management, and service clearance. The cupboard doors and shelves should not block the appliance’s required airflow or prevent it from being pulled out for maintenance.
Treat adjustable shelving as flexible space, not an invitation to overfill the cupboard. Protect the dryer’s installation and access requirements first.
Turn the cistern wall into a ledge
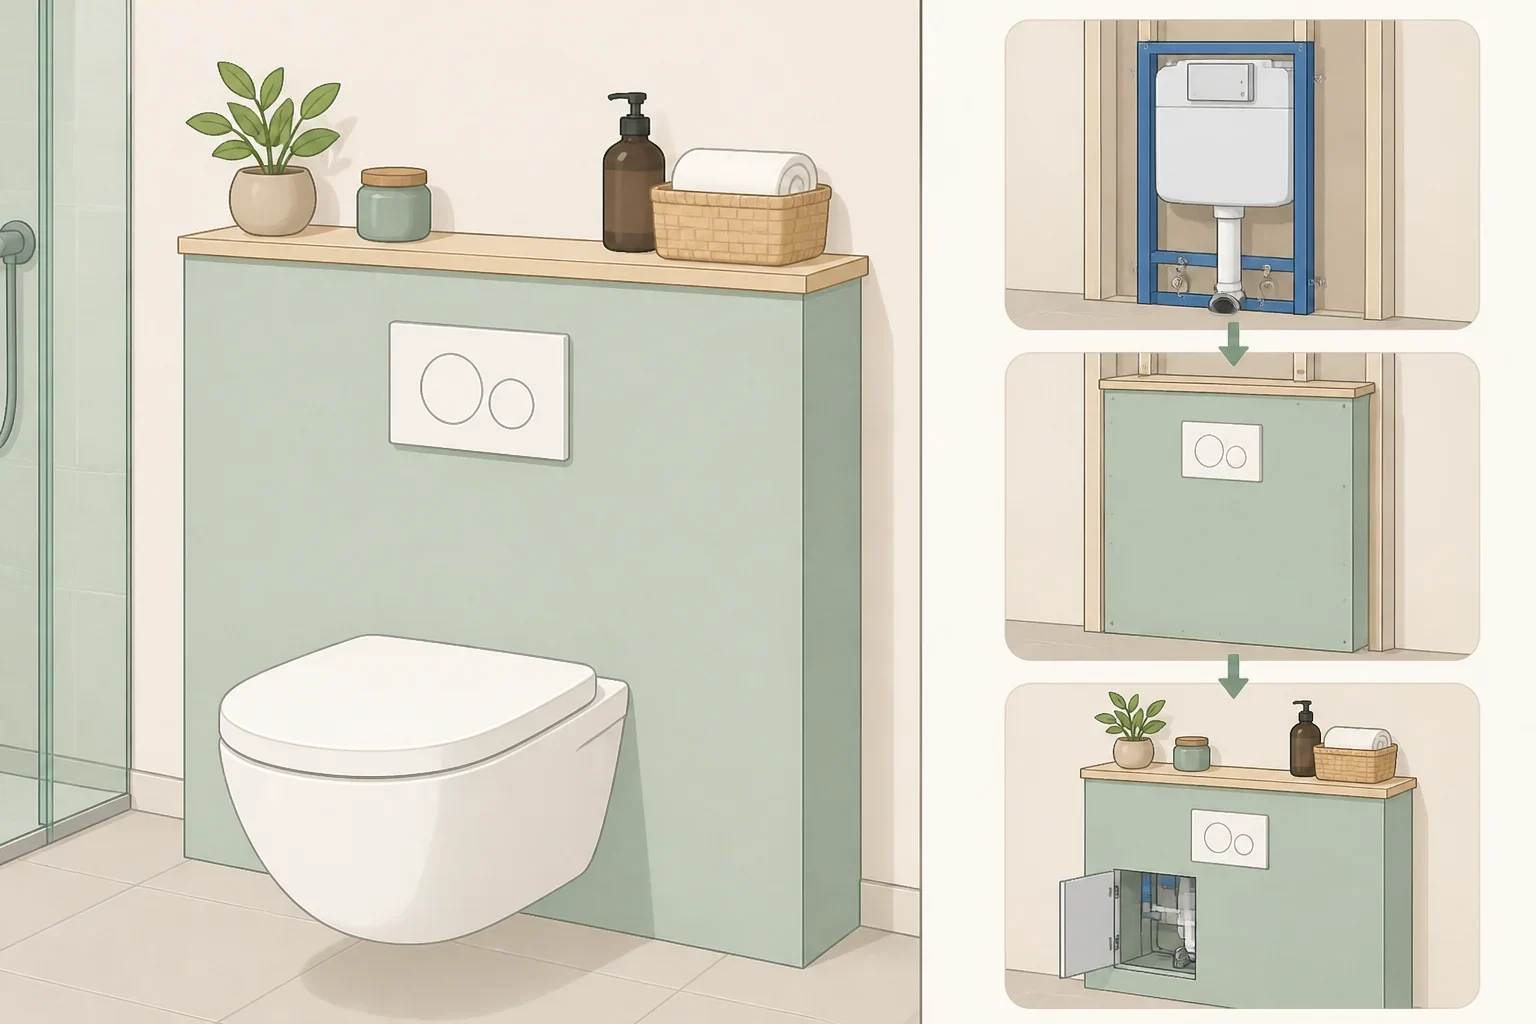
The slightly repositioned toilet used an in-wall cistern. That arrangement created a plywood ledge for small products and objects, according to the homeowner’s account in The Design Files.
Plan the ledge alongside waterproofing, wall lining, plumbing access, and the final surface finish. Have the plumber and waterproofing professional agree on the sequence before the wall is closed. Confirm how the cistern will be accessed later, and avoid creating another permanent collection point for clutter.
A few daily-use items may be convenient on the ledge. Everything else belongs in a drawer or cabinet.
3. Measure appliances and storage zones together
Storage plans fail when cabinetry is designed separately from the things it needs to hold. Make a list before meeting the joiner:
- Washing machine and dryer dimensions
- Door swings and service access
- Laundry basket location
- Cleaning products and spare paper goods
- Towels and bed linen
- Rarely used household items
- Daily toiletries
- Electrical outlets, switches, and lighting
- Access panels for plumbing and the in-wall cistern
The North Melbourne renovation treated storage as part of the layout rather than as a collection of organizers added later. The vanity, appliance locations, bulkhead, cupboard, ledge, and laundry basket were considered together.
Older buildings can add another complication. The homeowner said the trades spent extra time straightening walls, setting out tiles, and making cabinetry appear straight against uneven surfaces. Allow room in the design process for a site check instead of ordering every cabinet from a drawing alone, as The Design Files reported.
A joiner or cabinetmaker can translate the storage list into drawers, doors, shelves, and appliance openings. Compare ready-made furniture with custom cabinetry after measuring the room. Standard units may work for the straightforward areas, while custom work can make better use of awkward spaces.
4. Choose finishes after the storage plan
Once the layout and storage plan are settled, divide the finishes into permanent and changeable choices.
Permanent or difficult-to-change elements include:
- Waterproofed wall and floor surfaces
- Cabinetry
- The bath, toilet, and basin
- In-wall plumbing
- Appliance openings
- Lighting locations and electrical work
More changeable elements include:
- Paint
- Hardware
- Artwork and decor
- Some lighting fixtures
- Towels and other textiles
The North Melbourne owners retained the bath location, built it in with a hob, and tiled it to match the walls. They chose a neutral palette with a distinctive accent color and used 100-by-100-millimetre tiles. A partition wall with a small window replaced a conventional shower screen, preserving privacy near the toilet while keeping the outside view and natural light visible, according to The Design Files.
That approach suits a 1960s bathroom makeover: let the fixed elements respect the building, then use smaller details to add personality. Tiles, cabinetry, and fixtures do not need to carry every decorative idea at once.
5. Separate a cosmetic update from construction
Before setting a budget, name the project honestly.
A cosmetic update may involve paint, hardware, decor, and other surface changes. It can suit a bathroom whose layout already works and whose storage is adequate.
A layout-and-storage renovation changes how the room functions. It may involve cabinetry, appliance integration, a new vanity position, or an in-wall cistern.
A full construction project can include demolition, plumbing, carpentry, plastering, waterproofing, tiling, caulking, joinery, and painting. The North Melbourne homeowner said the project required at least nine trades and that coordinating people working on different parts of the bathroom was harder than expected.
The reported renovation total was A$41,000. Trade labor accounted for A$28,800, while materials totaled A$12,200. Cabinetry made up A$9,000 of the materials total. These are the homeowners’ reported figures for one Australian renovation, not a general quote for every small bathroom, as The Design Files reported.
The bathroom was constructed over two and a half months after a two-month design period. The work ran slightly over the original deadline, and the couple stayed with family during construction. The final cost was A$2,000 above their initial estimate. They credited planning ahead, confirming costs before construction, sourcing some items themselves, and working directly with trades.
6. Decide who will coordinate the work
A small room does not necessarily mean a small team. Decide early who will coordinate the schedule, measurements, product selections, inspections, and handoffs between trades.
Depending on the plan and local requirements, the project may need input from:
- A bathroom designer or architect
- A plumber
- An electrician
- A waterproofing professional
- A carpenter or plasterer
- A tiler and caulker
- A joiner or cabinetmaker
- A painter
- A building authority or other qualified professional where approvals apply
The exact arrangement will vary. A designer may coordinate the trades, a renovation company may manage the sequence, or the homeowner may take on that work. Price coordination as part of the job rather than treating it as invisible spare time.
Your pre-contractor checklist
Before requesting firm quotes:
- Measure the room, adjoining laundry area, bulkhead, doors, windows, and ceiling heights.
- Mark existing plumbing, electrical points, appliances, and access panels.
- Identify spaces that could be reassigned without moving every fixture.
- Measure each appliance, including doors, hoses, plugs, ventilation, and service access.
- List what needs to be stored, separating daily items from long-term belongings.
- Ask a qualified professional to inspect the bulkhead and proposed cistern wall.
- Separate permanent finishes from paint, hardware, lighting, and decor.
- Request itemized quotes for design, demolition, trades, cabinetry, materials, and coordination.
- Confirm the expected sequence, construction period, access arrangements, and handling of variations.
Start with the space already available. Reassign the laundry if it makes sense, use overhead and appliance zones carefully, and let the storage plan shape the cabinetry before the finishes are chosen. Then obtain professional advice and itemized quotes based on the actual home, not another renovation’s final number.
