
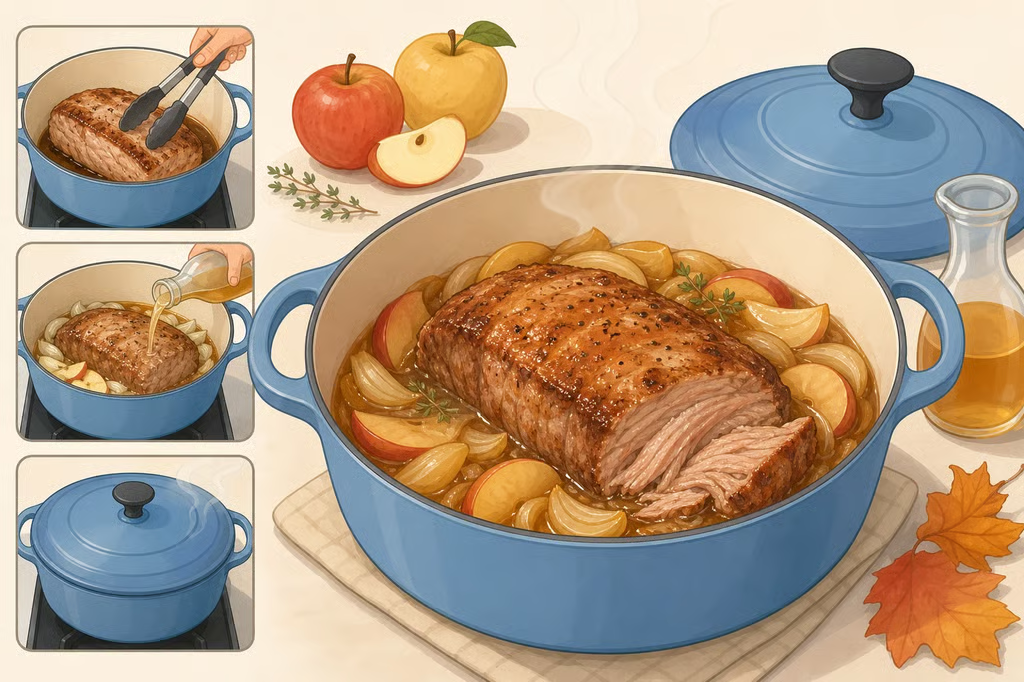
Apple Cider Braised Pork Shoulder Recipe for Fall Dinner
Apple cider braised pork shoulder is a low-effort fall dinner with a generous payoff: about 15 minutes of active preparation, followed by a long covered braise that does the heavy lifting. This version yields six servings and takes roughly 4 hours and 5 minutes from start to finish, including the final bake with apples and onions and the resting time, so it belongs on a Sunday or holiday table rather than a rushed weeknight menu. (Cooked by Megan)
The reliable starting point is a 4- to 5-pound pork shoulder, also called Boston butt, not a lean loin. The shoulder’s fat and connective tissue can handle a long, moist cook. Cider supplies the apple flavor, while chicken stock, Dijon mustard, garlic, rosemary, and thyme keep the braising liquid savory.
Why the shoulder, not the cider, becomes tender
Braising uses both dry and wet heat. First, the pork is seared to build color and roasted flavor. Then cider and stock are added, the pot is covered, and the meat cooks slowly in liquid in a 325°F oven. (NorthEast Nosh)
That slow, moist cooking breaks down the shoulder’s muscle tissue and collagen. The cider is the flavor choice, not the tenderness trick. Another liquid could soften the pork too, but apple cider contributes sweetness and a fruit-forward flavor that balances the richness of the meat. (Cooked by Megan)
Use pork shoulder or Boston butt, not loin or tenderloin. Leaner cuts do not have the same fat and connective tissue for a multi-hour braise and can dry out during the process. (Sweet Tea + Thyme)
Before you start: cut, cider, and equipment
Choose a 4- to 5-pound pork shoulder roast or Boston butt. Trim away large, firm fat caps, but leave some fat on the roast. A boneless roast can be cut into four large pieces, while a bone-in roast can stay whole. Large pieces hold their texture better than small cubes during this covered method. (NorthEast Nosh)
Buy fresh apple cider, not apple cider vinegar. Do not substitute the vinegar one-for-one: it is much more acidic and concentrated than cider. If fresh cider is unavailable, unsweetened apple juice can work, although the braising liquid will have less depth. (Cooked by Megan)
The source recipe lists a 7-quart Dutch oven, along with measuring cups, a whisk, and tools for turning and shredding the pork. A large oven-safe pot is useful here because it needs to hold the meat, liquid, garlic, herbs, and the fruit added later. (NorthEast Nosh)
Ingredients
- 4 to 5 pounds pork shoulder or Boston butt
- 2 tablespoons neutral oil
- Kosher salt and freshly cracked black pepper
- 2 cups fresh apple cider
- 2 cups chicken stock or broth
- 2 tablespoons Dijon mustard
- 1 tablespoon dehydrated minced onion
- 1 head garlic, with the top sliced off
- 3 rosemary sprigs
- 4 thyme sprigs
- 1 red onion, cut into thick slices
- 2 firm, slightly tart apples, peeled and cut into wedges
This is the covered cider-and-stock method from NorthEast Nosh, with the timing and yield also reflected in Cooked by Megan. The main braise takes about 3 hours, the apples and onion cook for another 30 to 45 minutes, and the pork rests in the liquid for at least 30 minutes. Plan for roughly 4 hours and 15 minutes to 4 hours and 30 minutes in practice, although the recipe source lists a total time of about 4 hours and 5 minutes.
How to Make Braised Pork Shoulder With Apple Cider
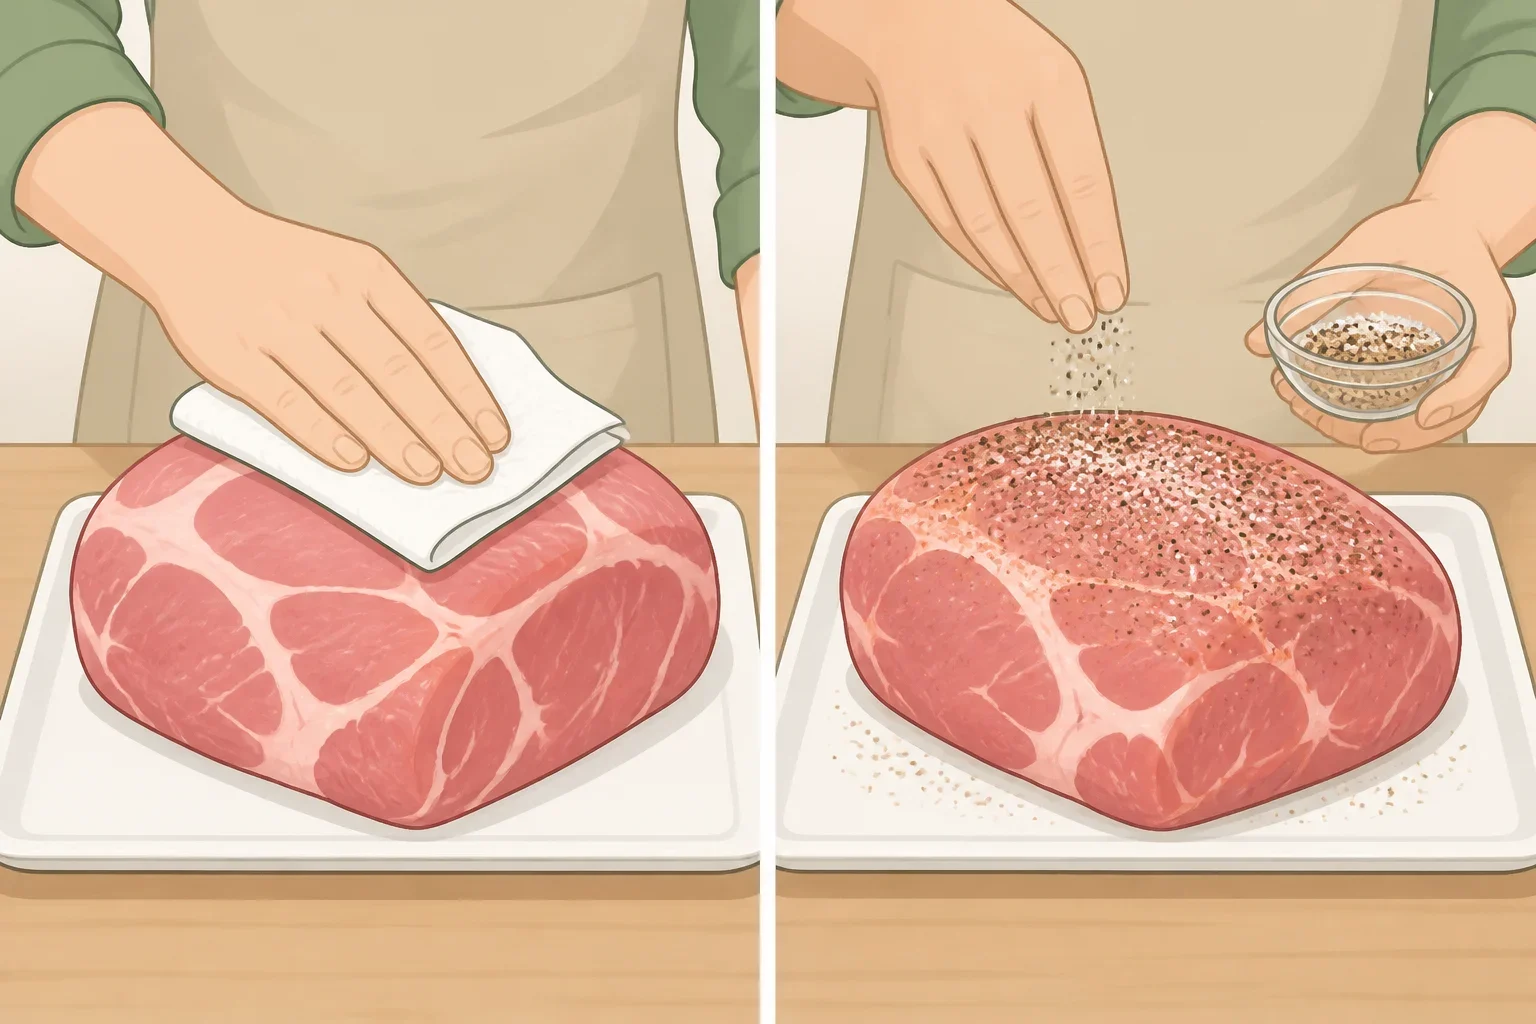
1. Prepare the pork
Heat the oven to 325°F. Pat the pork completely dry with paper towels, then season every side generously with kosher salt and pepper. Drying the surface helps it brown in the pot instead of releasing excess moisture as it sears. (NorthEast Nosh)
If the roast is boneless, cut it into four large pieces. Keep the pieces substantial. If it is bone-in, leave it whole unless the shape makes it difficult to fit in the Dutch oven.
2. Sear the pork
Heat the oil in the Dutch oven over medium-high heat. When the oil is hot, arrange the pork in a single layer. Sear each side for about 4 to 5 minutes, turning only after the surface has developed a deep golden-brown crust. Work in batches if the pot is crowded. (NorthEast Nosh)
Look for color rather than a rigid timer. Pale, gray meat needs more contact with the pot. Deep browning builds a roasted flavor that the braising liquid cannot create later. Leave the browned bits in the bottom of the Dutch oven, where they will loosen when the cider mixture is added.
3. Mix and add the braising liquid
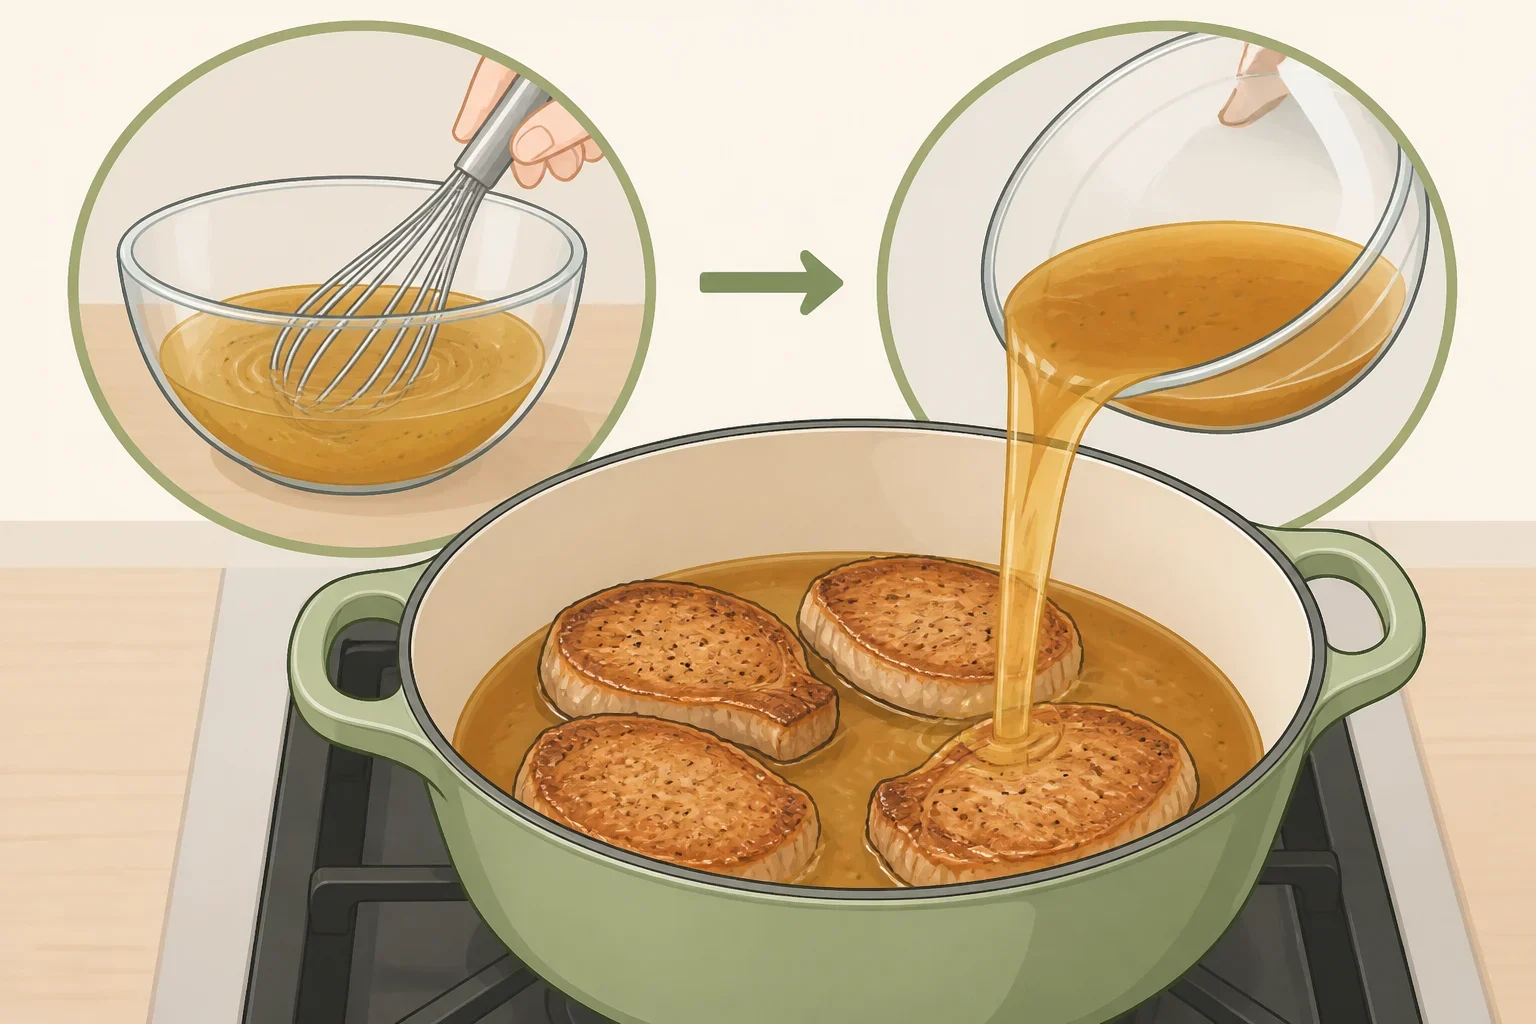
While the pork sears, whisk the cider, chicken stock, Dijon mustard, and dehydrated minced onion together in a measuring cup. Mixing them first spreads the mustard and onion through the liquid.
Pour the mixture over the browned pork. Tie the rosemary and thyme into a bundle if desired, then add the herbs and garlic head to the pot. The liquid should come up around the pork. It does not need to completely cover a large roast, but the meat should have enough liquid around it to braise without the bottom of the pot becoming dry.
If the liquid has reduced unusually far before the pork is tender, add enough stock or water to keep the bottom of the pot from scorching. The pot should remain covered during the main braise.
4. Cover and braise
Cover the Dutch oven and place it in the 325°F oven. Cook for about 3 hours, turning the pork halfway through so the pieces spend time in the liquid. Begin checking a boneless roast at about 2½ hours, since smaller pieces can become tender sooner. (Cooked by Megan)
The meat may be close to tender at the three-hour mark without being ready to shred. Insert a fork into the thickest piece and twist gently. If the pork feels tight or resists, cover it again and continue cooking in 20- to 30-minute increments.
An internal temperature around 200°F to 205°F can serve as a secondary check, a range also cited for a cider-braised pork shoulder by Sweet Tea + Thyme. Temperature alone is not the final test, though. A roast can reach that range and still need more time before it pulls apart easily.
5. Add the apples and onion
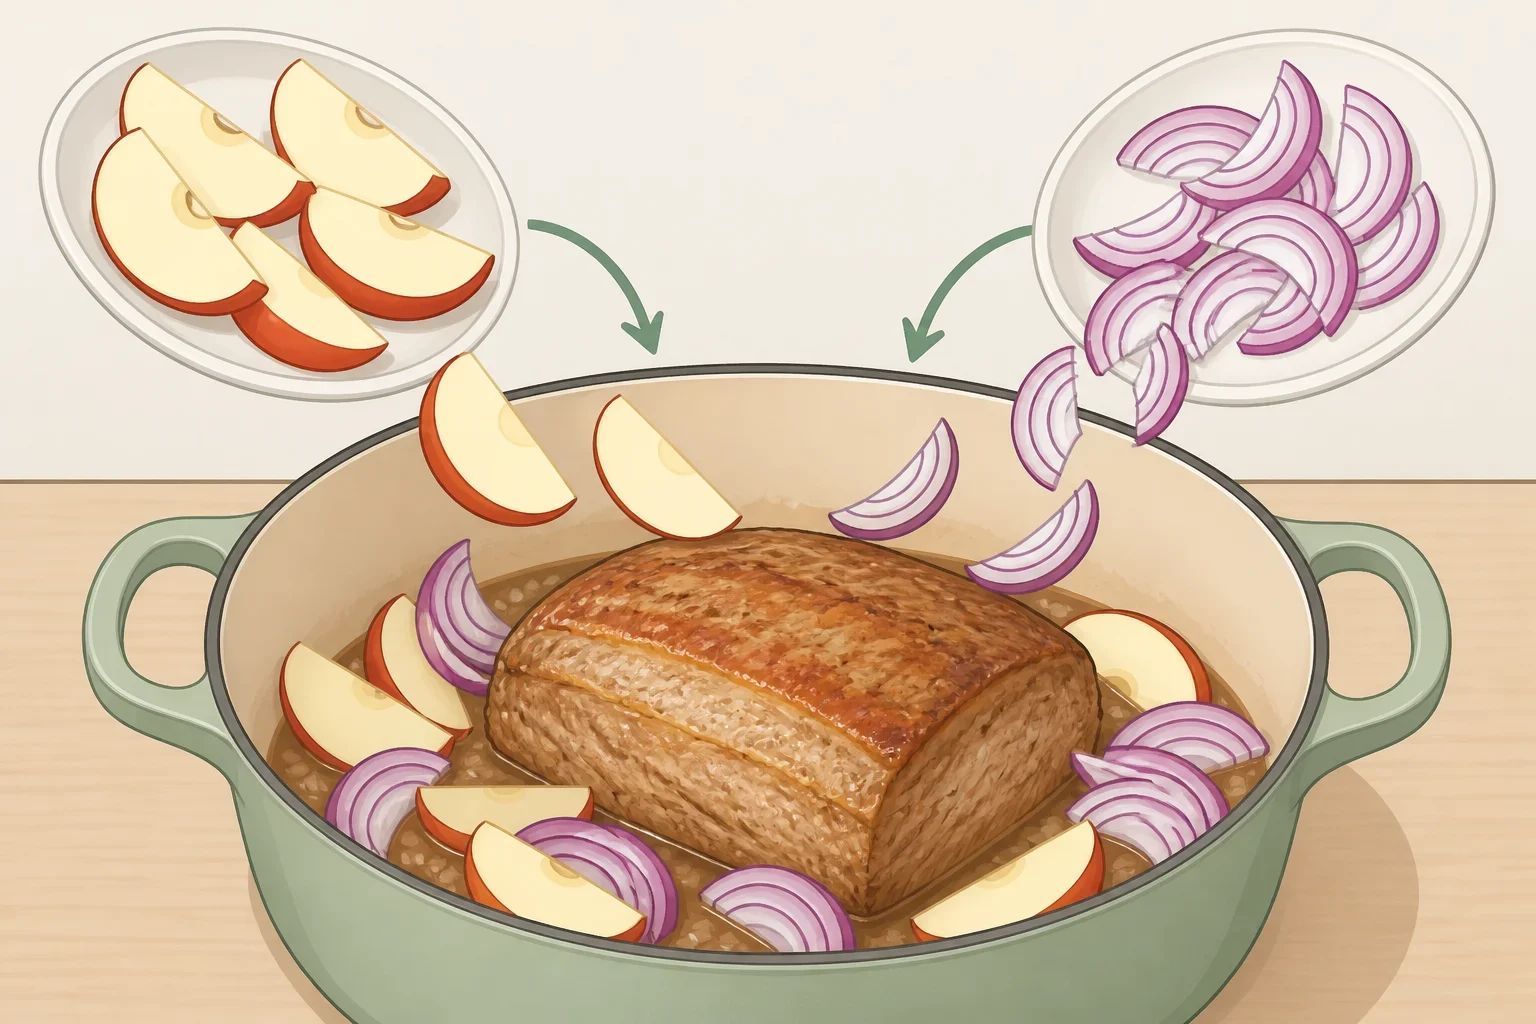
When the pork is just shy of fork-tender, remove the pot from the oven. Arrange the red onion slices and apple wedges around the meat, then cover the Dutch oven again.
Return it to the oven for 30 to 45 minutes. The apples and onion should be softened but still recognizable, and the pork should separate easily when pressed with two forks. Adding them near the end keeps the fruit and onion from dissolving into the braising liquid during the full cooking time. (Cooked by Megan)
6. Rest, shred, and finish the jus
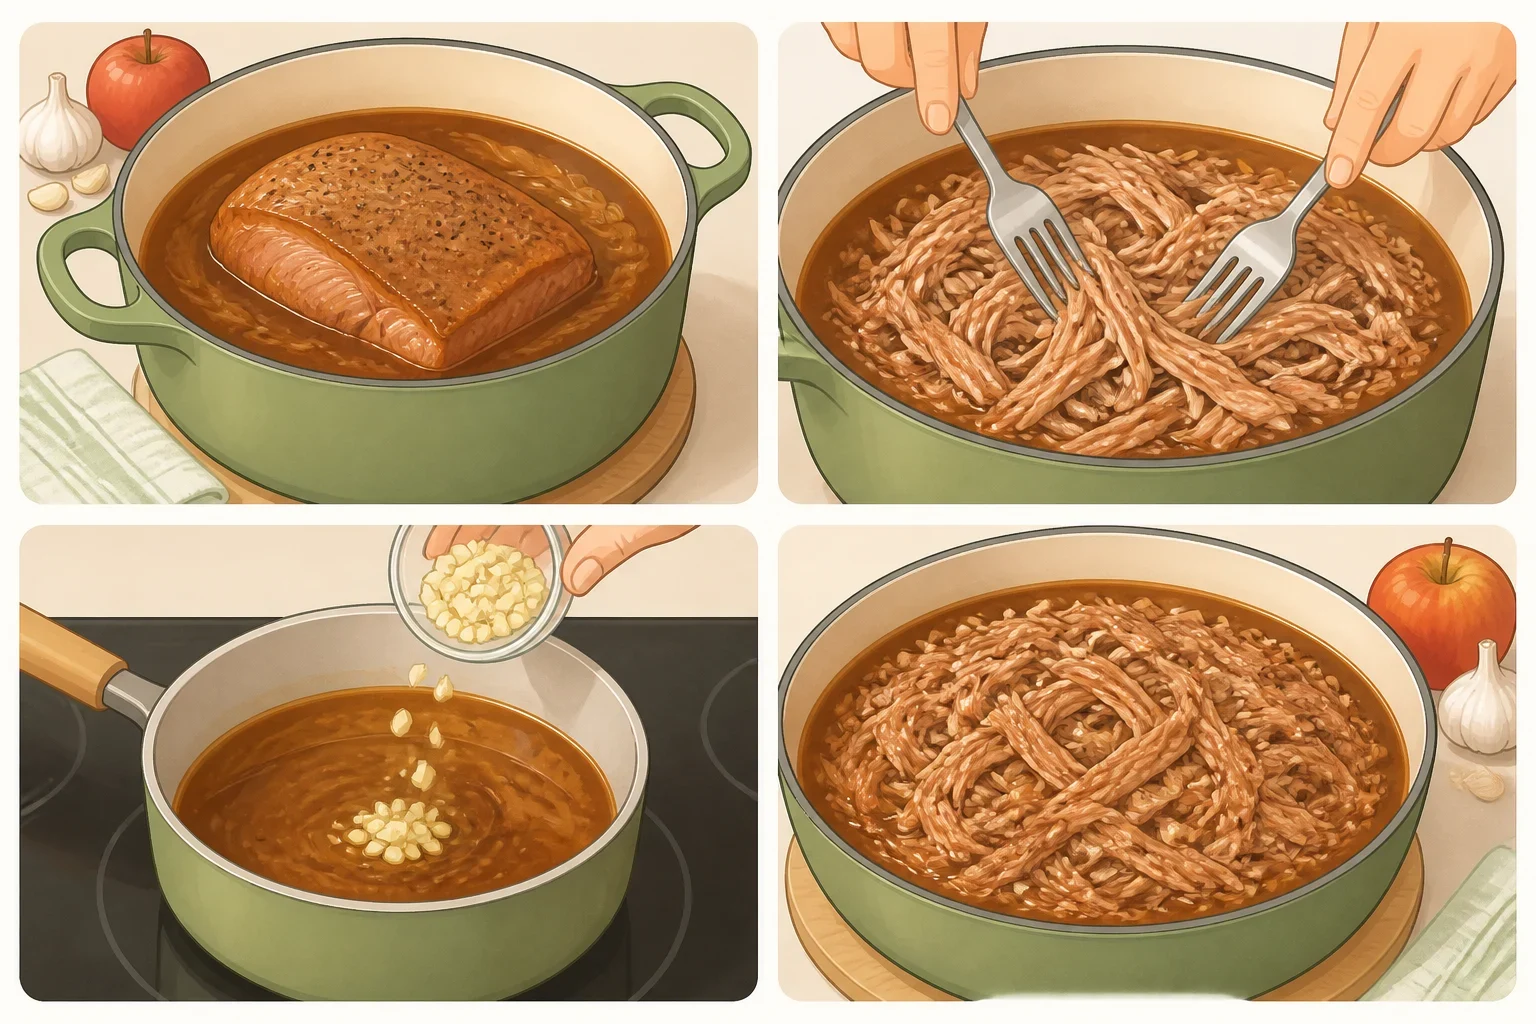
Remove the pot from the oven and leave the pork in the braising liquid for at least 30 minutes before shredding. Resting it in the liquid helps keep the meat moist as it settles. (NorthEast Nosh)
Transfer the pork to a cutting board or serving dish and pull it apart with two forks. Squeeze the softened garlic cloves from their husks into the broth or over the pork. Skim off excess fat if desired, then taste the jus and adjust the salt and pepper.
If the pork is tender but the liquid tastes thin, transfer the meat and fruit to a serving dish and reduce the jus separately in the Dutch oven or a saucepan until it has more concentrated flavor. Do not keep cooking the pork just to reduce the sauce, since the meat is already done.
If the pork is still tough, return it to the covered pot with the liquid and continue cooking. Tough shoulder generally needs more time, not a hotter oven, because the connective tissue breaks down gradually. (Sweet Tea + Thyme)
Serving and storing the pork
Spoon the cider jus over the shredded pork, apples, and onions. Serve it over mashed potatoes, cheesy grits, or rice, or add crusty bread for soaking up the liquid. (Sweet Tea + Thyme)
For leftovers, keep the pork with enough braising liquid to coat it. Refrigerate the food promptly in shallow containers rather than leaving the entire Dutch oven out to cool. The recipe sources recommend storing the leftovers in an airtight container for 4 to 6 days, but that is the recipe authors’ storage guidance, not an independently established food-safety window. (Cooked by Megan)
For longer storage, place the pork and liquid together in a freezer-safe container or bag, press out excess air, label the package, and use it within 3 months for the best quality. Thaw it in the refrigerator before reheating. (Cooked by Megan)
Reheat gently in a Dutch oven or skillet with some of the braising liquid, broth, or water. A 325°F oven works as well. The microwave is an option for smaller portions, but use short intervals, add liquid, and stir between intervals to limit uneven heating and drying. (Cooked by Megan)
For the most reliable result, shop for shoulder or Boston butt, plan on more than four hours from preparation through resting, and judge the meat by how easily it pulls apart. The cider brings the apple flavor, but the covered pot, steady heat, and patience are what produce a fall-apart tender pork shoulder.
