
How to declutter old photos without the guilt
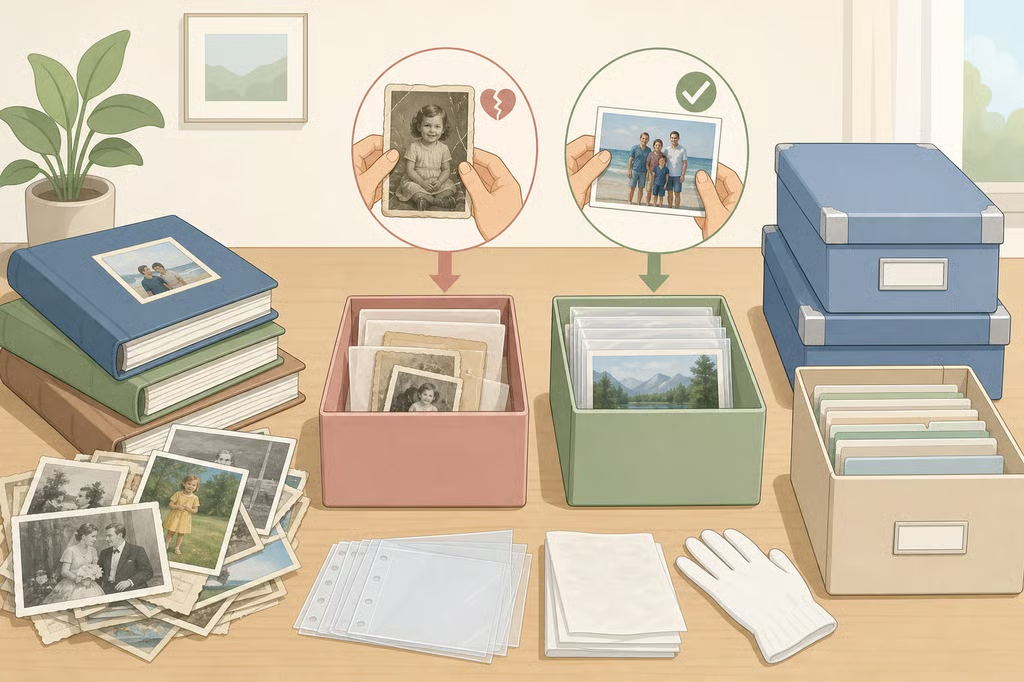
Decluttering old photos works best when the first move is not throwing anything away. Set up a clean, flat workspace, gather the boxes and albums in one place, and separate anything fragile, damaged, or irreplaceable before judging the rest.
The goal is not to make the collection as small as possible. Keep the clearest or most meaningful record of each person, place, and moment, then give those photographs a stable home. Scanning can wait. This project is about sorting and protecting the originals.
The process is straightforward: set aside anything that needs special care, sort the safe-to-handle material into four groups, resolve the uncertain photos, then store and label the keepers.
1. Set aside fragile or irreplaceable items
Before opening every envelope, look for photographs that should not enter a fast sorting session. Place these in a separate, clearly labeled area:
- Photographs stuck together
- Negatives and slides
- Albums with captions, names, dates, or family handwriting
- Items with visible mold, water damage, or severe staining
- Prints that are brittle, curled, lifting, or badly damaged
- One-of-a-kind photographs, such as a wedding album or the only known image of a relative
Handle loose prints by their edges with clean, dry hands. Keep food, drinks, tape, rubber bands, and pens away from the workspace. Do not pull apart photographs that are stuck together, and do not test old adhesive by tugging at the image.
Leave intact albums assembled during this first pass. The order of the photographs and the notes around them may carry information that would be lost if the album were dismantled. An album can be part of the family record, not merely a container for separate prints.
What to do with moldy, wet, or fused photographs
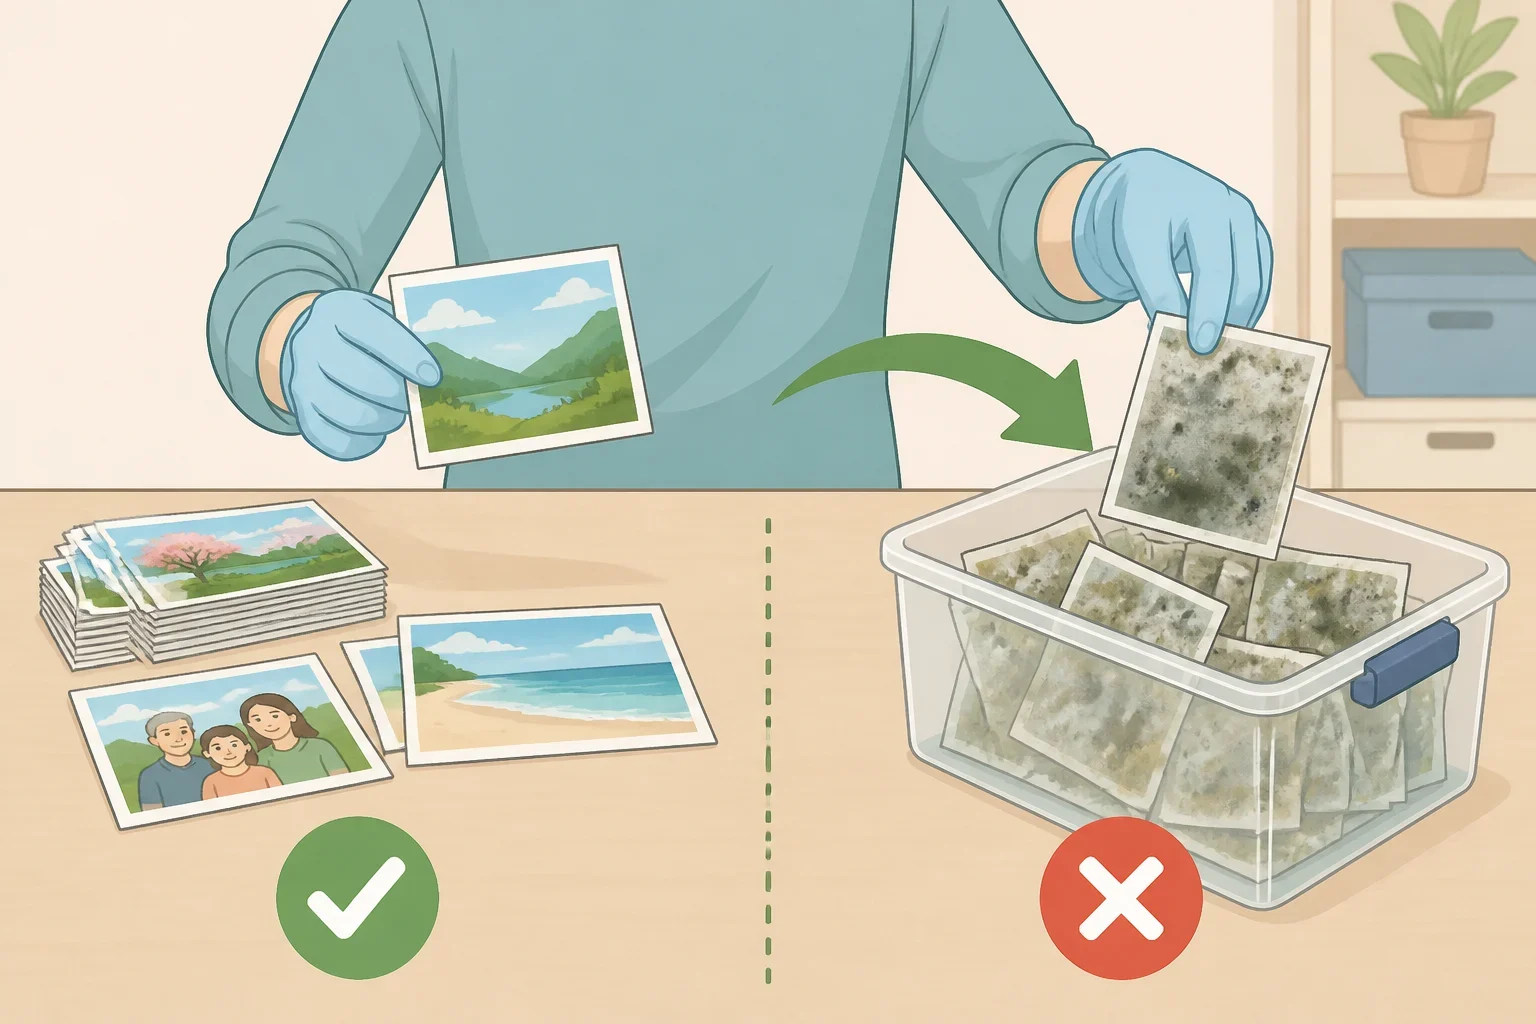
Treat visibly moldy or wet material as a separate preservation problem. Move it away from unaffected photographs, avoid forcing stuck layers apart, and do not continue sorting it as if it were an ordinary duplicate.
A wet loose print, a photograph fused to another print, and an album with visible mold are not interchangeable problems. For an irreplaceable, extensively wet, moldy, or stuck collection, stop handling it and contact a conservator or disaster-recovery specialist. Keep a note with the container describing what is inside so the material does not get mixed back into the healthy collection.
If the damage is minor but the photograph is still important, resist the urge to clean, flatten, peel, or “restore” it during decluttering. Set it aside until the next handling step is clear.
2. Create four sorting groups
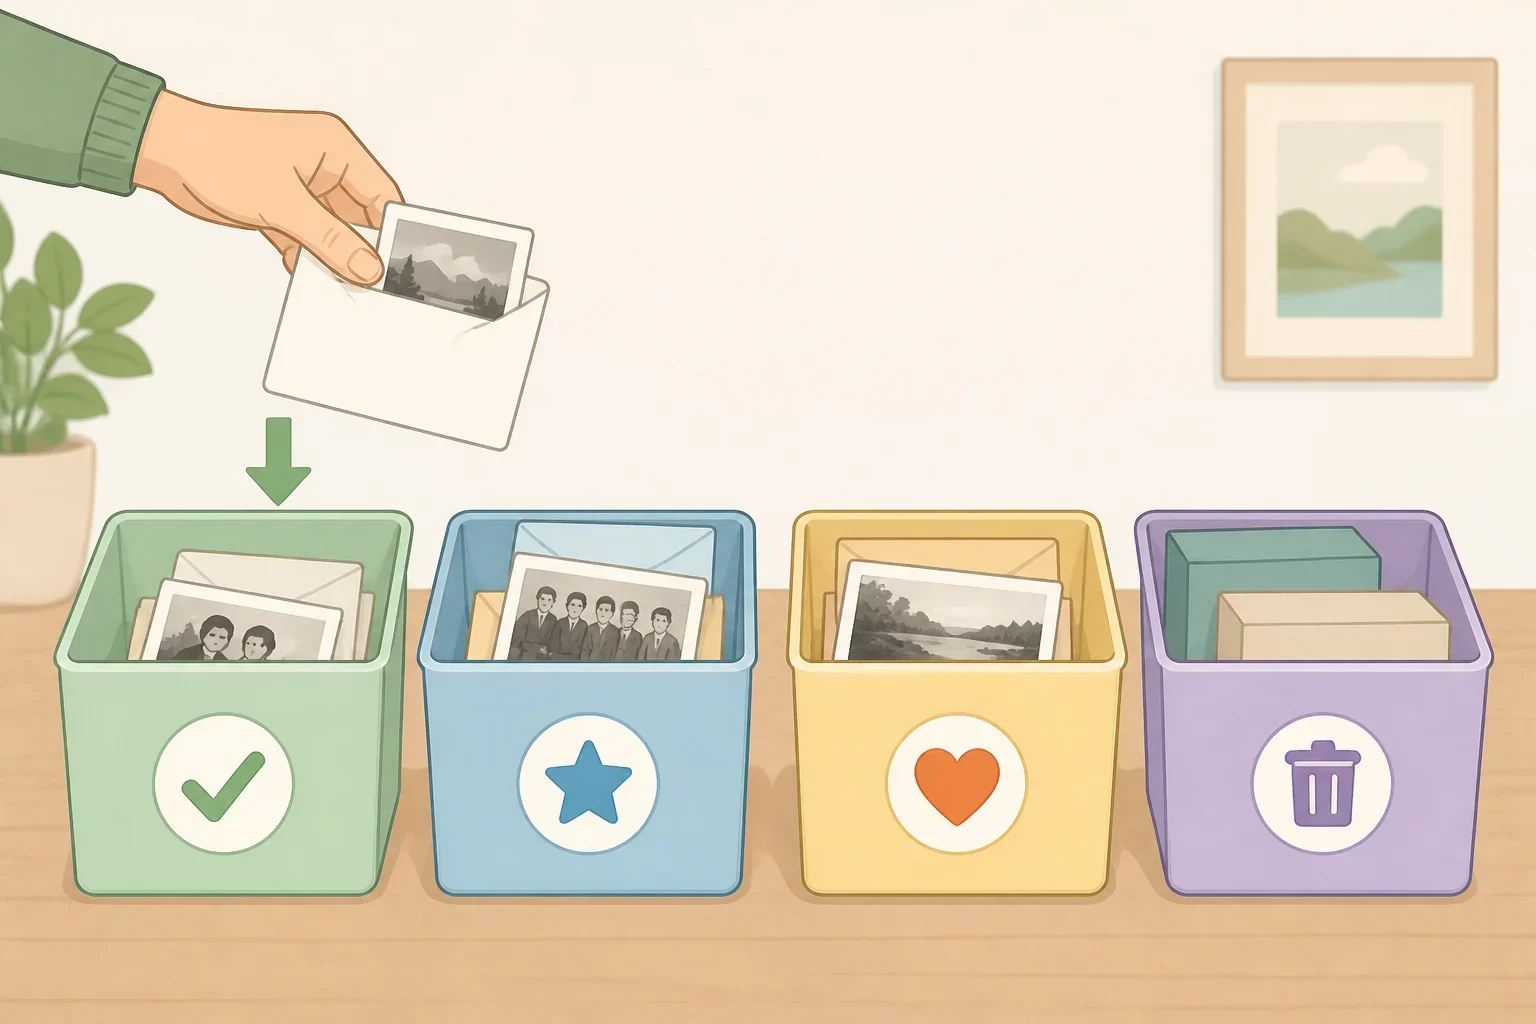
Once the fragile material is out of the way, label four containers or areas:
- Keep: Photos that clearly belong in the family record
- Maybe: Photos that need a second look
- Someone else’s: Shared family material another person should review
- Discard: Obvious duplicates, accidental shots, or replaceable images
Keep the groups physically separate. A clean table, spare shelf, or four labeled boxes can work, as long as the photographs do not become one large mixed pile again.
The “someone else’s” group is useful when a photograph belongs to more than one branch of the family. A childhood picture, wedding image, or photo of a relative may matter to a sibling, parent, cousin, or another household. Add the likely reviewer’s name to the container, then set a real review date. Without one, this group can become permanent storage under a different label.
A note such as “Photos for Sam to review by June 1” gives the decision a next step. If the person cannot review the material, ask whether they want specific images, digital copies later, or no action. Do not discard shared family photographs before giving the relevant people a reasonable chance to respond.
3. Sort by event, person, or period
Work in natural groups instead of judging each photograph as an isolated object. Put the photographs from one birthday, move, vacation, school year, or family gathering together. Comparing similar images side by side makes duplicates and gaps easier to see.
Use one central decision rule:
- Keep one clear or meaningful version of a moment.
- Keep a weaker image if it is the only record of a person, place, or event.
- Move uncertain or shared items to the appropriate review group.
- Discard only when the photograph is an obvious duplicate, accidental shot, or replaceable record.
A blurry photograph may still deserve a place if it shows someone or something not represented elsewhere. A technically attractive print may be less useful when several nearly identical copies already exist. Image quality matters, but it is not the only measure of value.
During this pass, do not stop to scan, frame, caption, research names, or clean photographs. Those jobs can pull attention away from the sorting decision and stretch a small project across the house. Keep the first pass quick and loose. If the maybe group is the largest one, that is fine. It is there to hold uncertainty temporarily, not to force rushed decisions.
Keep notes already attached to photographs with the correct image. For loose prints without context, place them in an envelope labeled with the event, box, or family group they came from. Do not write across the image surface or attach adhesive labels directly to the print.
4. Resolve the maybe pile with one second look
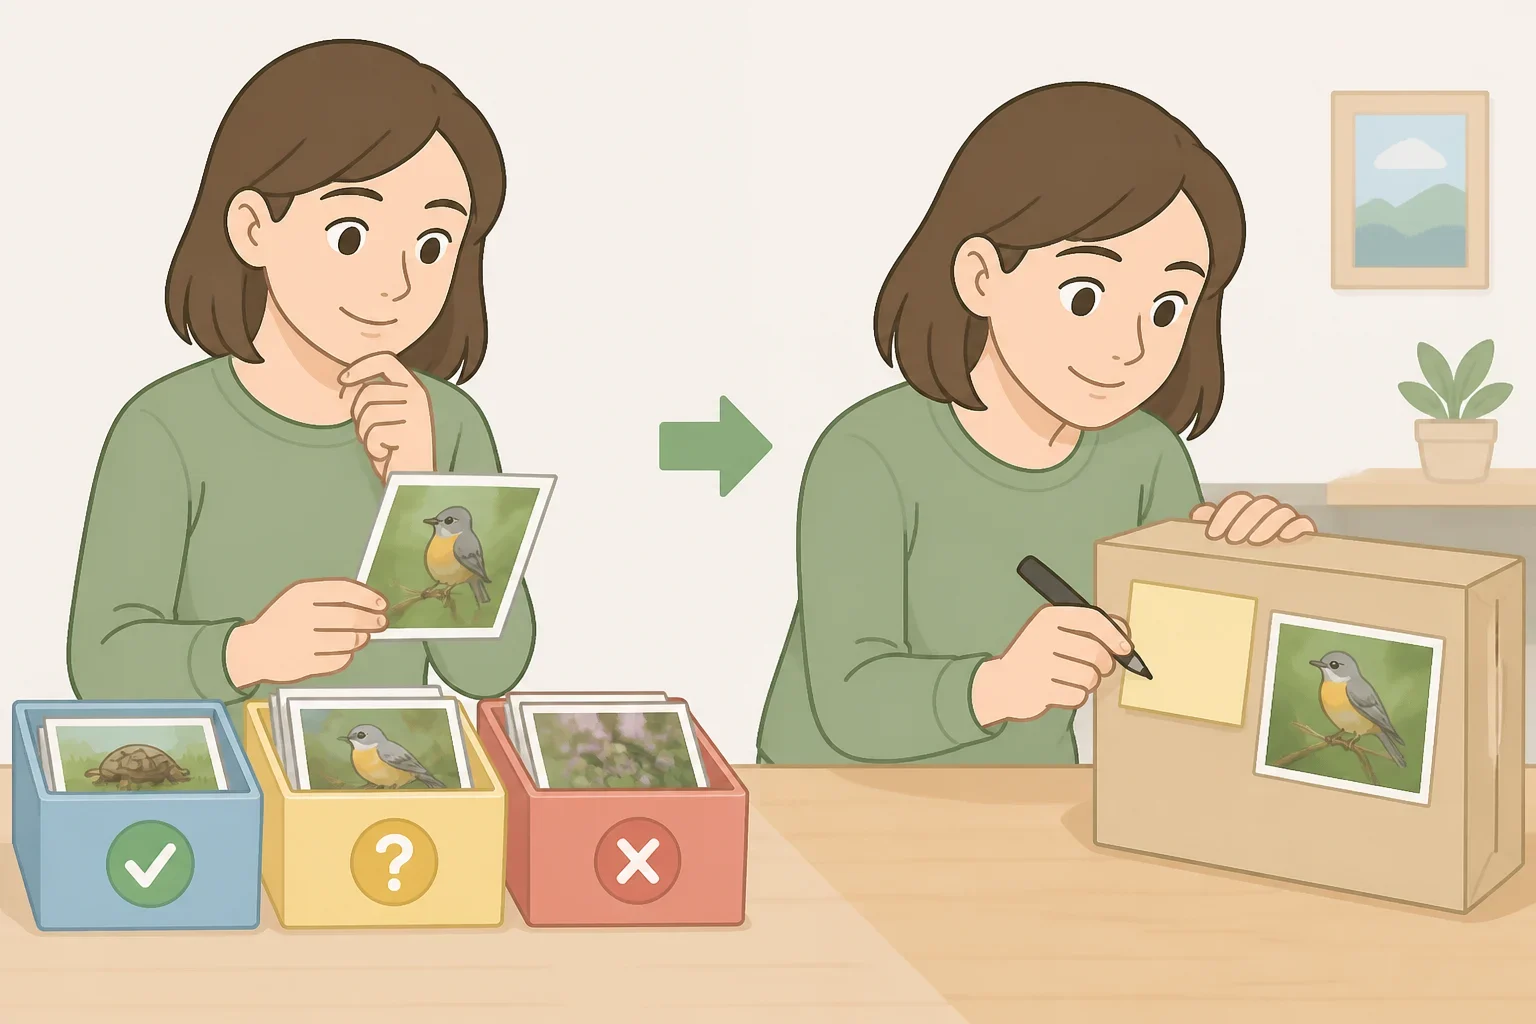
Give the maybe group its own session rather than revisiting every photograph each time you walk past it. A short timer can create a useful stopping point, but it is a workflow aid, not a preservation rule. Stop when decisions become rushed and schedule another session if needed.
Ask these questions:
- Does the photograph show a person, place, or event that is not represented elsewhere?
- Does it contain useful context, such as handwriting, a date, a recognizable setting, or a caption?
- Is there a clearer duplicate, or is this the only available version?
- Does another family member need to review it before a final decision?
When duplicates exist, keep the strongest representative image. Keep another copy when a different person has a genuine reason to have one, rather than keeping every duplicate by default.
For unidentified people or places, use a question instead of a guess. Write “Who is this?” or “Possibly the house on Oak Street” on the enclosure or a separate note, not on the photograph. If someone else may recognize the image, move it to the shared-review group.
Negatives and slides deserve separate consideration. Depending on the photographic process, they may preserve image information that is not fully represented in the print. Keep them with matching photographs when the connection is clear, and do not discard them only because the printed image appears sufficient.
Letting go of a blurry extra or a third copy is not the same as letting go of the memory. It is a way to keep the version that carries the most meaning without asking every future household member to sort through the same repetition.
5. Store and label the keepers
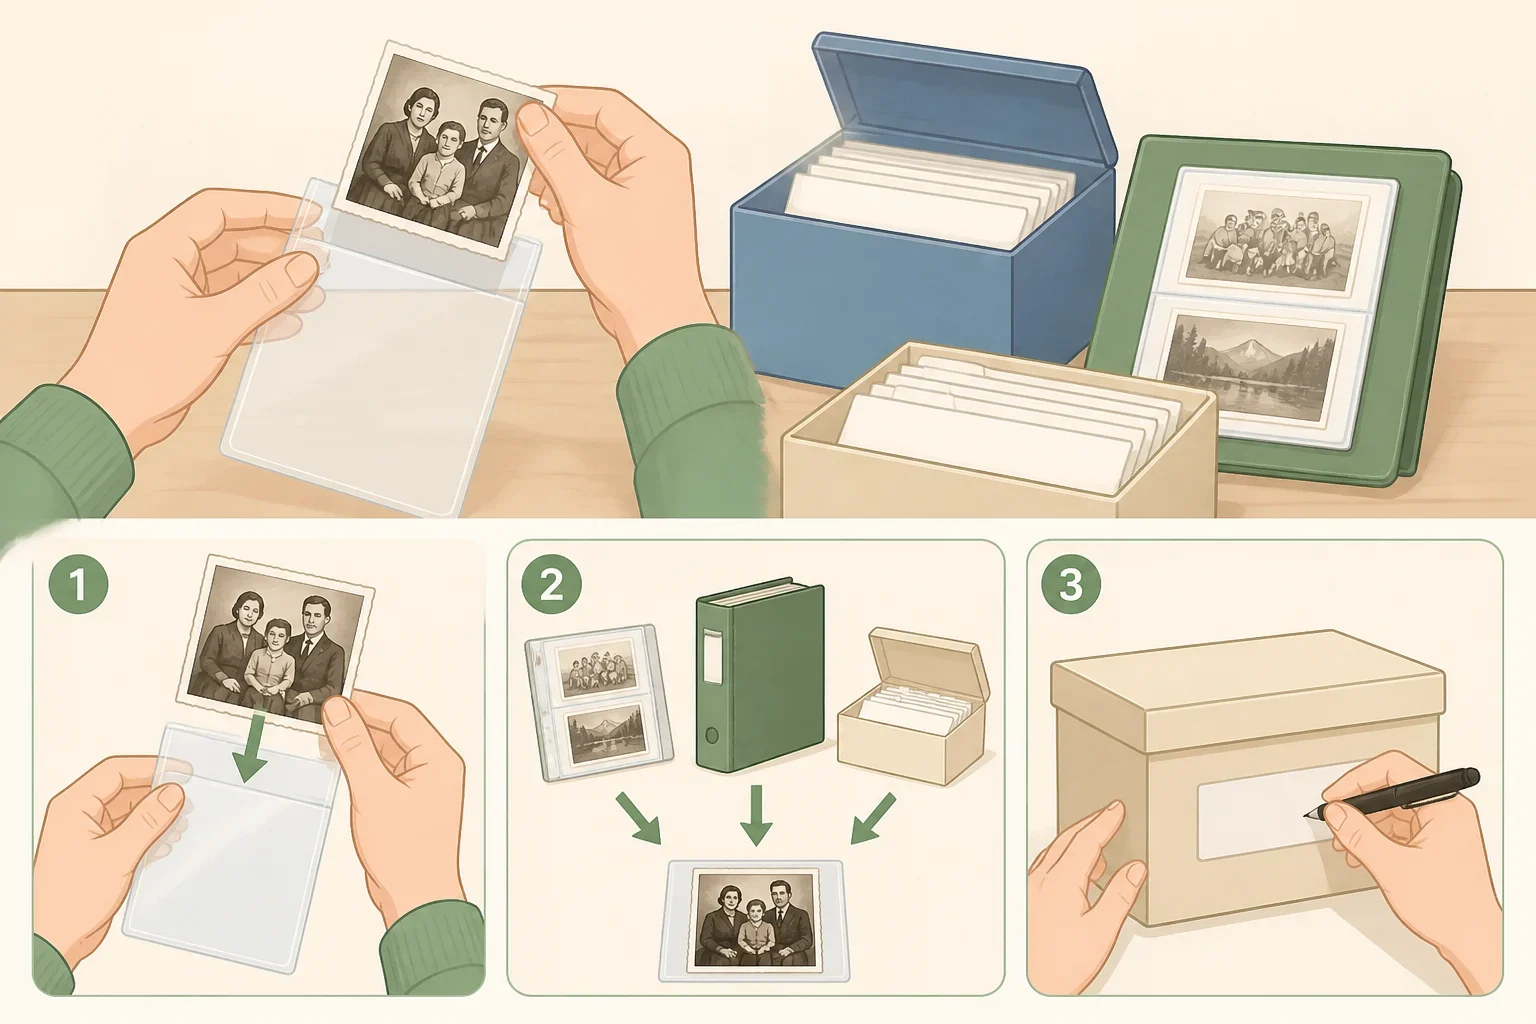
Choose storage products by the materials identified on the package. Look for items described as acid-free and PVC-free, such as folders, envelopes, boxes, or album pages made for photographs. The Library of Congress addresses the effect of storage conditions, including heat, humidity, and light, on photographs.
Use the format that best suits the collection:
- Sleeves or pockets for photographs that need to remain visible
- Envelopes or folders for groups from one event or person
- Boxes for mixed sizes or collections too large for an album
- Existing albums when the captions, order, or construction carry useful information
Do not bend oversized or curled prints to make them fit. Avoid adhesive pages, magnetic “sticky” albums, and storage systems that require the image to touch unknown glue. The American Institute for Conservation provides conservation resources for materials that may need more careful assessment than a household sorting project can provide.
Keep the collection in a stable indoor location away from direct light, heat, and damp areas. An interior closet or shelf is a practical starting point. Avoid placing boxes in areas where temperature or moisture conditions change sharply, such as attics, basements, garages, or spots near plumbing and heating equipment.
Do not use an airtight container as a solution for damp or moldy photographs. Keep damaged material separate from the healthy collection while deciding whether professional advice is needed. For the same reason, do not place photo boxes directly on a concrete floor or against a wall that shows signs of dampness.
Write identifying information on the enclosure whenever possible. Label the box, folder, sleeve, or envelope with:
- The people shown
- The event or place
- The date, if known
- Who supplied the information
- Whether matching negatives, slides, or documents are stored elsewhere
Use uncertainty honestly. “Family reunion, date unknown” is more useful than an invented date. Preserve existing captions and handwriting in albums rather than covering them with new labels.
If a loose print must be marked, avoid the front. When the material and condition are uncertain, label the enclosure instead. The American Institute for Conservation’s general resources are a better starting point than improvising a marking or cleaning method for a fragile original.
Handle discarding as its own decision
Use “discard” rather than “recycle” unless the local waste program specifically confirms that the particular photographs, negatives, albums, or mixed materials are accepted. Prints may be attached to other materials, and frames, plastic sleeves, adhesive pages, and metal fasteners may require different handling.
Remove a photograph from a frame or album only when doing so is safe. If it is stuck to a page, damaged, moldy, or historically meaningful, leave it in place until the handling decision is clear. For sensitive family images, choose a disposal method that limits unnecessary exposure while following local waste guidance.
Scanning belongs in a later project. Once the physical collection is stable, choose the keepers that deserve digital copies instead of trying to scan every image before the sorting decisions are finished.
Start with one box or one album. Set aside anything fragile, sort the safe material into the four groups, and give the maybe and shared-review piles a defined next step. A smaller, clearly labeled collection is a successful result, even when one photograph needs professional advice before anyone touches it.
