
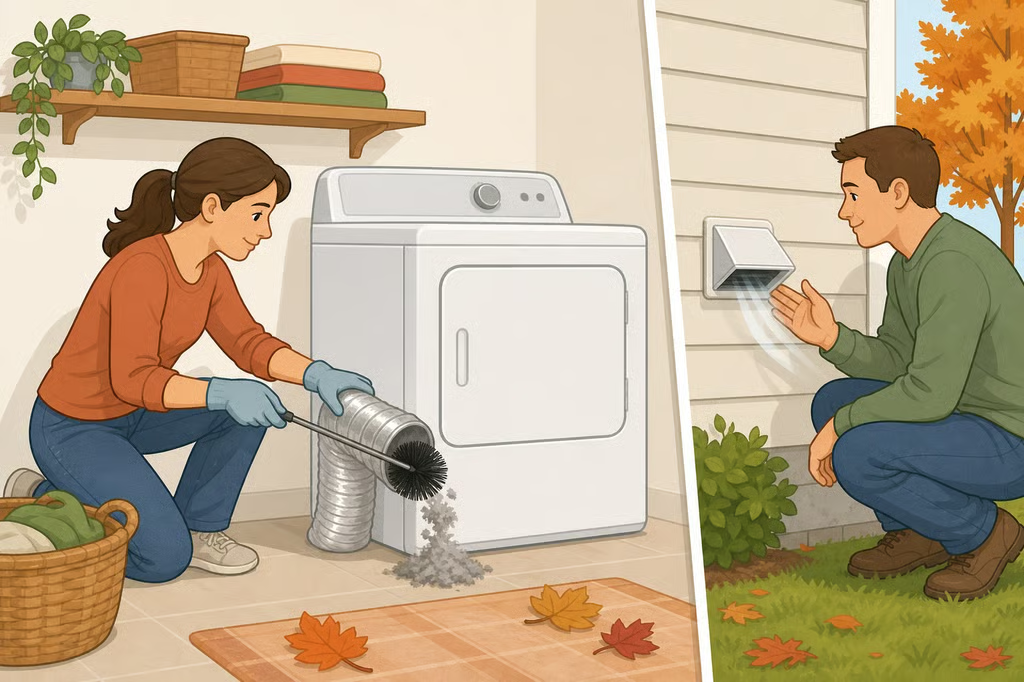
How to Clean a Dryer Vent in the Fall: Step-by-Step
Emptying the lint screen does not finish the job. The lint screen and exhaust duct require separate maintenance, which is why learning how to clean a dryer vent in the fall means checking the accessible route from the back of the appliance to the exterior hood.
This guide covers vented dryers with outdoor exhausts. It explains what to gather, how to clean dryer lint from the vent, which signs mean the task should happen sooner, and where DIY cleaning needs to stop. Fall is not a formally required cleaning season, but it is a useful calendar cue before colder months bring heavier laundry loads.
Why fall is a practical time for dryer vent cleaning
The strongest household warning sign is longer-than-normal drying time. NFPA guidance, summarized by Vent & Flue, recommends cleaning the vent pipe once a year or sooner when clothes begin taking longer to dry.
The fire data also supports treating this as a safety task, not just a housekeeping chore. Vent & Flue’s analysis of National Fire Incident Reporting System records found that dryers were involved in 4.6% of residential structure fires where the equipment was identified from 2020 through 2024. In that analysis, failure to clean appeared in 31.2% of dryer fires with a known contributing factor.
Those figures come from a secondary analysis of records FEMA publishes, not a direct NFPA or FEMA finding. The same analysis, published three weeks ago, summarizes an older NFPA estimate of 13,820 home dryer fires per year based on 2014 through 2018 data, with failure to clean identified as the top factor in 32% of those fires. The newer and older figures use different time periods and denominators, so they should not be combined into one current annual count.
Consumer Reports has recommended cleaning the dryer duct and removing blockages from the vent system at least once a year since 2023. Its advice also includes checking the appliance owner’s manual before maintenance.
Fall fits that schedule because residential fires are more common during the colder months of November through March, according to ConsumerAffairs, reporting from 2024. That seasonal pattern does not make fall cleaning an official requirement. It simply makes autumn a sensible time to put the task on the household calendar.
This advice does not apply to ventless or heat-pump dryers in the same way. Those models follow different maintenance instructions, so start with the owner’s manual rather than looking for an exterior exhaust hood.
What to gather before starting
Check the manual for your dryer and any vent-cleaning kit before beginning. Manufacturer instructions may specify which panels, tools, or cleaning methods are appropriate.
For an accessible vent, gather:
- A vacuum with a hose attachment
- A dryer vent brush or brush kit that fits the duct
- A screwdriver for the duct clamp
- A flashlight
- A ladder only when it can be positioned safely and the vent is within a comfortable reach
Work with the dryer empty and cooled down. Unplug an electric dryer before moving it. If the dryer is gas-powered, do not disturb the gas connection. If moving the appliance requires disconnecting the gas line, stop and arrange for qualified service.
A household vacuum is not automatically suitable for every vent or appliance opening. Do not use one where the manufacturer warns against it, or where the hose or brush cannot be controlled. Never push lint deeper into the duct or into the dryer cabinet.
How to clean a dryer vent in the fall
1. Shut down the dryer and inspect the accessible duct
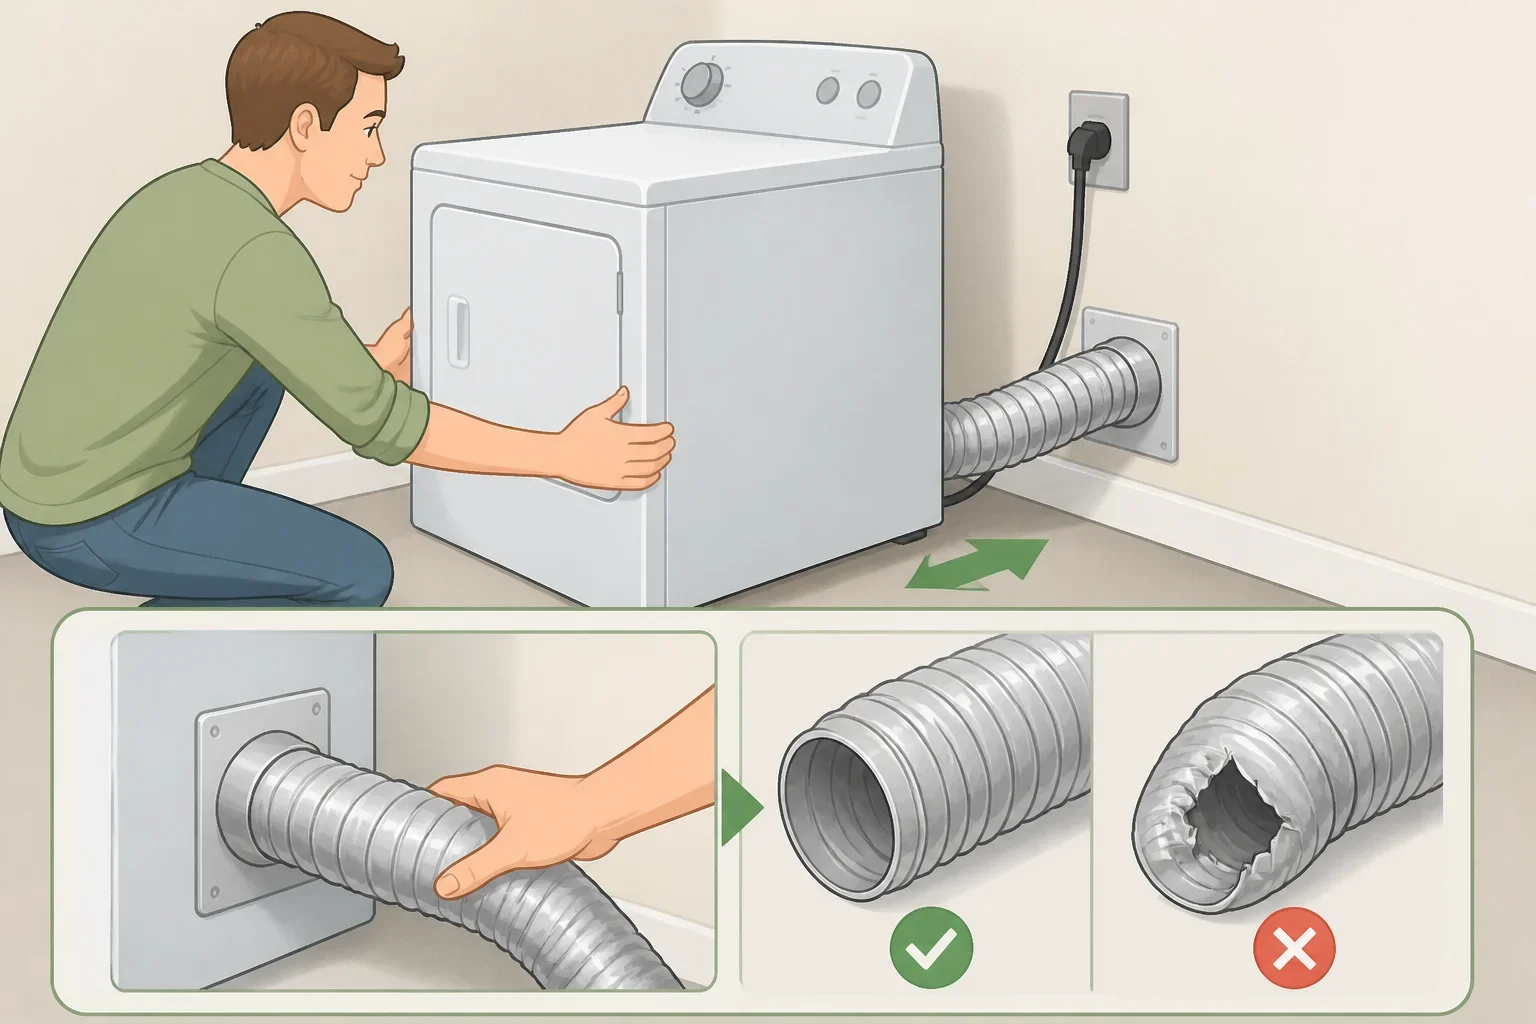
Unplug the dryer and pull it away from the wall only far enough to inspect the connection safely. Avoid straining the power cord or forcing the appliance across the floor.
Look over the visible duct for crushing, holes, loose connections, sharp bends, or sections that have slipped out of place. Check that the duct will not be pinched when the dryer is returned to its position.
If the duct is plastic or foil, do not assume cleaning makes it suitable to keep using. USFA guidance, summarized by Vent & Flue, recommends replacing plastic or foil venting with rigid, non-ribbed metal duct. Because installations and local requirements can vary, check the appliance instructions or ask a qualified professional about the correct replacement.
2. Disconnect and clean only the section you can control
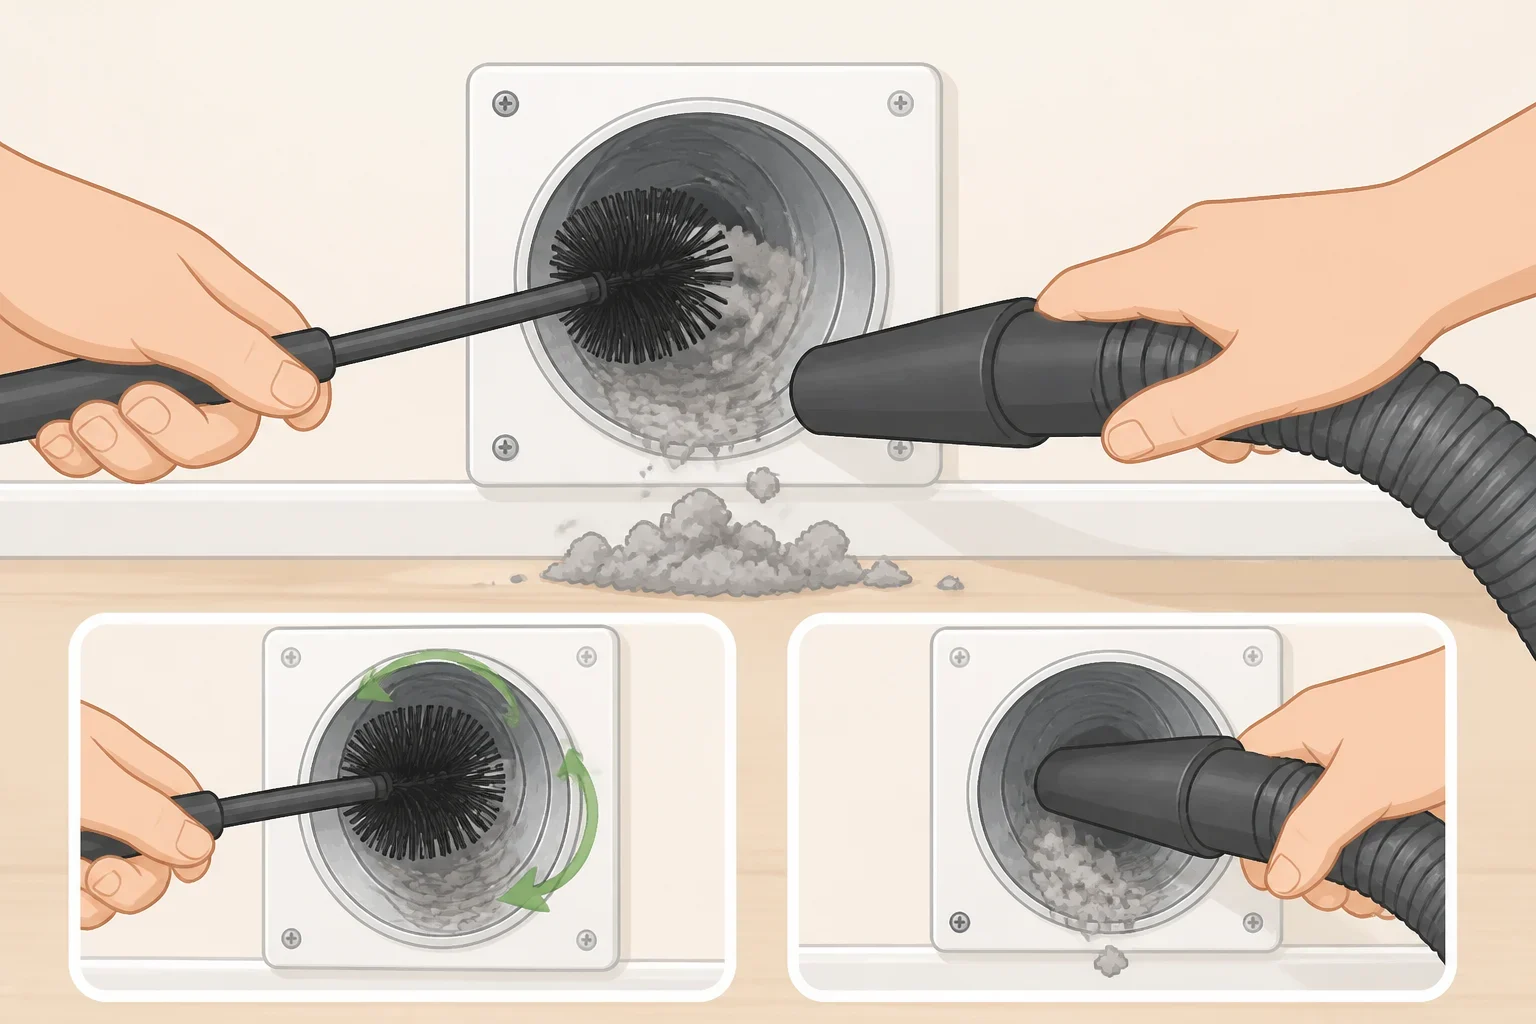
Loosen the clamp where the duct attaches to the back of the dryer, then separate the duct carefully. Use a flashlight to inspect the opening and the first accessible section.
Remove loose lint by hand. Then use the vacuum hose or a compatible vent brush according to the tool manufacturer’s instructions. Work gently and in short sections. If the brush catches, buckles, or feels stuck, pull it back and reposition it rather than forcing it forward.
The aim is to loosen and remove buildup, not push it farther into the wall or toward the appliance cabinet. Vacuum the area around the dryer connection as well, where loose lint may collect.
A basic household tool may not reach the full duct. If the vent runs through a wall or ceiling, has a long or sharply angled route, or continues to a roof, this step cleans only the accessible portion. Do not describe that as a complete vent cleaning. Arrange qualified service when the hidden section needs attention.
3. Clear the exterior vent hood
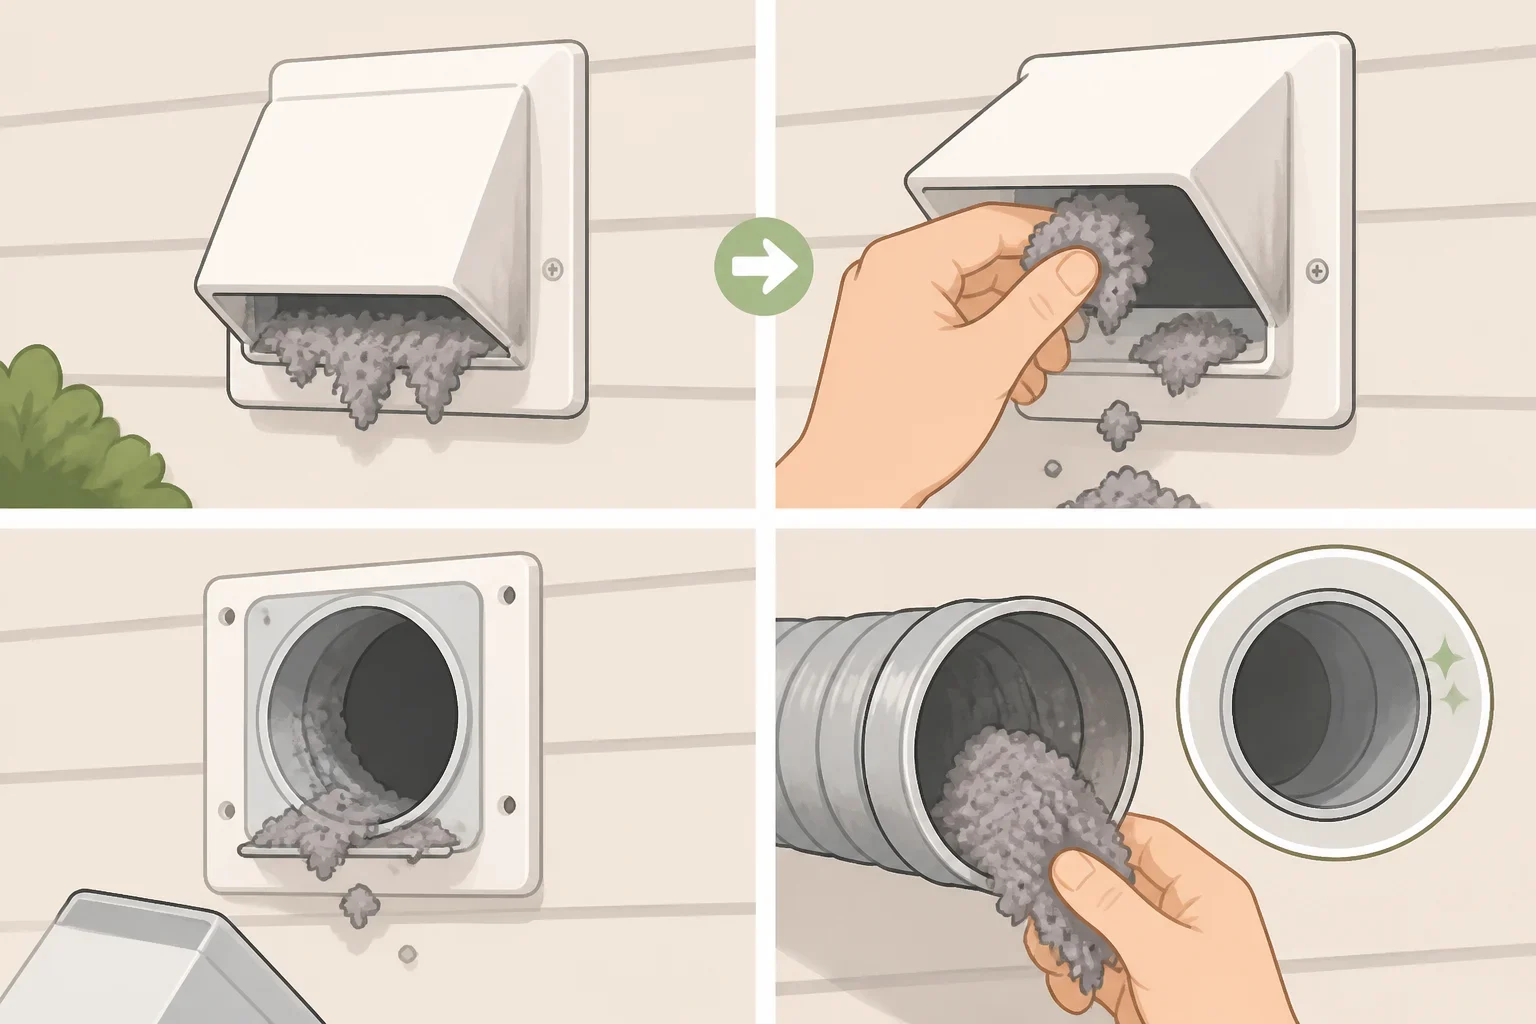
Go outside and locate the dryer’s exhaust hood. Remove visible lint and debris from the hood and the area immediately around the opening.
Check the hood according to the owner’s manual and the vent manufacturer’s instructions. If the opening is blocked, the hood is damaged, or the duct appears disconnected behind it, stop and arrange an inspection.
Do not climb onto a roof for this task without the right equipment and experience. A roof vent is a straightforward reason to choose professional service, especially when the route inside the home is also inaccessible.
4. Reconnect the duct carefully
Reconnect the duct to the back of the dryer and secure the clamp. Follow the manufacturer’s instructions for the connection, and avoid creating a sharp bend or crushing the duct as the appliance moves back into place.
Before restoring power, check that the duct has a clear route and is not trapped between the dryer and the wall. If the duct will not stay connected, appears damaged, or cannot be positioned without being pinched, do not keep operating the appliance until the problem is corrected.
5. Test only as the manual permits
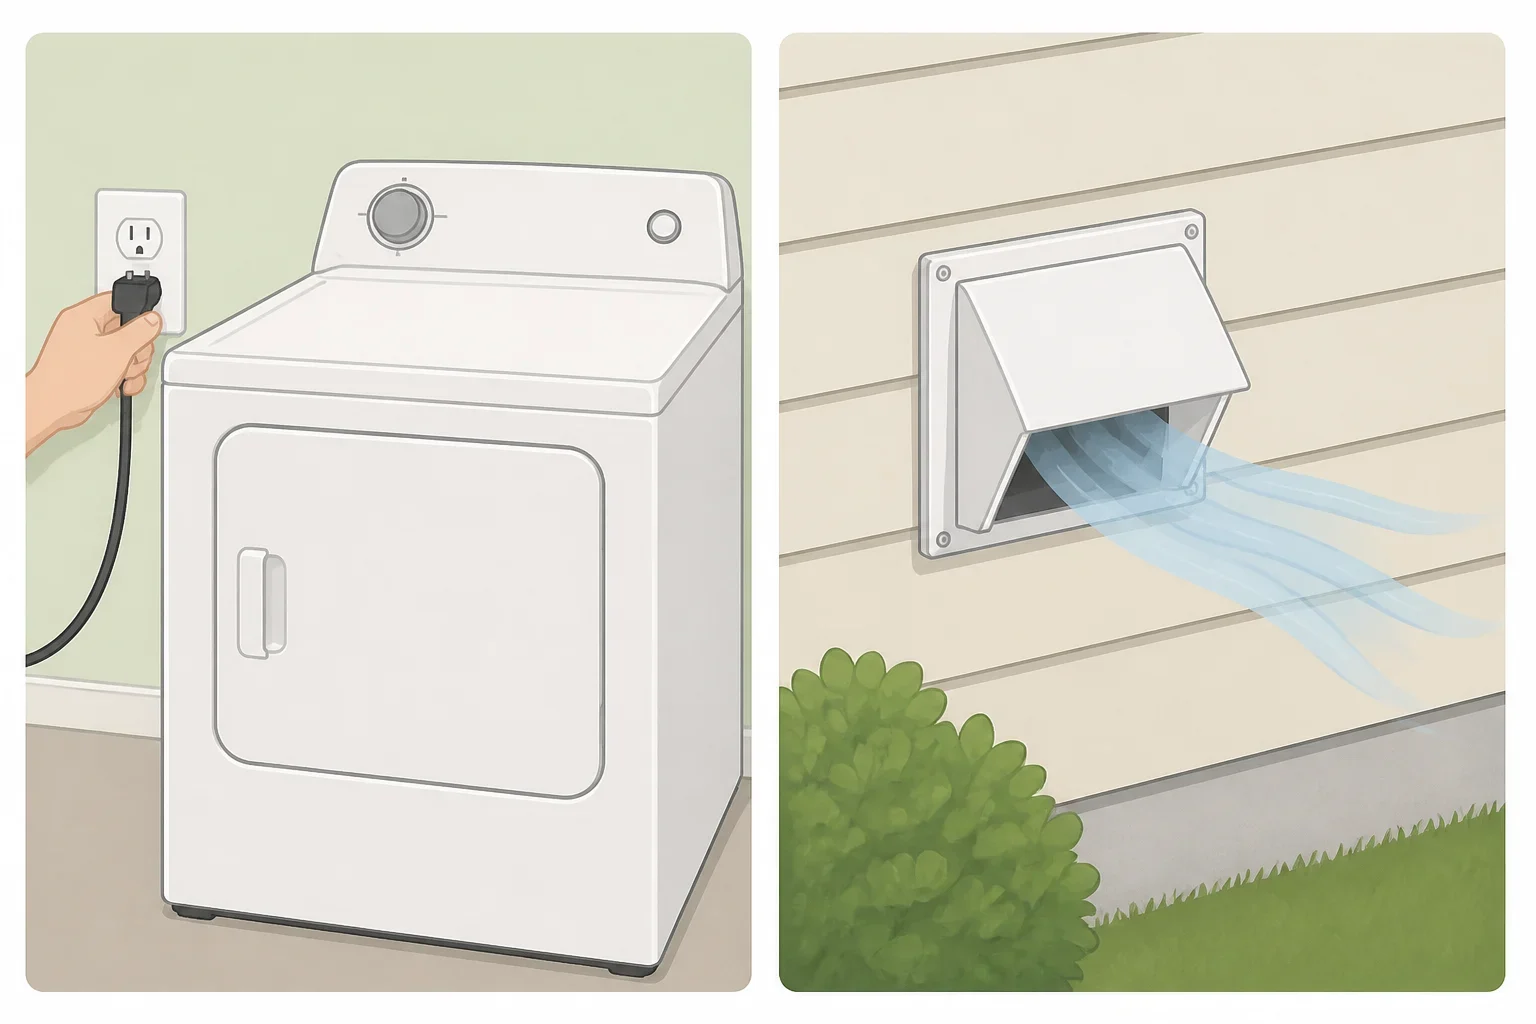
Restore power only after the duct is connected and the dryer is stable. If the owner’s manual includes a testing procedure, use that procedure. Stay nearby rather than leaving the appliance running unattended.
Check the exterior hood for the expected exhaust described in the manual. If airflow seems weak, the connection comes loose, or the dryer develops an unusual smell or sound, stop using it and arrange qualified service. Do not repeat the same DIY attempt in hopes that a second pass will solve an inaccessible blockage.
6. Keep up with the lint screen
Clean the lint screen before or after every load. NFPA guidance summarized by Vent & Flue recommends that frequent habit, while annual duct cleaning addresses a different part of the system. One does not replace the other.
NFPA also advises against running the dryer while away from home or asleep. That simple habit pairs with regular maintenance, but it does not make an unsafe or poorly vented installation safe to use.
Signs of a clogged dryer vent
Longer drying times deserve attention, especially when the change is sudden or continues after the lint screen has been cleaned. Start with the easiest checks: clean the screen, inspect the accessible duct connection, and look at the exterior hood.
If drying remains slow, stop treating the problem as a normal change in laundry performance. NFPA’s guidance identifies slower drying as a reason to clean the vent before the annual schedule.
Moisture sensors are another maintenance point, but they are not a substitute for vent cleaning. Consumer Reports reported last week that owners can occasionally wipe the sensor bars with a cotton ball and rubbing alcohol. The bars are usually thin pieces of metal inside the dryer, under or near the door. Check the owner’s manual first because sensor placement and care can vary by model.
Consumer Reports also notes that dryers with moisture sensors generally judge dryness better than models that monitor temperature alone. That is a general comparison, not proof that every slow cycle comes from a clogged vent. If the dryer continues taking longer than normal after accessible checks, arrange service rather than assuming the sensor is the only problem.
When to call a professional
Choose qualified service when:
- The duct runs through a wall or ceiling and the hidden section cannot be reached
- The vent exits through the roof
- The duct is long, sharply bent, crushed, damaged, or disconnected
- The dryer is gas-powered and moving it would require disturbing the gas connection
- A brush or vacuum cannot reach the buildup safely
- Airflow remains weak after accessible cleaning
- Drying remains slow after the screen, connection, and exterior hood have been checked
- The appliance produces an unusual smell, sound, or performance change
- A ladder would be unstable or the vent is beyond a comfortable reach
USFA guidance recommends having the dryer interior and venting system serviced and cleaned periodically by qualified personnel, according to Vent & Flue’s summary. That recommendation matters when the vent extends beyond the portion a homeowner can inspect and control.
The fire data also shows why cleaning should not be the only safety habit. ConsumerAffairs reported in 2024 that dust, fiber, and lint were listed as factors in 27% of dryer fires, while clothing was listed in 25%. These are reported fire factors, not proof that the same materials are sitting inside every vent. Mechanical and electrical failures were also identified as separate factors.
Dryers and washers together account for approximately 4% of residential fires in the ConsumerAffairs data, while dryers account for less than 1% of home fire deaths. That context supports steady maintenance without turning the task into a reason for panic.
Make the fall decision
If the vent is short, visible, intact, and safely reachable, clean the accessible sections this fall while following the dryer and brush-kit instructions. Clean the lint screen after every load and respond to longer drying times instead of waiting for the next annual reminder.
If the duct is hidden, roof-vented, damaged, difficult to reach, connected to a gas dryer that cannot be moved safely, or still performing poorly after accessible cleaning, stop using the appliance and book qualified service. The goal is not to force a DIY job. It is to make sure the full venting system receives the attention it needs.
