
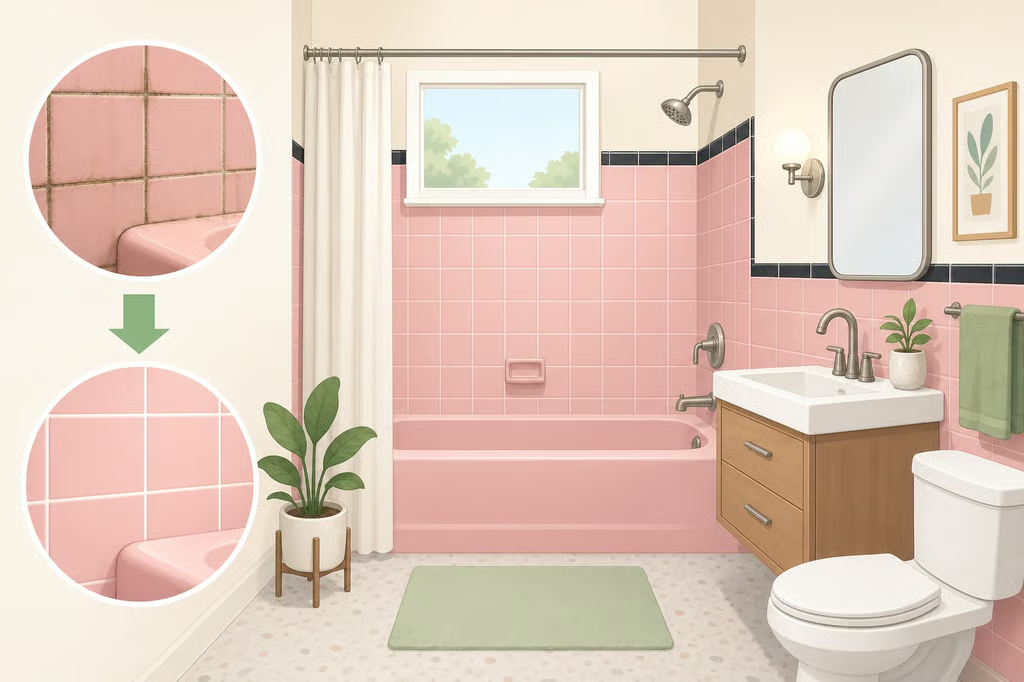
- How to Update a 1950s Pink Tile Bathroom Without Removing Tile
- Decide whether the original tile is worth keeping
- Check the room before starting
- Check for lead before disturbing painted surfaces
- Gather supplies and test a small area
- Decide whether to clean, touch up, or regrout
- Regrout and seal the tile
- Update a vintage pink bathroom without replacing tile
- Know when to stop
How to Update a 1950s Pink Tile Bathroom Without Removing Tile
The problem with many dated pink bathrooms is not the pink. It is the grout, worn hardware, and harsh lighting around it. If the tile is intact and the floor is level, start with a careful cleaning and grout inspection before planning demolition. This guide to how to update a 1950s pink tile bathroom covers what to check, how to refresh failing grout, and how to make the color feel deliberate without removing a single sound tile.
The goal is to preserve the tile itself. If the project expands to sanding, scraping, or removing painted trim, walls, or cabinetry, pause and address lead-safety requirements before disturbing those surfaces.
Decide whether the original tile is worth keeping
Pink was a fashionable midcentury color. First Lady Mamie Eisenhower’s well-known fondness for it helped create the “Mamie pink” association, while pink, seafoam mint, and dusty blue reflected the era’s optimistic approach to home design, according to Make Detroit Home, published five months ago.
Some 1950s bathrooms also used mud-set tile. Instead of being attached to drywall with a thin layer of adhesive, the tile was embedded in a thick bed of concrete and wire mesh. That heavy construction is one reason intact installations can remain remarkably durable decades later, the same source reports.
That does not mean every old bathroom should be preserved exactly as it stands. Cracked tile, movement, an uneven floor, or recurring water damage changes the project. But sound original tile has character that is difficult to reproduce with a quick trip to the home improvement store. Inspect it before assuming replacement is the only path.
Check the room before starting
Begin with the tile and the surface beneath it. Look for:
- Cracked, loose, or shifting tiles
- A floor that is visibly uneven
- Grout that is missing, powdery, or repeatedly failing
- Persistent dampness or staining
- Signs of an active leak or water intrusion
Cleaning and new grout cannot correct movement beneath the tile or a problem behind the tile. If the installation feels unstable or water damage keeps returning, stop the cosmetic work and arrange a professional assessment.
Next, look at the features that are not tile. Worn chrome, tired hardware, and the single flickering fluorescent vanity fixture common in many 1950s bathrooms can make the entire room feel dated. If the fixtures are still in good shape, clean them before replacing them. If their finish is failing, a hardware or lighting change may do more than a risky attempt to disguise the ceramic.
Check for lead before disturbing painted surfaces
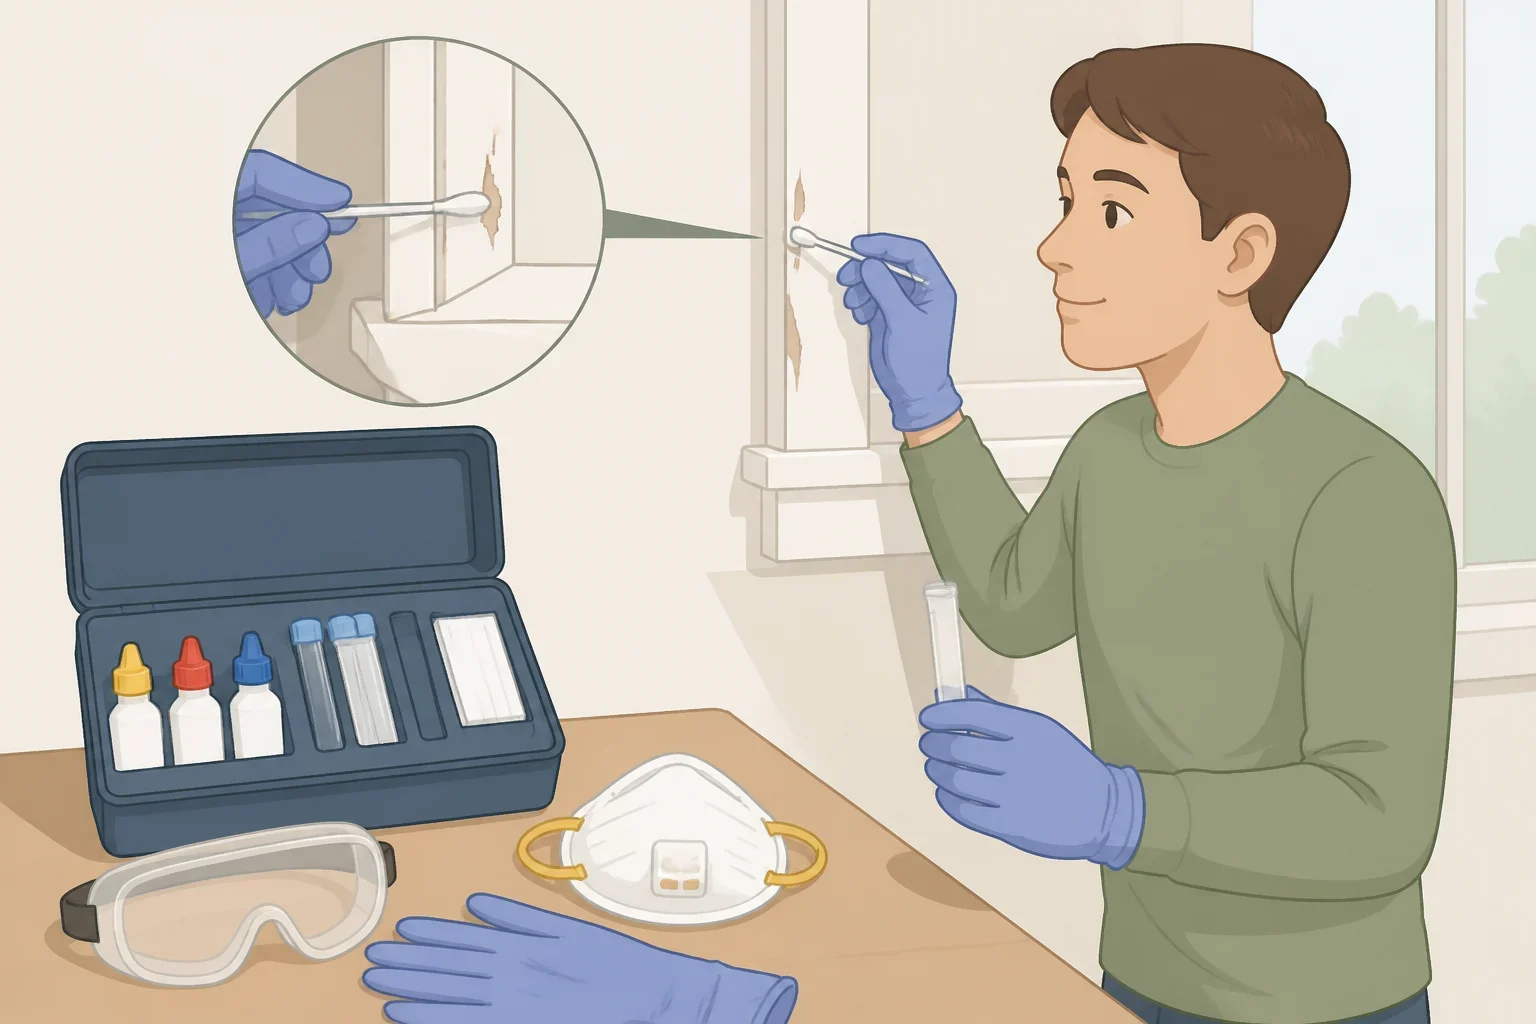
A 1950s home predates the federal residential lead-paint ban. Exposure to deteriorated or disturbed lead paint is the single largest cause of childhood lead poisoning, the EPA reported last year. The agency also estimates that 31 million pre-1978 homes still contain lead-based paint, according to information published two years ago by the EPA.
Cleaning tile without disturbing painted surfaces is a different project from sanding a painted cabinet or removing painted trim. Before cutting, scraping, sanding, or removing painted material, consider testing or consulting a lead professional, particularly if children live in the home.
For paid renovation, repair, or painting work that disturbs paint in a pre-1978 home, the EPA’s Renovation, Repair, and Painting Rule requires trained and certified workers and EPA-certified firms. Homeowners planning DIY work can review the agency’s lead-safe renovation resources, which were expanded two years ago.
Gather supplies and test a small area
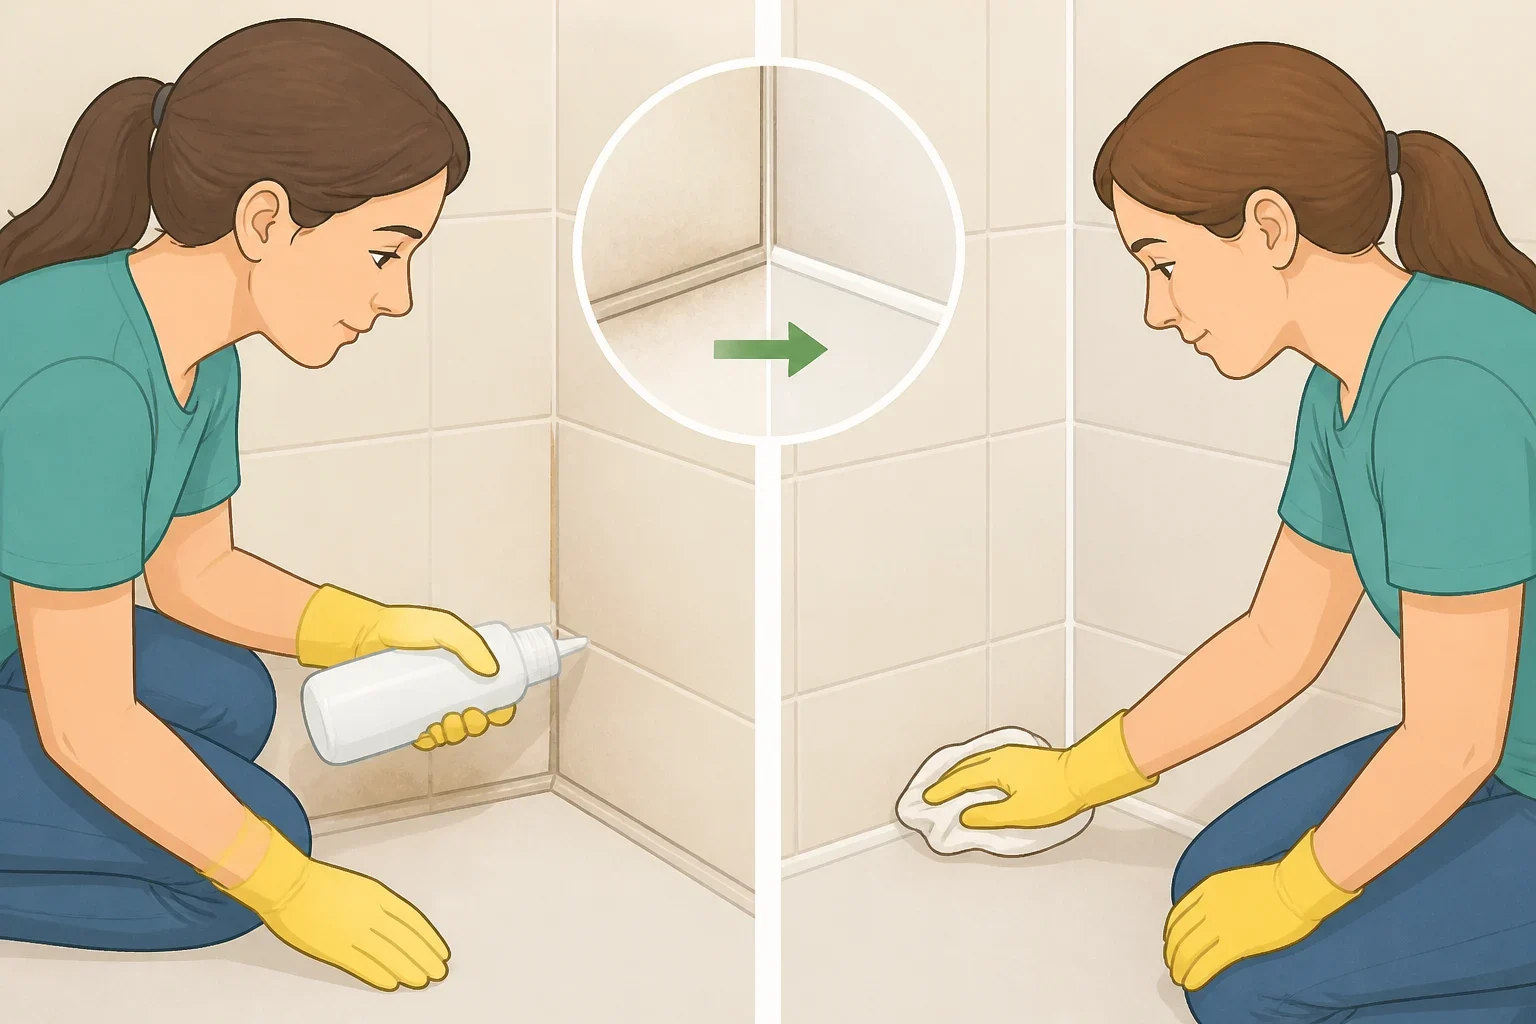
For a basic DIY vintage bathroom refresh, gather:
- Soft cleaning brushes
- Clean water
- Microfiber or other clean wiping cloths
- Painter’s tape and a drop cloth
- A cleaner labeled for the specific tile or grout
- A grout-removal tool, if needed
- Replacement grout suited to the location
- Grout sealer, if required by the product instructions
- Eye protection and gloves
Test the cleaning method in a hidden corner before working across the room. Vintage tile may be glazed, unglazed, textured, or paired with older metal fixtures. A cleaner that is acceptable for one surface may dull, scratch, discolor, or roughen another.
Paige NeJame, a painting professional quoted by The Spruce last year, recommended removing dirt and soap scum before tile work and mentioned a water-and-vinegar scrub or a deep cleaner. That advice appeared in a discussion about preparing tile for painting, so do not treat vinegar as suitable for every vintage finish. Follow the care instructions for the tile and grout when they are available.
Use one cleaning product at a time. Do not combine cleaners. Rinse as directed on the label, keep the room ventilated, protect metal fixtures, and work in manageable sections so the solution does not dry on the surface.
Let the test area dry fully. That gives a more accurate picture of whether the grout is merely dirty or actually failing.
Decide whether to clean, touch up, or regrout
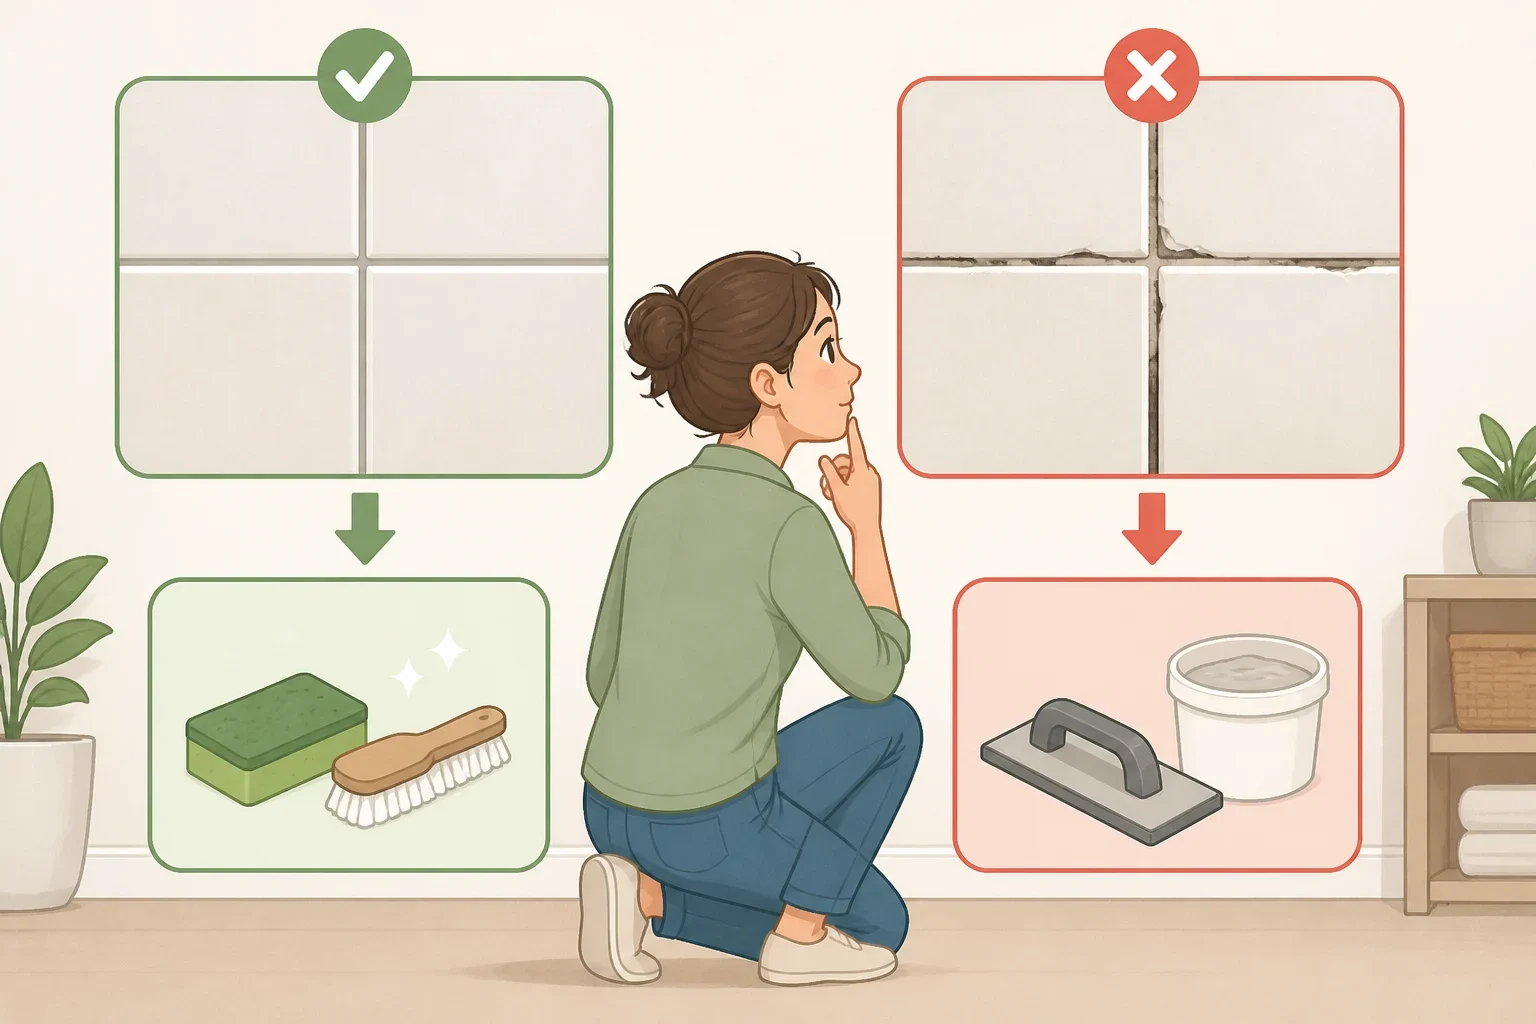
After the test area has dried, compare it with the untouched grout.
- Clean sound grout. If the lines are discolored but solid, with no gaps or crumbling, cleaning may be enough. This is the least invasive place to begin.
- Touch up small defects. If the grout is mostly sound but has a few small gaps or damaged spots, use a compatible repair product according to its instructions. Do not cover loose material with new product.
- Remove failing grout. If the grout is cracked, powdery, missing in several places, or pulling away from the tile, remove and replace it. Work slowly. If a tile begins to move, the joint exposes a soft substrate, or the damage extends farther than expected, stop and reassess.
- Match the grout to the location. Wall, floor, backsplash, and shower applications may call for different products. Check the manufacturer’s instructions for joint preparation, drying, curing, and sealer requirements.
A shower needs extra patience because it receives regular water and steam. Keep it out of service for the cure time stated on the grout or sealer package. New grout cannot compensate for leaking plumbing or failed waterproofing behind the tile.
Regrout and seal the tile
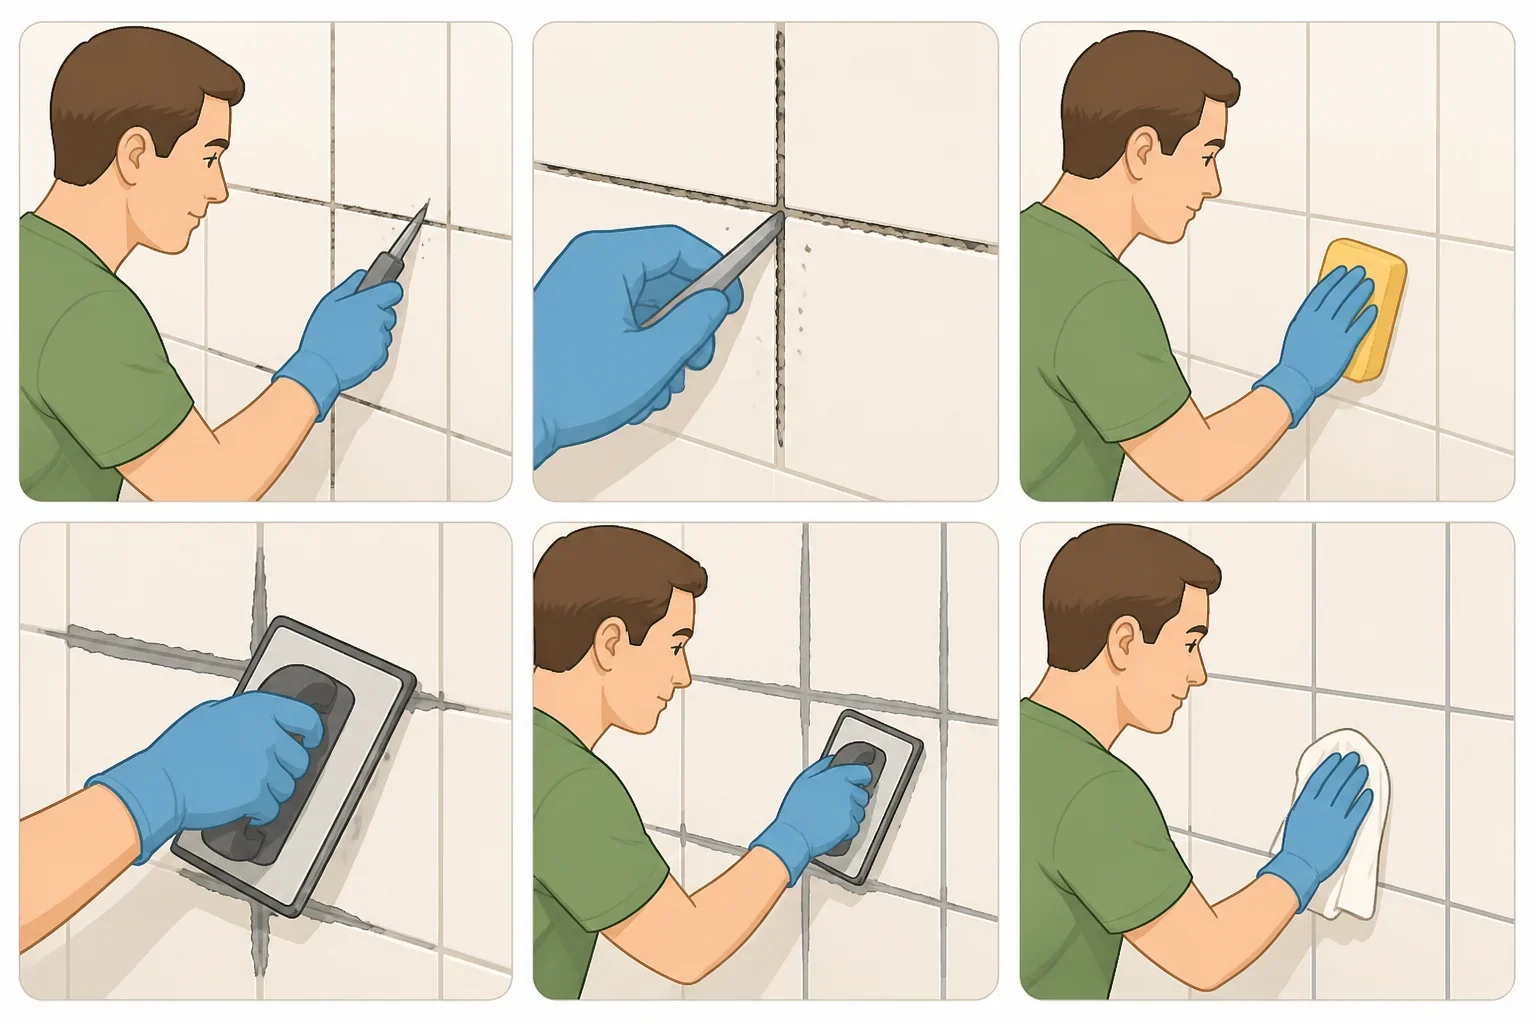
Use the product instructions as the authority, then follow this general sequence:
- Clean the surface. Remove dirt and soap residue, wipe away the cleaner, and let the tile and joints dry completely.
- Remove only failing grout. Use a grout-removal tool where needed instead of automatically stripping every joint. Take care around corners and older tile edges.
- Clear the joints. Remove loose debris without forcing it deeper into the joint. The opening must meet the replacement product’s preparation requirements.
- Apply the replacement grout. Work in small sections and use a product intended for that wall, floor, backsplash, or shower location.
- Wipe away excess. Remove residue before it hardens, using the amount of water and cleanup method specified by the product.
- Allow the grout to cure. Keep the area dry and out of use for the time stated on the package.
- Seal when directed. Some grout products require sealer, while others have different care instructions. Apply it according to the label, including drying and reapplication directions.
Fresh white grout creates a crisp contrast with pink tile and can make the installation look newly cared for, according to Make Detroit Home. A softer or darker grout may be a better visual choice if the joints are uneven or bright white competes with the room’s fixtures.
Painting tile is not the simple shortcut it seems. Humidity can cause painted tile to peel or bubble, and the finish may fade over time, NeJame told The Spruce last year. Her advice was to regrout and seal the tile instead.
If painting remains under consideration, understand the preparation involved. The Spruce’s guidance includes deep cleaning, light sanding, bonding primer, tile-specific or epoxy paint, multiple thin coats, and a protective topcoat. A full-use shower also needs to remain out of service while the finish dries and cures. For most sound vintage tile, grout work is the more practical starting point.
Update a vintage pink bathroom without replacing tile
Once the grout is clean, repaired, and cured, change the surrounding finishes one at a time.
- Replace failing hardware. Measure the existing faucet, handles, towel bars, hooks, and mounting points before shopping. Check connection sizes and installation requirements instead of assuming a new piece will fit. If the chrome is in good shape, clean it and keep it. If the finish is failing, repeat one replacement finish throughout the room.
- Improve the lighting. Replacing the single fluorescent vanity fixture can change how the pink tile reads. Measure the fixture and photograph the existing setup before buying. Turn off power at the appropriate disconnect, and hire a qualified electrician if the work involves wiring changes beyond a straightforward replacement.
- Choose a wall color that supports the tile. Charcoal gray, deep navy, floral wallpaper, and pastel colors can complement a pink-tiled room. Test a small paint sample first. The same pink may look warmer, cooler, brighter, or muddy depending on the surrounding color and available light.
- Use wallpaper thoughtfully. Keep it in a well-ventilated, relatively dry area unless the product is specifically suited to the room’s moisture exposure. A wall beside the shower receives different treatment from a dry wall across the room.
- Make one change, then wait. Make Detroit Home recommends living with the cleaned and refreshed bathroom for a few months before adding more changes. That pause can show whether the real problem was dirty grout, poor lighting, worn hardware, or a combination of the three.
Know when to stop
Use this simple decision framework:
- Sound tile and sound substrate: Clean the tile, repair or replace failing grout, and seal according to the product instructions.
- Movement, persistent dampness, soft substrate, or active leaks: Stop cosmetic work and arrange a professional assessment.
- Painted surfaces that require sanding, scraping, cutting, or removal: Follow lead-safe practices and check whether a certified contractor is needed.
- Sound tile with a dated appearance: Try lighting, hardware, or wall color before painting the ceramic.
Start with one hidden cleaning test. If the tile and foundation are sound, a grout refresh is the clearest next step for a 1950s pink bathroom makeover. If the room shows water damage or movement, pause before decorating and address the problem behind the tile first.
