
- Make a Small Studio Feel Bigger With 10-Foot Ceilings
- 1. Measure and inspect before you decorate
- 2. Protect the main route through the studio
- 3. Place the bed deliberately
- 4. Create zones without blocking light
- 5. Use the ceiling selectively for storage
- 6. Adjust curtains and lighting without overbuilding
- 7. Test reversible changes before spending money
Make a Small Studio Feel Bigger With 10-Foot Ceilings
If you are wondering how to make a small studio apartment feel bigger, start with the walking path, not the decor. In a 176-square-foot studio, the floor plan cannot expand, but the room can feel less crowded when the route from the entry to the window, kitchen, bathroom, and exit stays open.
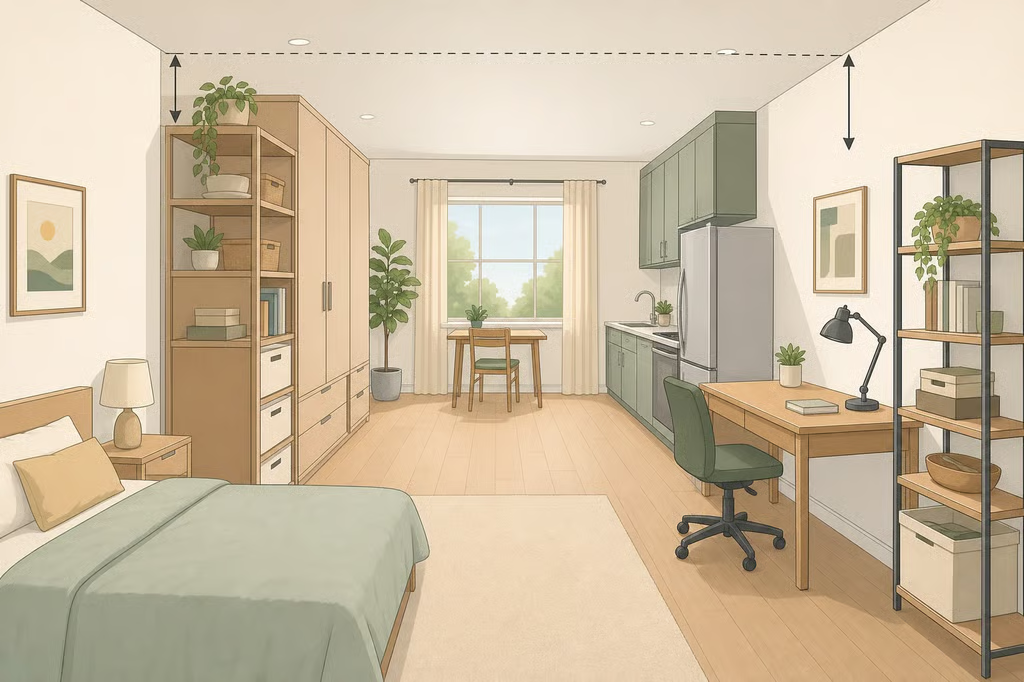
A 10-foot ceiling may give you useful vertical capacity and visual breathing room, but height alone does not make a studio feel spacious. The best small studio apartment design ideas pair that height with furniture that fits the footprint, clear sightlines, and storage that does not turn every wall into a crowded display.
The research on perceived spaciousness offers context, not a decorating prescription. The study evaluated 16 photorealistic interior settings with 35 college students using screen-based and immersive evaluations. Each setting had a 15-by-15-foot footprint, which equals 225 square feet by calculation, so the rooms were not the same size as a 176-square-foot studio. The first three sets had consistent 9-foot ceilings, while the set with changing ceiling geometry reached 12 feet at its highest point. Participants rated perceived spaciousness on a single 7-point scale. One participant used AR glasses instead of the VR headset.
That research does not establish a magic ceiling height for real apartments. It does support treating ceiling geometry as one factor among several. Use the height you have carefully, then let the layout do most of the work.
1. Measure and inspect before you decorate
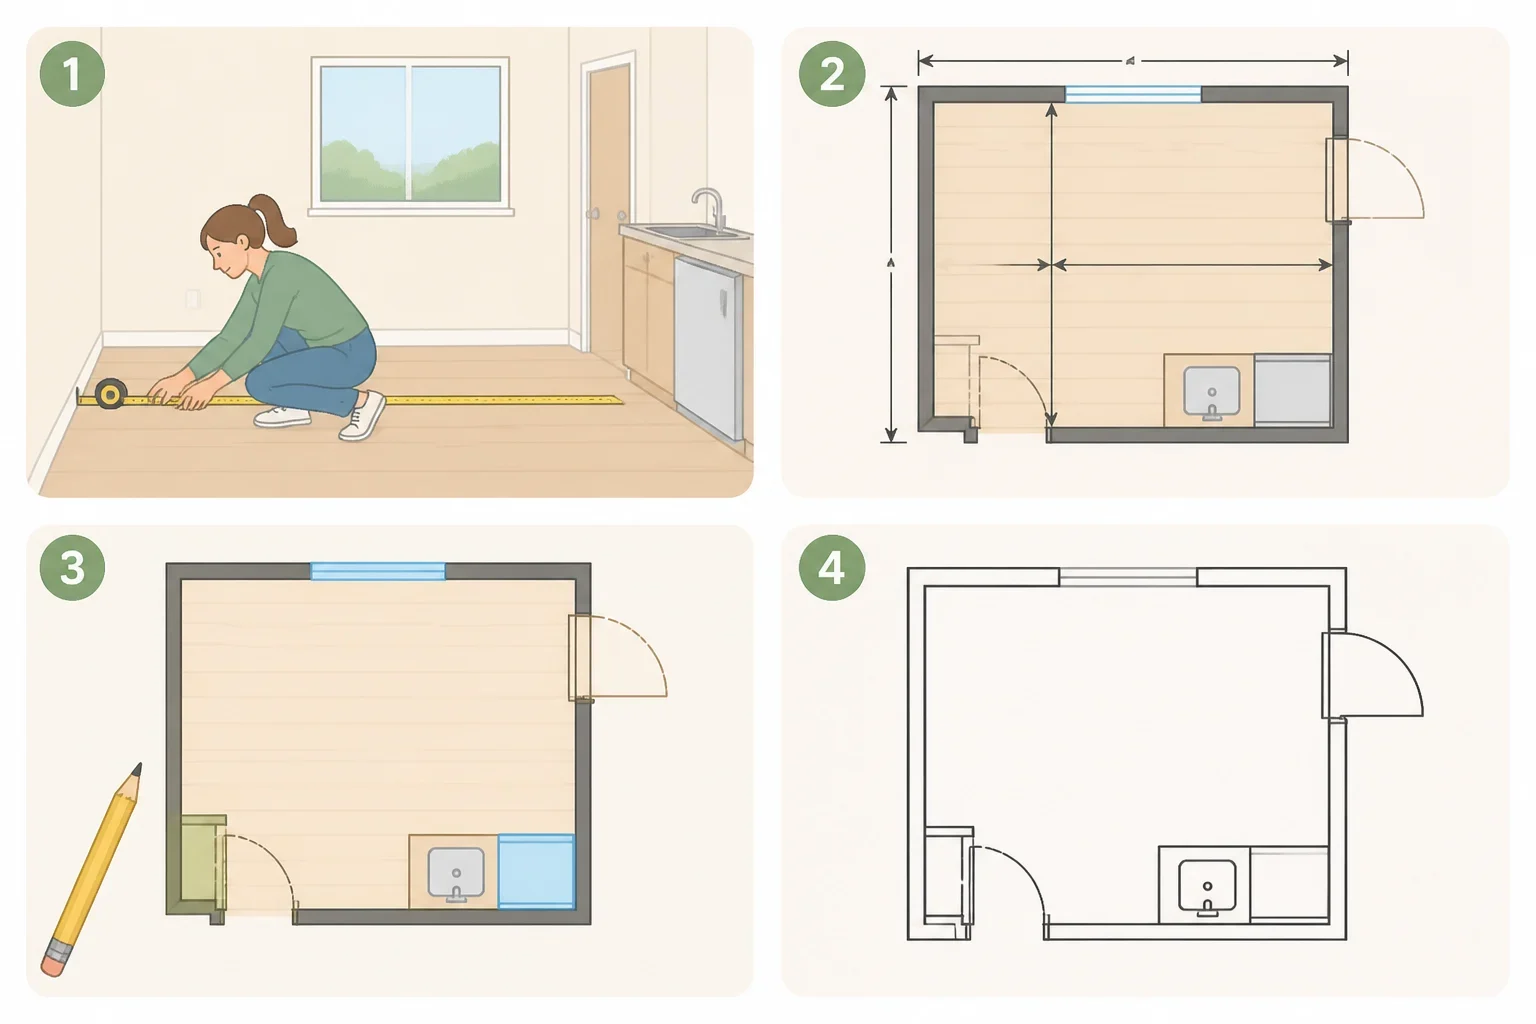
Begin with the room as it actually exists, not the version shown in a furniture listing. Measure the usable floor area, ceiling height, window locations, door swings, radiator position, and the distance between fixed features. Sketch the footprint on graph paper or use painter’s tape on the floor to mark the major pieces you already own.
Stand in the entry and look toward the window. What catches your eye first? A tall dresser, a stack of boxes, the side of a sofa, or a low horizontal shelf may be creating the sense of crowding. The study tracked gaze across several areas of interior settings, including the floor, walls, ceiling, and furniture. At home, borrow the basic observation without treating it as a scientific test: identify the first obstruction, then decide whether it can move.
Check these fixed conditions before buying anything:
- Can the entry door open fully without hitting furniture?
- Can you reach kitchen cabinets, appliances, and handles without turning sideways?
- Does the bathroom door have a clear approach and opening path?
- Are windows, heating equipment, vents, sprinklers, and smoke detectors unobstructed?
- Can you reach the window and keep any required exit usable?
- Will a bed, shelf, or curtain interfere with natural light?
- Do lease, building, or HOA rules, where applicable, limit paint, wall anchors, or built-ins?
This inspection prevents a common small-space mistake: solving storage while quietly making the room harder to use. A tall cabinet that blocks a window or narrows the kitchen approach is not efficient storage.
2. Protect the main route through the studio
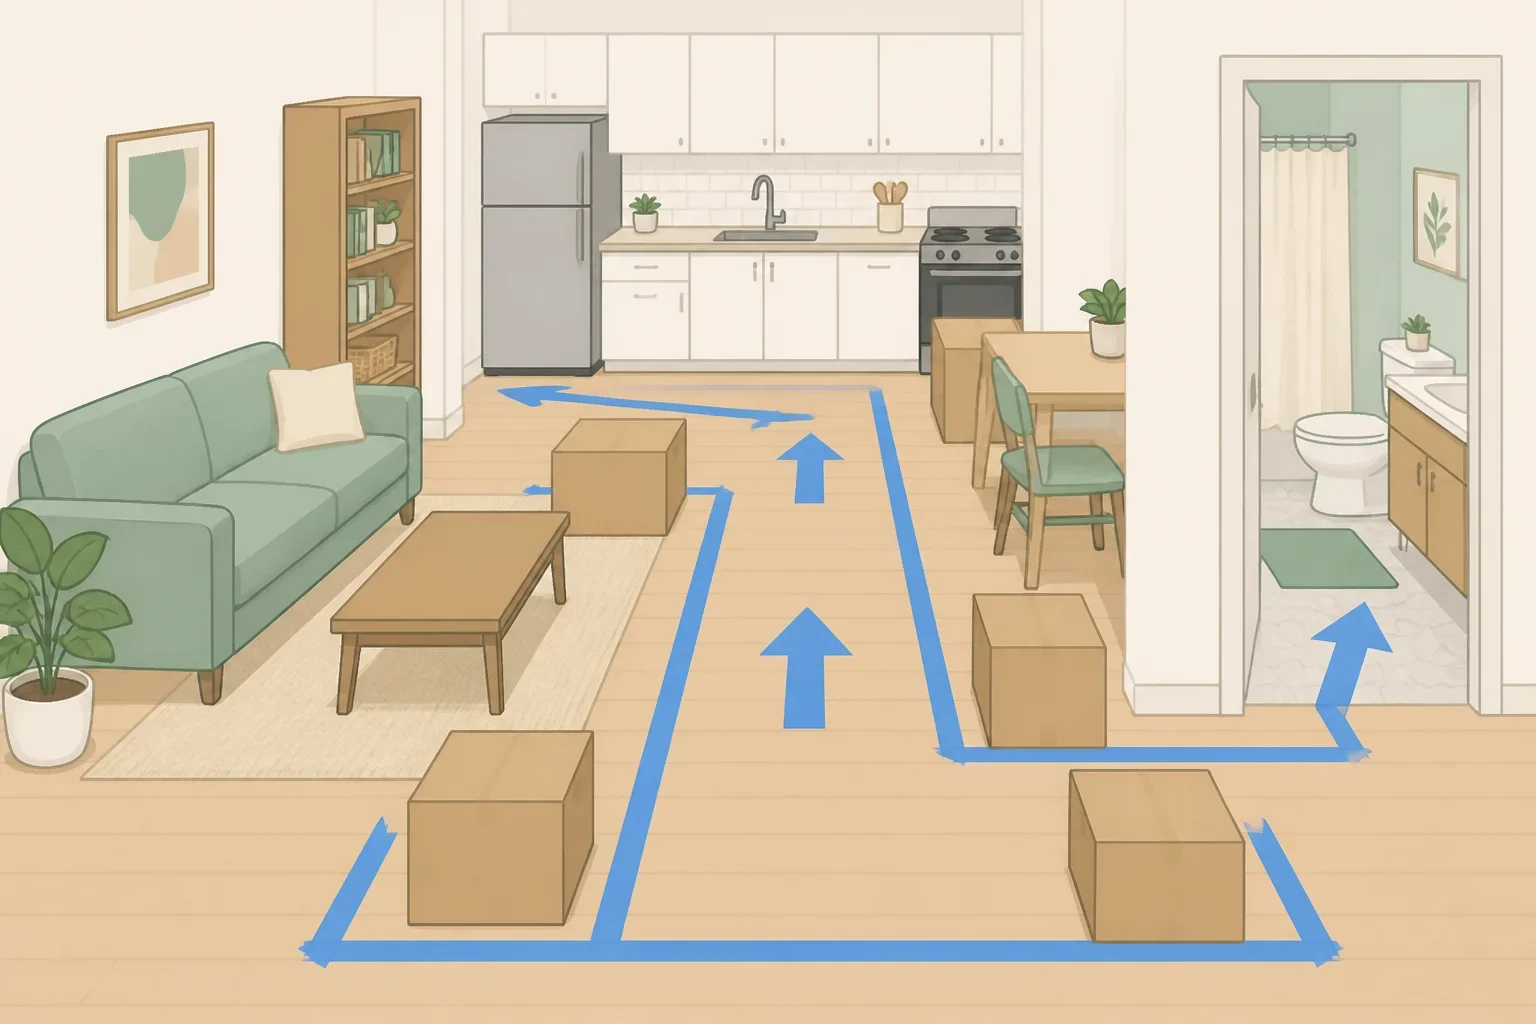
Before placing the bed or sofa, identify the route you use most often. It may run from the entry to the bathroom, from the bed to the kitchen, or from the door to the window. Mark it with painter’s tape and temporarily place boxes or empty bags where furniture would go.
Walk the route with a laundry basket, a coat, or a grocery bag. Open the entry and bathroom doors. Reach toward the kitchen fixtures. If you have to step around the proposed furniture, the arrangement is already asking too much of the room.
A clear path does not mean every inch of floor must remain empty. It means the room has an obvious way through it. Keep bulky pieces along the perimeter when possible, and avoid placing a deep item directly in the line between the entry and the brightest part of the room.
Test two orientations before committing:
- Place the bed lengthwise along the longest uninterrupted wall and keep the approach to the bathroom and kitchen open.
- Turn the bed so its side faces the window, but leave enough clearance to reach the window and preserve the main route.
The better option is the one that makes daily movement feel automatic. Do not choose a layout only because it looks balanced from one angle. A studio is experienced while carrying laundry, cooking, getting dressed, and opening doors.
3. Place the bed deliberately
The bed usually has the largest visual and physical footprint, so it should be placed before smaller furniture. Avoid putting it directly in front of the main window if that blocks daylight, ventilation, or access. Also avoid positioning it where getting in and out requires crossing the primary walking route.
If the bed must sit near the living or entry area, create separation without building a wall. A low bookcase, open shelving, a narrow console, or a curtain can signal that the sleeping area is distinct while allowing light to travel through the space.
Each option has a trade-off:
- Low open shelving: separates the bed from the entry while keeping sightlines open. Keep the shelves edited so they do not become a wall of clutter.
- A narrow console: provides a surface for a lamp or daily items without adding much visual height. Measure its depth carefully before buying.
- A curtain: offers privacy when needed and can disappear when the room needs more openness. A heavy or opaque curtain may make the studio feel divided when it stays closed.
- No divider: works when the bed is tucked against a quiet wall and the bedding is visually calm. This leaves the most light moving through the room but offers the least separation.
A divider should support the ceiling, not compete with it. If it rises almost to the ceiling and stretches across the room, it may create a strong horizontal or vertical interruption. Start lower and lighter, then add privacy only where the room requires it.
4. Create zones without blocking light
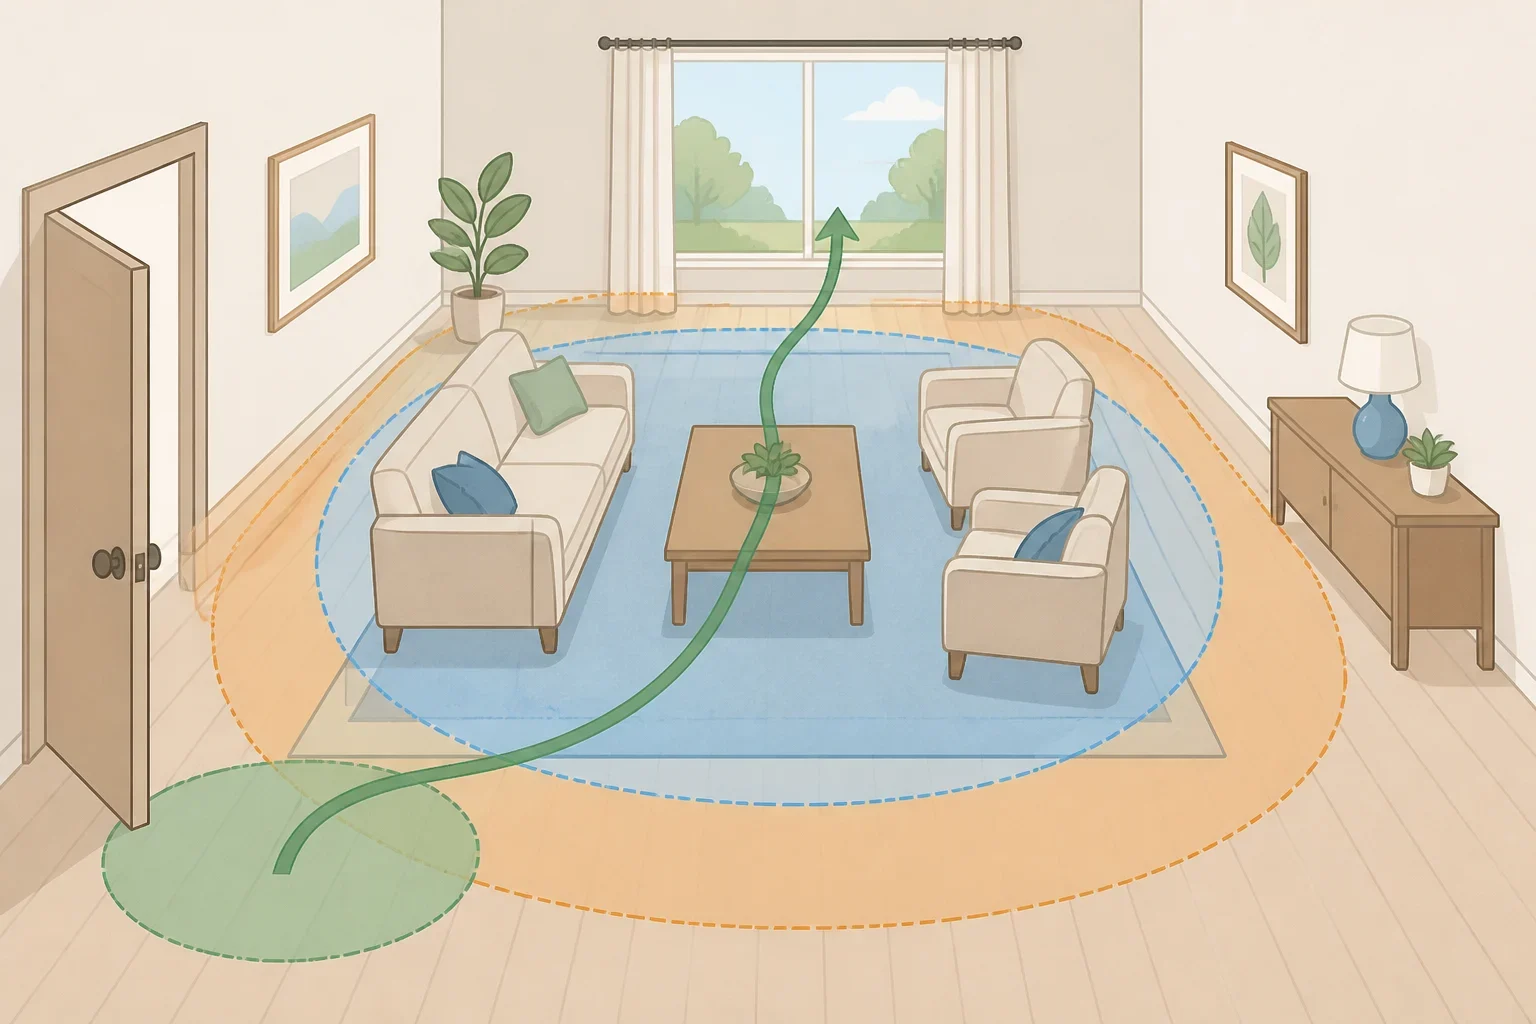
A studio still needs places to sleep, cook, work, dress, and relax. Those functions do not require separate rooms. Define them with the arrangement of furniture and a rug rather than with full-height partitions.
A rug can mark the sitting or sleeping area, while a small table can signal a work zone. A sofa or chair can face away from the bed to create a visual change in function. Keep the furniture aligned with the circulation route instead of placing pieces at random angles that create awkward corners.
Think in terms of sightlines. From the entry, try to see through to a window or a lighter wall rather than into the tallest, darkest piece of furniture. This is one way to make a studio apartment look spacious without removing useful belongings.
Use color with the same goal. A light, continuous wall treatment can keep the room from feeling visually chopped up, but it is not a requirement. If painting is allowed, check the lease first. If it is not, use bedding, curtains, and a rug in related tones to create continuity without making a permanent change.
The room does not need to be colorless. One framed print, a darker chair, or a concentrated accent can add personality. The practical test is whether the eye can rest somewhere instead of stopping at a different high-contrast object in every zone.
5. Use the ceiling selectively for storage
A small apartment with high ceilings can accommodate tall, narrow storage, but the upper wall is not a blank permission slip to fill every available inch. Measure from the floor to the ceiling, then subtract the clearance needed for installation and safe access. Check the wall structure and locate studs before choosing a shelf or cabinet.
Use upper shelves for seasonal or occasional items rather than things needed every morning. If reaching them requires a step stool, leave a safe place to use and store it. Daily storage should stay within comfortable reach. Otherwise, the room may look organized while the routine becomes frustrating.
Before installing anything tall, verify:
- the manufacturer’s weight limits and installation directions
- whether the unit must be anchored to studs or another structural point
- whether the landlord or building requires written approval
- whether shelves clear vents, sprinklers, and smoke detectors
- whether windows and exits remain usable
- whether the installation needs additional earthquake safety in the area
A tall, narrow unit is not automatically better than a lower, wider one. Compare the storage gained with the visual weight added. Open shelving can preserve sightlines, but exposed items need regular editing. A closed cabinet hides clutter, though a deep or dark cabinet may make the wall feel heavier.
Ceiling-mounted storage, a sleeping loft, and a built-in platform require extra caution. Do not assume a ceiling or wall can carry a new load. Confirm the structure, manufacturer requirements, landlord approval, and applicable local requirements before treating any of these as a weekend decorating project.
6. Adjust curtains and lighting without overbuilding
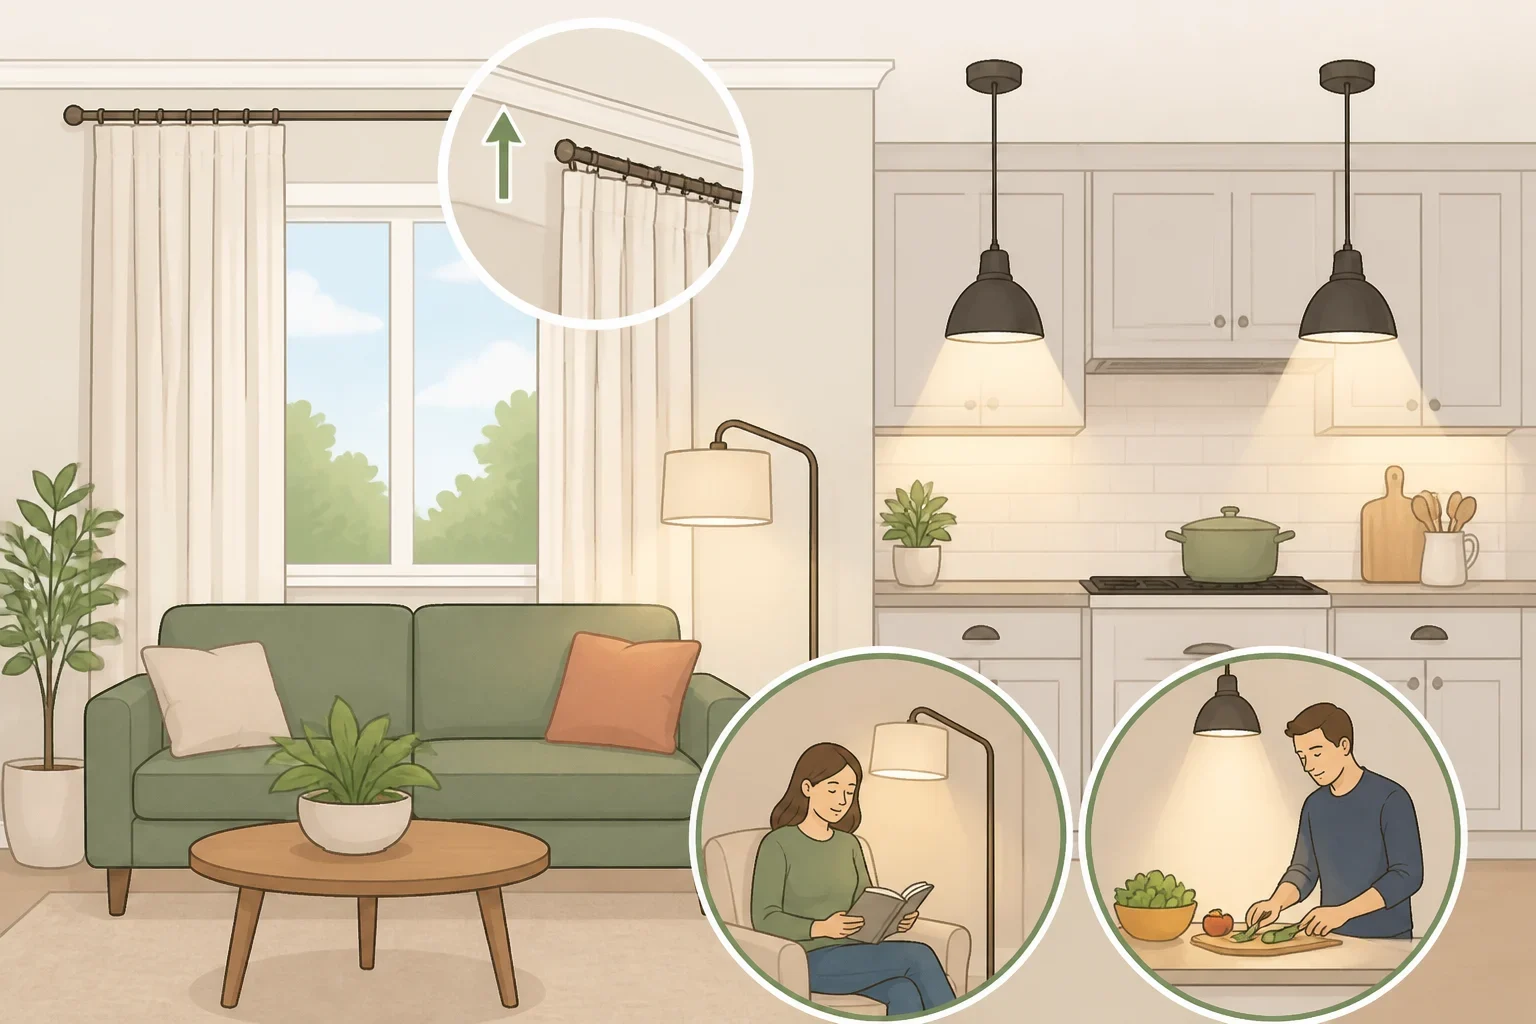
Curtains hung close to the ceiling line can draw the eye upward and make better use of a tall wall. That approach works best when the hardware can be installed safely and the fabric does not interfere with a radiator, low window, door, or required exit. A tension rod may be more renter-friendly than a wall-anchored rod, but it has different stability and weight limits, so follow the product instructions.
Keep the curtain arrangement simple. One full panel on each side of the window may frame the light without creating a dense block of fabric. If the window is narrow or positioned close to a corner, test the panels with temporary hooks before drilling.
Lighting can also help the ceiling feel intentional. Use the existing fixture as a starting point, then place task lighting where it serves cooking, reading, or dressing. Avoid adding fixtures that hang so low they interfere with movement or make the ceiling feel visually divided.
The goal is not to decorate upward at every opportunity. A single tall shelf, a high curtain line, or a vertical piece of art may be enough. Repeating the same move across every wall can make the room feel busy rather than open.
7. Test reversible changes before spending money
Start with the changes that can be undone in an afternoon:
- move the largest piece of furniture
- tape out the proposed walking path
- remove one crowded surface
- raise or simplify the curtain arrangement
- replace a bulky divider with an open one
- move occasional items to higher storage
- live with the new bed orientation before buying a screen or shelf
Use the room at different points in the day. Cook, open the bathroom door, carry laundry, sit on the bed, and reach the window. A layout that looks spacious in a photo may feel inconvenient during ordinary routines.
If the arrangement works, measure again before purchasing anything. Confirm the furniture’s width, depth, door clearance, and delivery path. For a renter, this pause also separates a reversible experiment from a change that needs approval. Furniture rearranging, rugs, and some curtain solutions may be easy to undo, while paint, wall-mounted rods, shelving, built-ins, platforms, and lofts can affect the lease or the building.
The most reliable sequence is simple: measure the studio, tape out the route, move the bed or largest piece, and live with the arrangement for a few days. Only then decide whether the room still needs storage or a permanent installation.
A 10-foot ceiling can give a 176-square-foot studio more vertical possibility, but it cannot compensate for a blocked window, an awkward door swing, or furniture that interrupts the route through the room. Start at floor level, protect access to the spaces you use, and add height in small, deliberate doses.
