
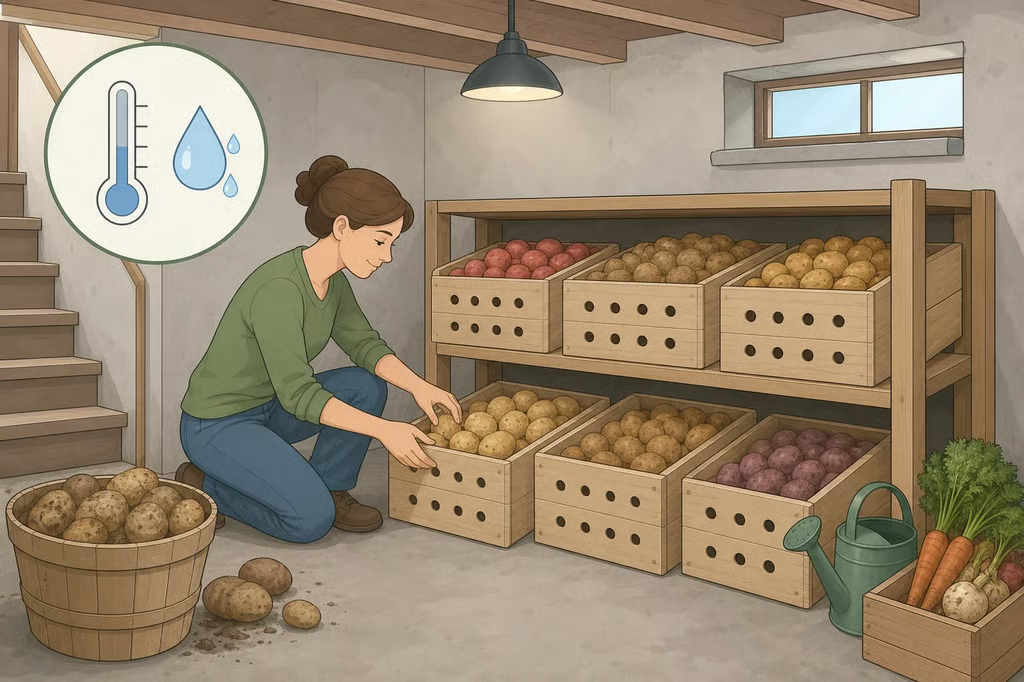
How to Store Potatoes Long Term: Freshness Guide
The best way to store potatoes long term is to match the method to the potato. Homegrown and farmers’-market potatoes should be checked for maturity, handled gently, cured, and then moved into cool storage. Purchased potatoes do not need those harvest steps, so sort them and focus on the storage conditions instead.
For either type, aim for darkness, airflow, high humidity, and a temperature as close as possible to 41–46°F. Under proper conditions, mature, late-season potatoes can remain in good condition for seven to eight months, though that is a benchmark, not a promise for every variety or home. Above 46°F, storage life can fall to two or three months, with more risk of sprouting and shriveling, according to Oregon State University Extension.
1. Decide whether the potatoes need curing
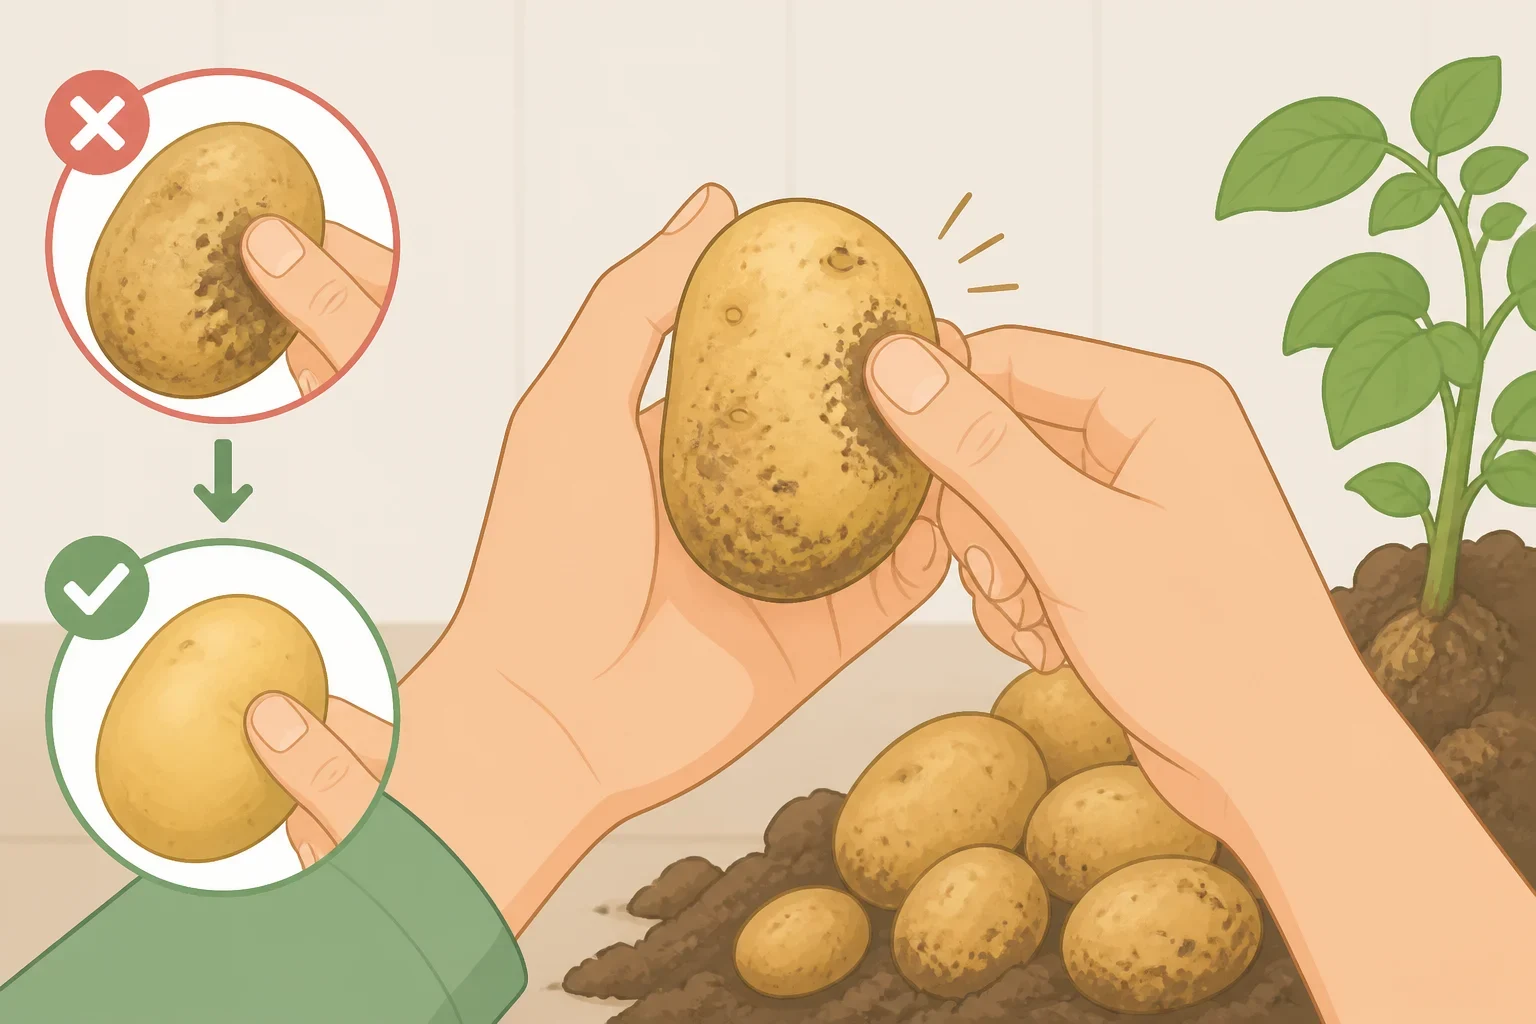
Start by separating newly harvested potatoes from purchased ones.
For homegrown potatoes, wait until the vines have died back completely. Test a tuber before digging the entire crop: rub the skin with your fingers. If it comes off easily, wait another week before harvesting, Oregon State University Extension advises.
Curing gives freshly harvested potatoes time to dry and develop a tougher skin before they face long-term storage. It also helps extend their storage life. The timing varies by guidance:
- Cure them in a dark, well-ventilated place with moderate temperatures and high humidity for seven to 10 days, as recommended by Oregon State University Extension.
- For a longer curing period, use two to three weeks at 50–55°F with good airflow, following University of Minnesota Extension.
Treat those as workable ranges rather than a countdown that has to be exact. Keep the potatoes in a single or shallow layer when possible, and handle them carefully so the skins are not cut or bruised.
Avoid washing storage potatoes if you can. Brush away loose soil instead. Illinois Extension specifically advises not washing potatoes intended for storage. If washing is necessary, let the potatoes dry completely before curing or storing them, as Oregon State University Extension also recommends.
Keep light exposure brief during sorting and cleaning. Place the potatoes in a dark, airy spot while they cure, not on a sunny porch or kitchen counter.
Purchased potatoes can move directly to sorting and storage. Do not add a curing step simply because the potatoes are going into a bin for several months.
2. Build a storage spot around the thermometer
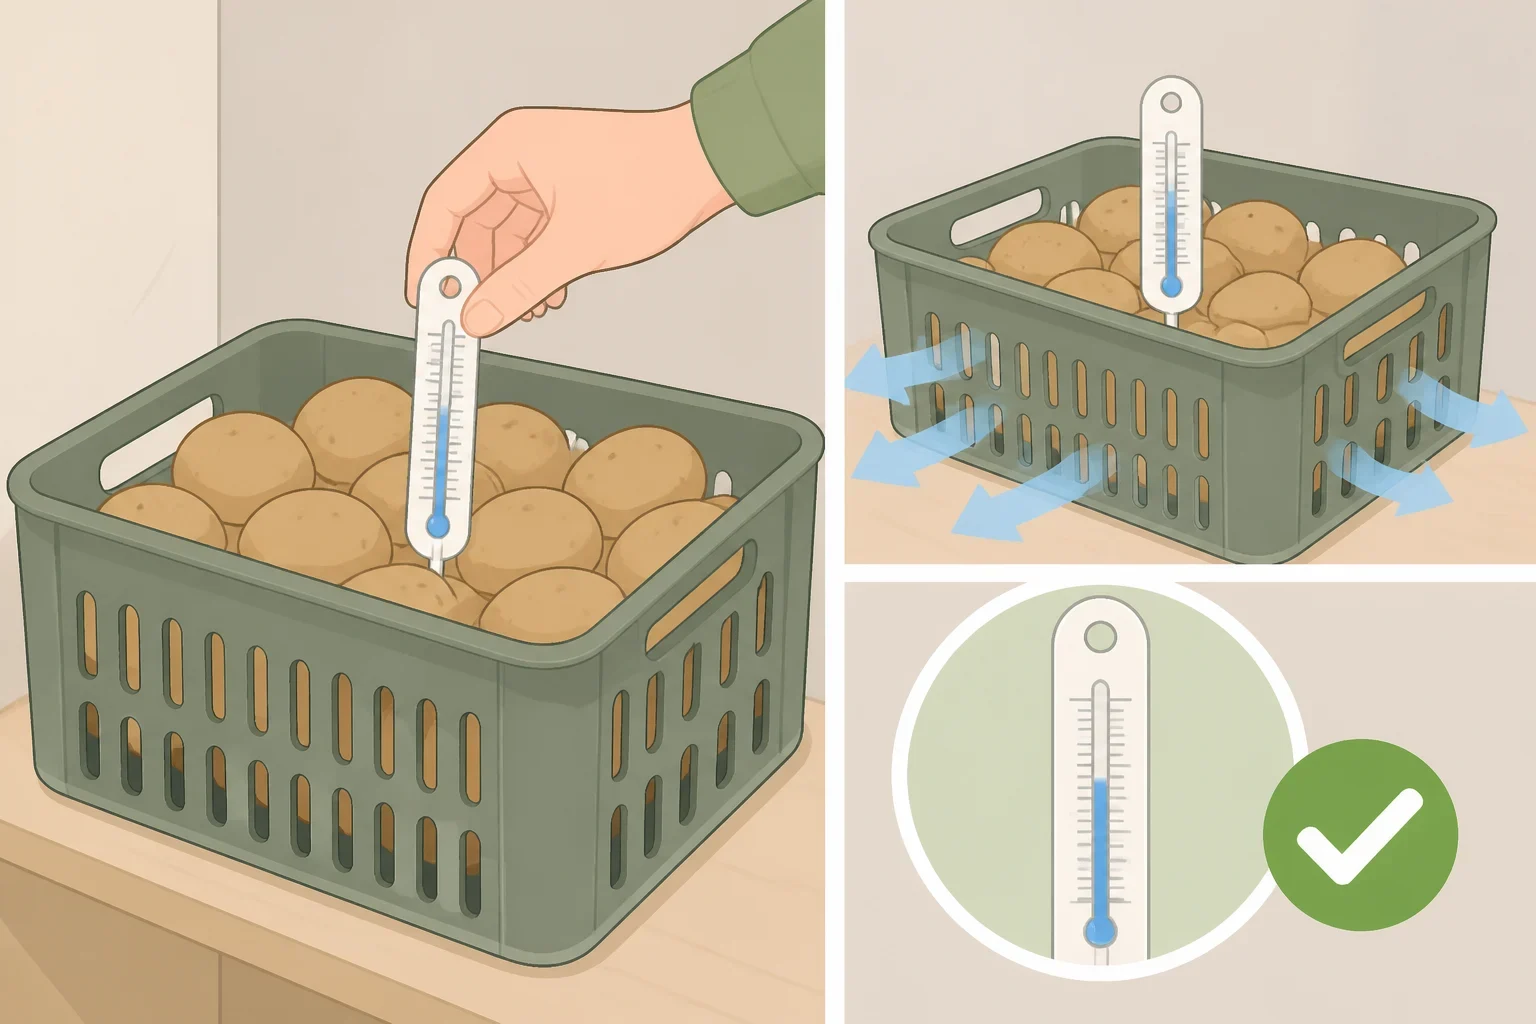
The ideal potato storage temperature is 41–46°F, with relative humidity above 90%. This combination is associated with preventing sprouting and keeping glycoalkaloid levels from increasing during a six-month storage period, according to Oregon State University Extension.
Most homes will not maintain a perfect root-cellar environment, so start with the temperature you can actually measure.
- Choose a location. A cool basement is a strong option. An insulated garage or refrigerator set to the correct range may also work, but only if a thermometer confirms the temperature. A refrigerator drawer should not be assumed to be within range just because it is a drawer.
- Check for temperature swings. Place a thermometer where the potatoes will sit and check it at different times of day. If a garage drops toward freezing, gets hot, or fluctuates sharply, it is not a dependable storage location for the batch.
- Use a ventilated container. Choose a shallow crate with slots or another well-ventilated container. A perforated plastic bag is another option. These setups help maintain humidity while allowing air to move, which is important for long-term storage.
- Keep the container protected from light. Use an opaque container, cover a ventilated crate loosely, or place it in a dark area. Do not cover the potatoes so tightly that air cannot circulate.
- Keep the potatoes off the floor. Set the crate or bag on a shelf, rack, or other raised surface. Leave enough room to inspect the container without having to empty the whole batch.
- Lower the temperature gradually after curing. Freshly cured potatoes should not be moved abruptly into the coldest spot available. Gradually lower the storage temperature to 40–46°F for table use, following Oregon State University Extension’s guidance.
Humidity matters because potatoes are about 80% water. High humidity helps prevent shriveling, while a dry storage area may leave them lighter, wrinkled, or less firm. If that happens, the location may be too dry. Moving the potatoes to a more humid spot or using a perforated bag may help, but check the batch for rot before changing containers.
Do not store potatoes below 38°F. Low temperatures can cause sugar buildup, leaving potatoes sweeter and causing them to produce darker, oilier fried products. University of Minnesota Extension recommends an even more conservative minimum of 40°F, so a refrigerator that runs colder than that is not a good fit for long-term potato storage.
If no place in the home stays close to the target range, buy smaller quantities and use them sooner. A smaller, regularly replenished supply is more practical than trying to hold a large batch in a warm pantry.
3. Follow these rules for how to store potatoes to prevent sprouting
Temperature is only part of the job. Light, neighboring produce, and damaged potatoes can all shorten storage life.
Keep potatoes in the dark
Light can cause greening. The green color comes from chlorophyll, which is harmless by itself, but it can signal the presence of solanine, a toxic compound. Oregon State University Extension recommends discarding potatoes with excessive greening.
A dark basement shelf is useful, but a ventilated crate in a light-filled laundry room is not enough unless the potatoes are protected from direct and ambient light. Check the container after a few days. If light reaches the tubers, change the setup rather than waiting for green patches to appear.
Separate potatoes from onions
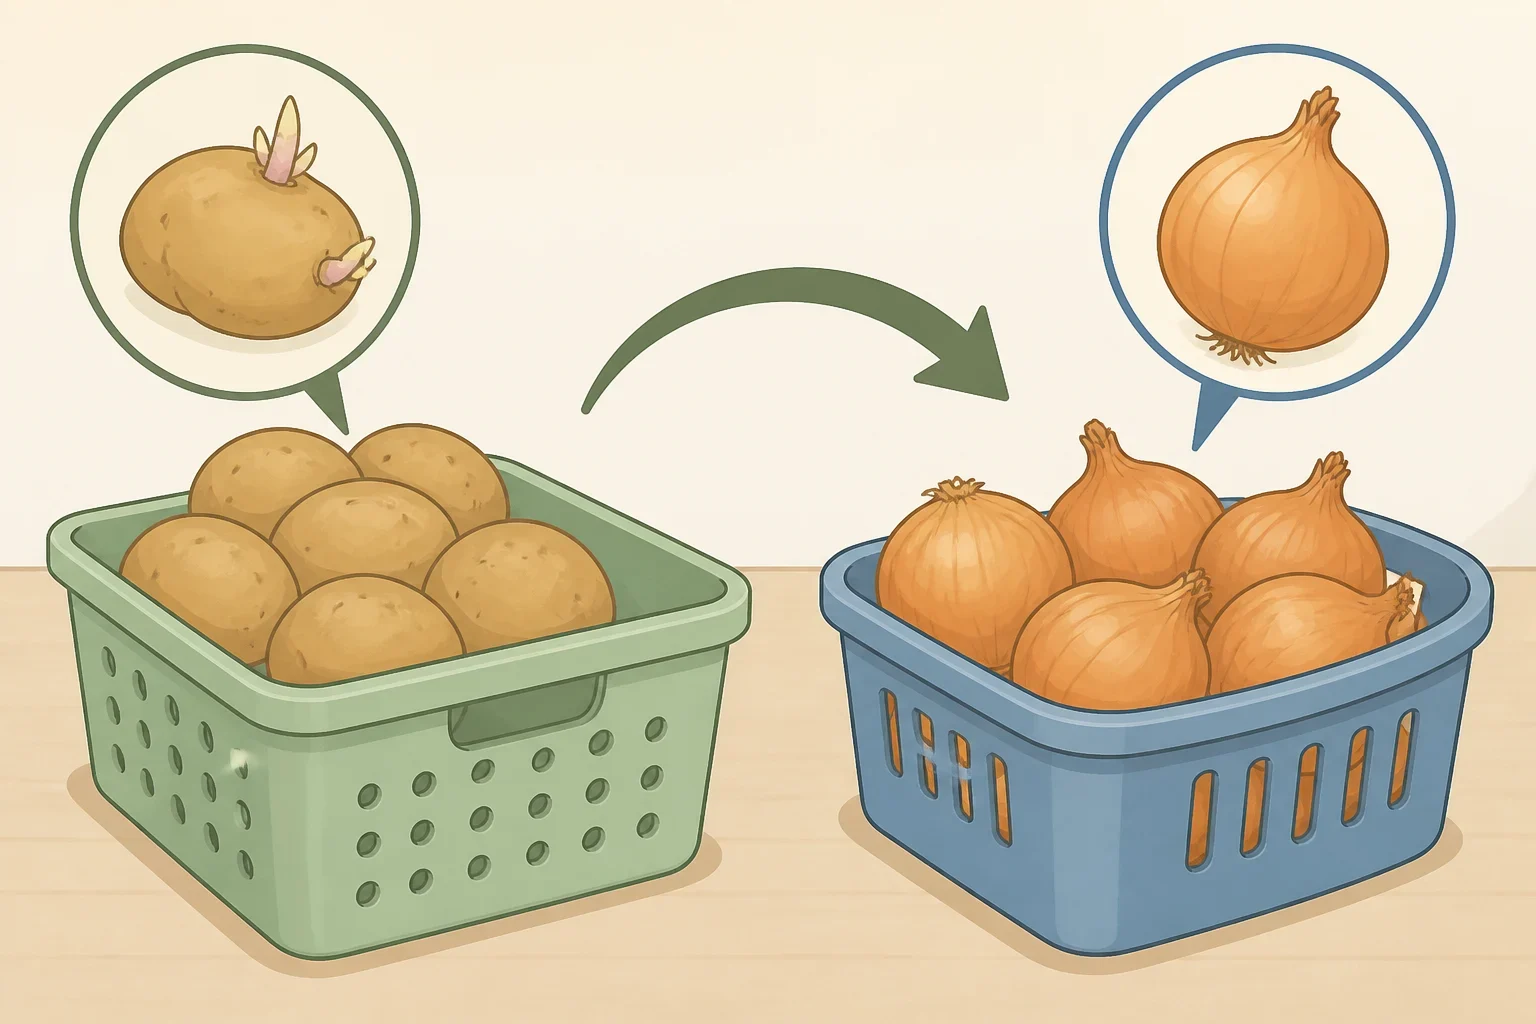
Store onions somewhere else. Ethylene gas released by onions can encourage potatoes to sprout, according to Illinois Extension.
That means separate bins, not just two piles in the same pantry. Keep both vegetables away from direct sunlight, but give each its own storage space.
Sort before storing and inspect every one to two weeks
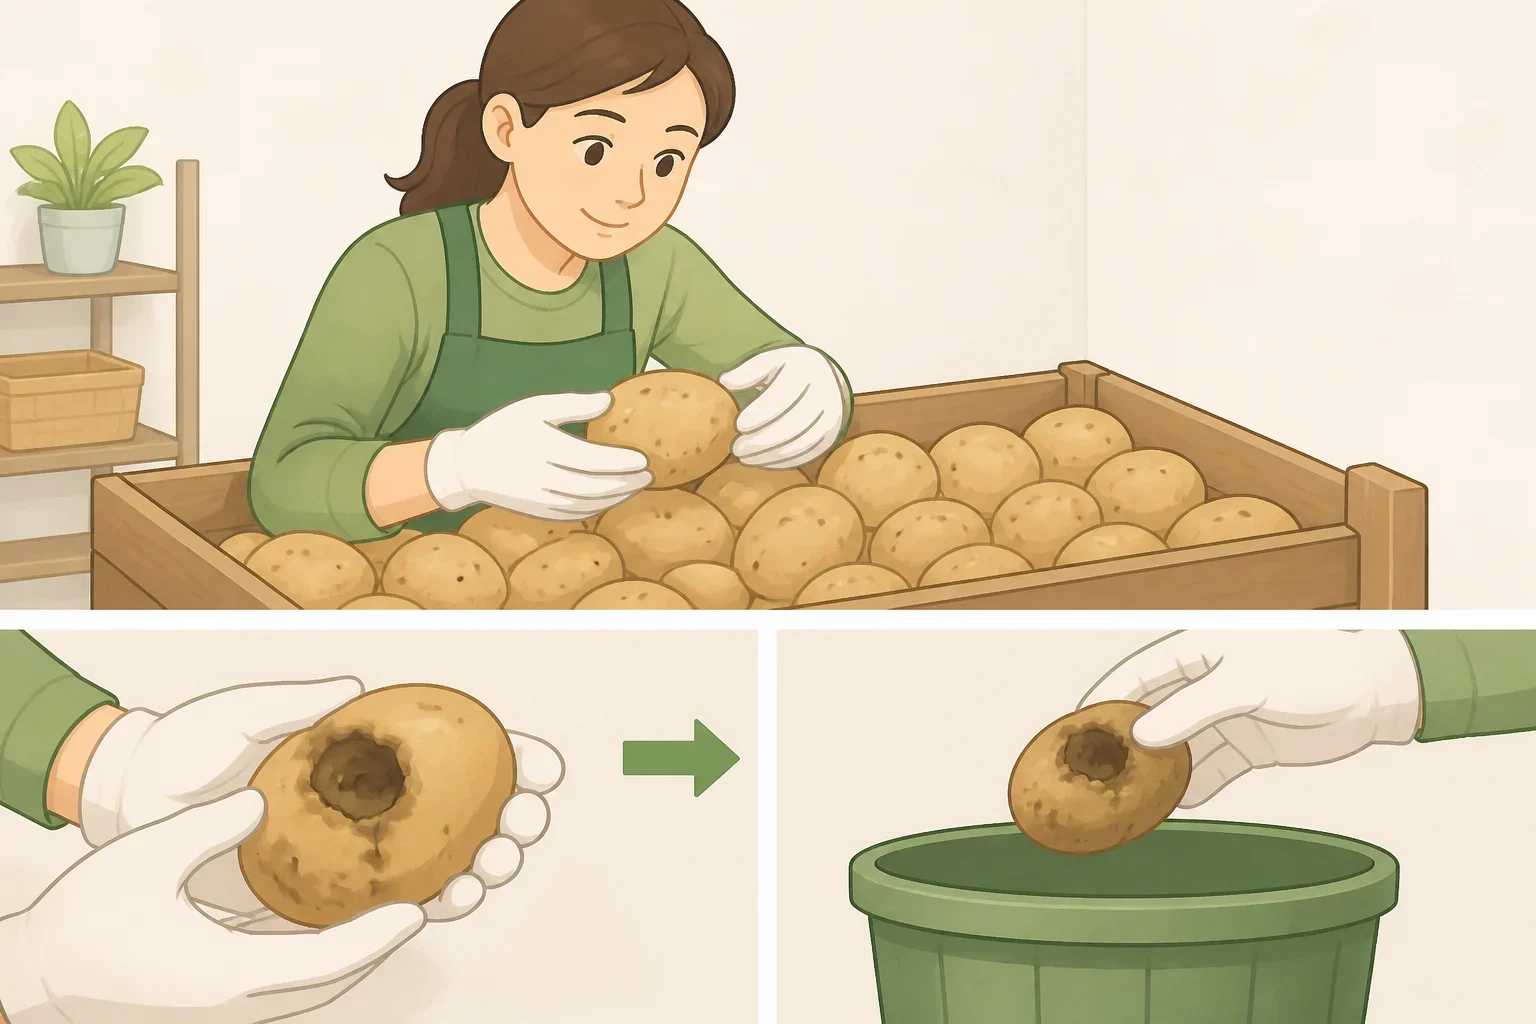
Before putting potatoes away, remove any that are cut, badly bruised, soft, leaking, rotten, or showing signs of disease. Use potatoes with cuts or other minor damage early, ideally within the first month, because damaged tubers do not store well and may spread decay.
Soft rot is a bacterial disease. The bacteria can enter through wounds, bruises, or other injuries and spread to neighboring potatoes through damage in a shared container, University of Minnesota Extension explains.
Inspect the batch every one to two weeks. Lift the potatoes gently rather than stirring them aggressively. Remove anything that is beginning to soften, leak, or rot, and check the potatoes underneath it. Regular checks prevent one bad tuber from quietly affecting the rest.
Treat room temperature as short-term storage
Warmth encourages sprouting, shriveling, and decay. Oregon State University Extension cites one study in which alpha-chaconine levels rose 62% after potatoes spent three days at 72°F and 300% after 16 days. Those are findings from one study, not a prediction for every potato, but they are a useful reason to move a long-term supply out of a warm kitchen.
A small working quantity can stay convenient in a dark, ventilated spot if it will be used soon. The main supply belongs in the coolest suitable location available.
4. Choose varieties that can handle longer storage
Potato variety affects how long the batch may last. Thick-skinned varieties such as russets generally store longer than thin-skinned types such as red potatoes. Late-maturing varieties also tend to store better than early types, according to Oregon State University Extension.
That does not mean russets automatically last seven or eight months. Maturity, bruising, light, temperature, humidity, and the condition of the potatoes when they enter storage all matter. If buying in bulk, choose a late-season, thick-skinned variety when available, then give it the best storage environment possible.
5. Know when to trim or toss a potato
A potato with minor sprouts can still be used after the sprouts are removed, as long as the potato is firm and otherwise in good condition. Do not treat sprout removal as a rescue method for every potato.
Discard potatoes that are:
- Soft and shriveled
- Rotten or leaking
- Heavily green
- Covered with extensive damage or signs of disease
A heavily green, soft, or rotten potato should not be saved by cutting away one spot or removing the sprouts. When in doubt, discard it.
Do not save sprouted or shriveled table potatoes to plant in the garden the following year. Oregon State University Extension warns of potential disease issues, particularly viruses, and recommends using certified, healthy seed potatoes instead.
The storage setup is working when the potatoes remain firm, dry on the surface, dark, and free of spreading decay. The practical formula is simple: cure newly harvested potatoes, sort every batch, use a ventilated and light-protected container, monitor the temperature, keep onions elsewhere, and inspect regularly.
If a cool, dark, humid, ventilated location is not available, store a smaller amount and replenish it as needed. That approach is safer and more manageable than trying to force a seven-month supply in a warm pantry.
