
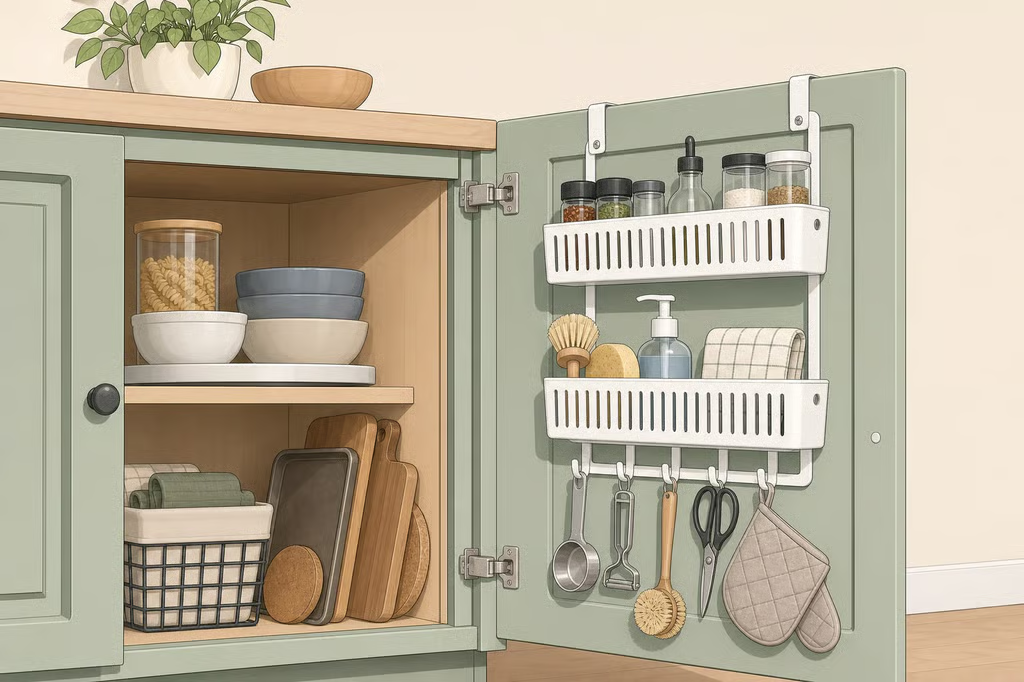
- Dollar Tree cabinet door storage hack: Try the lighter-duty binder clip version
- Gather the materials
- Check the door before you attach anything
- Build the Dollar Tree cabinet organizer
- Use the clips for the right kind of storage
- Keep the pantry door easy to use
- Try the clips somewhere besides a door
- Know when to skip this cabinet door storage idea
- Make the final check
Dollar Tree cabinet door storage hack: Try the lighter-duty binder clip version
The Dollar Tree cabinet door storage hack can be as simple as clipping lightweight, packaged items where they stay visible instead of disappearing into a pantry or crisper drawer. This version uses Jot Metal Binder Clips for small food items and lunch components, so there is no basket to measure or adhesive to press onto the door.
The setup is best for light, dry, sealed items. Before attaching anything, check the door’s clearance, choose a clean and practical location, and make sure the clip can hold the package without slipping. House Digest featured the idea last year as a way to use overlooked pantry and cabinet space.
Gather the materials
You need:
- Dollar Tree Jot Metal Binder Clips
- Lightweight packaged items to organize
- A clean, dry cabinet or pantry door
- A ruler or measuring tape
- A few test items before filling the setup
The clips are just shy of 2 inches wide, according to the source. That makes them suited to small, light packages rather than jars, cans, or bulky containers.
The most useful items for this project are the ones that are easy to lose track of but simple to grab:
- Bags of cheese sticks
- Baby carrots in suitable packaging
- Packed-lunch components
- Other lightweight packaged items that can hang securely
Keep refrigerated food in its proper packaging and location. The clip is for visibility and organization, not for replacing safe food storage.
Check the door before you attach anything
Start with the cabinet or pantry door closed. Look at the space behind it and check whether shelves, bins, cans, hinges, or stored food leave enough room for the clips and their contents.
Then open the door and inspect the inside surface. Choose a spot where the items will remain visible without blocking shelves or making the door difficult to use. If the door already swings close to a shelf or cabinet frame, keep the clips away from that area.
Use a ruler to get a sense of the available space, but do not assume that a clip’s width is the only measurement that matters. The package hanging from it also needs room to clear the cabinet interior. A thin snack pouch and a fuller food package may sit differently, so test with the actual item whenever possible.
Before loading the clips, open and close the empty door several times. Watch for contact, rubbing, or anything that shifts when the door moves. If the door does not close freely, choose another location.
Build the Dollar Tree cabinet organizer
1. Choose a single test location
Begin with one clip rather than filling the entire door. Pick a place that keeps the item easy to see and reach without interfering with hinges, shelves, or other stored goods.
A first test helps reveal whether the door is a useful location at all. It also keeps the project easy to change if the package hangs too low, blocks another item, or makes the door feel crowded.
2. Clip one lightweight package
Secure one small packaged item in the binder clip. Keep the package light and make sure the clip has a firm hold before letting go.
Do not use a jar, can, bottle, or dense container for the first test. Those items are heavier and could pull the clip loose or make the door harder to open and close.
The source describes the clips as a way to keep small necessities in clear sight. That is the right scale for this project: little items that benefit from being visible, not a full pantry overhaul.
3. Test the door with the item in place
Close the door slowly. Check whether the package touches a shelf, presses against another item, or catches on the cabinet frame. Open the door again and see whether the clip has shifted.
If anything rubs or falls, remove the package and adjust the location. Do not keep adding items to a setup that has not passed this basic test. A small organizational project should make the cabinet easier to use, not create a new obstacle every time the door opens.
4. Add clips gradually
Once the first item stays secure and the door closes normally, add another clip in a separate location. Keep enough space between packages for each item to remain easy to identify and remove.
The source presents the idea as a way to add storage to the back of a pantry door or cabinet. That does not mean every inch of the door needs to be covered. A few well-placed clips may be more useful than a crowded row that hides what is behind it.
Arrange items by how they are used. Lunch components can stay together, while small refrigerated packages can remain near the area where they are already stored. The goal is quick visibility, not simply attaching as many clips as possible.
Use the clips for the right kind of storage
The binder clip version works best when the item is:
- Lightweight
- Packaged or sealed
- Easy to grip
- Used often
- Unlikely to leak
- Small enough to clear the cabinet interior
Cheese sticks, baby carrots, and packed-lunch components are examples identified by the source. Similar items may work if they are light and the packaging stays securely clipped.
Avoid using the setup for:
- Jars
- Cans
- Full bottles
- Heavy bags
- Wet or leaking packages
- Anything that could spill if it falls
Weight is not the only concern. Moisture and food residue can make the area harder to clean and may affect the clip’s grip. Keep the setup dry and inspect it when packages are replaced.
For refrigerated items, use the clip as an organizing aid while keeping the food cold. Do not move perishable food to a location that does not maintain the storage conditions it needs. If the door location is warm, exposed, or inconvenient for safe storage, use a different organizing method.
Keep the pantry door easy to use
A cabinet door organizer should not make the door heavy, crowded, or awkward. After adding each clip, open the door fully and check whether the packages swing into nearby shelves or block something that needs to be reached.
Leave room around handles and hinges. Keep packages from covering labels or making it difficult to see what remains inside the cabinet. If an item is constantly in the way, it is not earning its place there.
It also helps to group only similar items. A small set of lunch components may be easy to grab together, while mixing food packages, cleaning products, and loose household items can make the door harder to manage. Use a separate area for anything that could leak, stain, or come into contact with food packaging.
Try the clips somewhere besides a door
The source notes that this mini storage idea does not require the back of a door. That makes the clips useful anywhere a small item can be clipped securely and kept visible.
Possible locations depend on the surface and the item, but the same limits apply:
- Keep the load light.
- Make sure the clip has a firm hold.
- Keep food packages clean and sealed.
- Check that nothing can fall onto a walkway or work surface.
- Avoid locations exposed to water, heat, or frequent impact.
A visible storage spot can be helpful when it prevents small items from getting buried. It is less useful if the clip is difficult to reach or the package becomes a nuisance every time the space is used.
Know when to skip this cabinet door storage idea
Choose another organizer if the door has little clearance, the packages are too heavy, or the clip cannot hold them securely. A crowded pantry door can also make the cabinet harder to use, especially when shelves are already full.
Skip the setup if the item could spill, fall onto someone, or interfere with a hinge or latch. The fact that a clip can hold a package does not mean it is the right storage choice for that package.
This is also not the best solution for large-scale pantry organization. It handles small, frequently used items. It does not replace shelves, bins, or a purpose-made rack when the problem involves heavy containers or a larger quantity of food.
Make the final check
Before leaving the clips in place, run through this short test:
- The door closes without rubbing.
- The clips stay secure when the door opens.
- Each package remains light enough for the clip.
- Food stays sealed and properly stored.
- Nothing blocks hinges, shelves, or handles.
- The items are easier to find than they were before.
If the setup passes, keep it simple. Use the clips for the small packages that tend to disappear in the pantry or crisper drawer, and remove anything that slips, leaks, or gets in the way.
This Dollar Tree cabinet door storage hack is most useful when the expectations stay modest. A few binder clips can make small, packaged items easier to see and reach, but they are not meant for heavy or wet storage. Test one clip first, check the door’s movement, then add only the items that remain secure and practical.
