
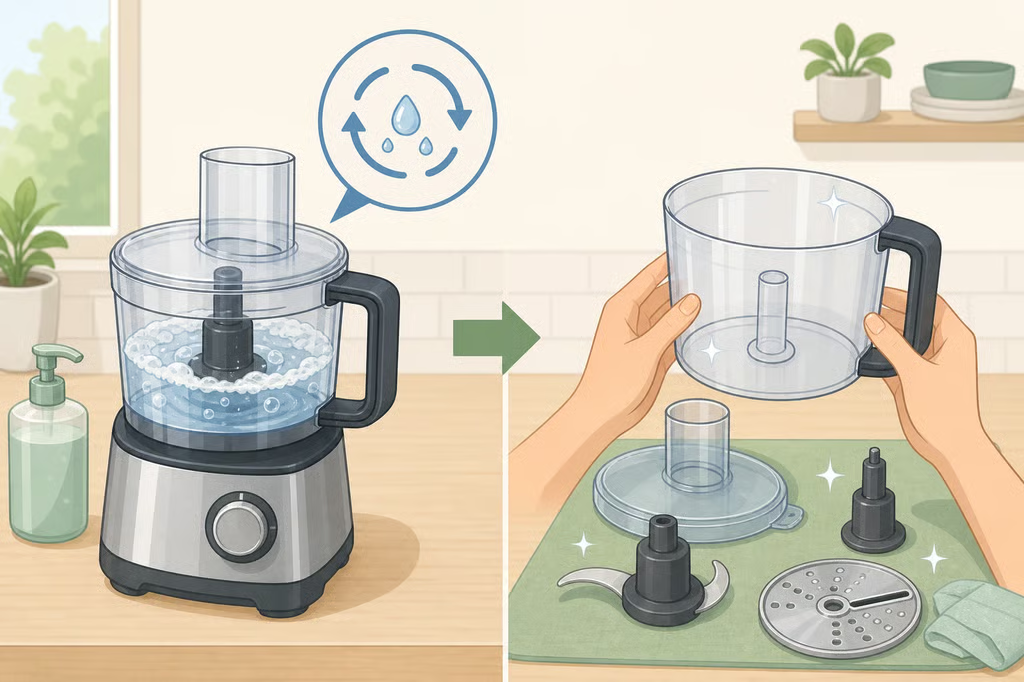
How to Clean a Food Processor: Quick Water Cycle to Full Wash
Cleaning a food processor can be as simple as a warm-water rinse driven by the machine itself, but there is an important catch: that shortcut comes from KitchenAid’s care guidance and is not a universal instruction for every brand or model. Check your own manual before putting water in the bowl or running a soapy cleaning cycle.
For a KitchenAid processor that allows it, fill the bowl about one-third full with warm water, add a drop of dish soap, secure the lid, and run the machine on high for 30 seconds, or pulse it five to 10 times. Discard the soapy water, rinse the bowl, and then inspect the parts. The quick clean works well for light, fresh residue. Sticky food, greasy film, food trapped in a crevice, or a lingering odor calls for a full hand-washing instead. KitchenAid Australia outlines the method for its food processor range.
How to clean a food processor quickly
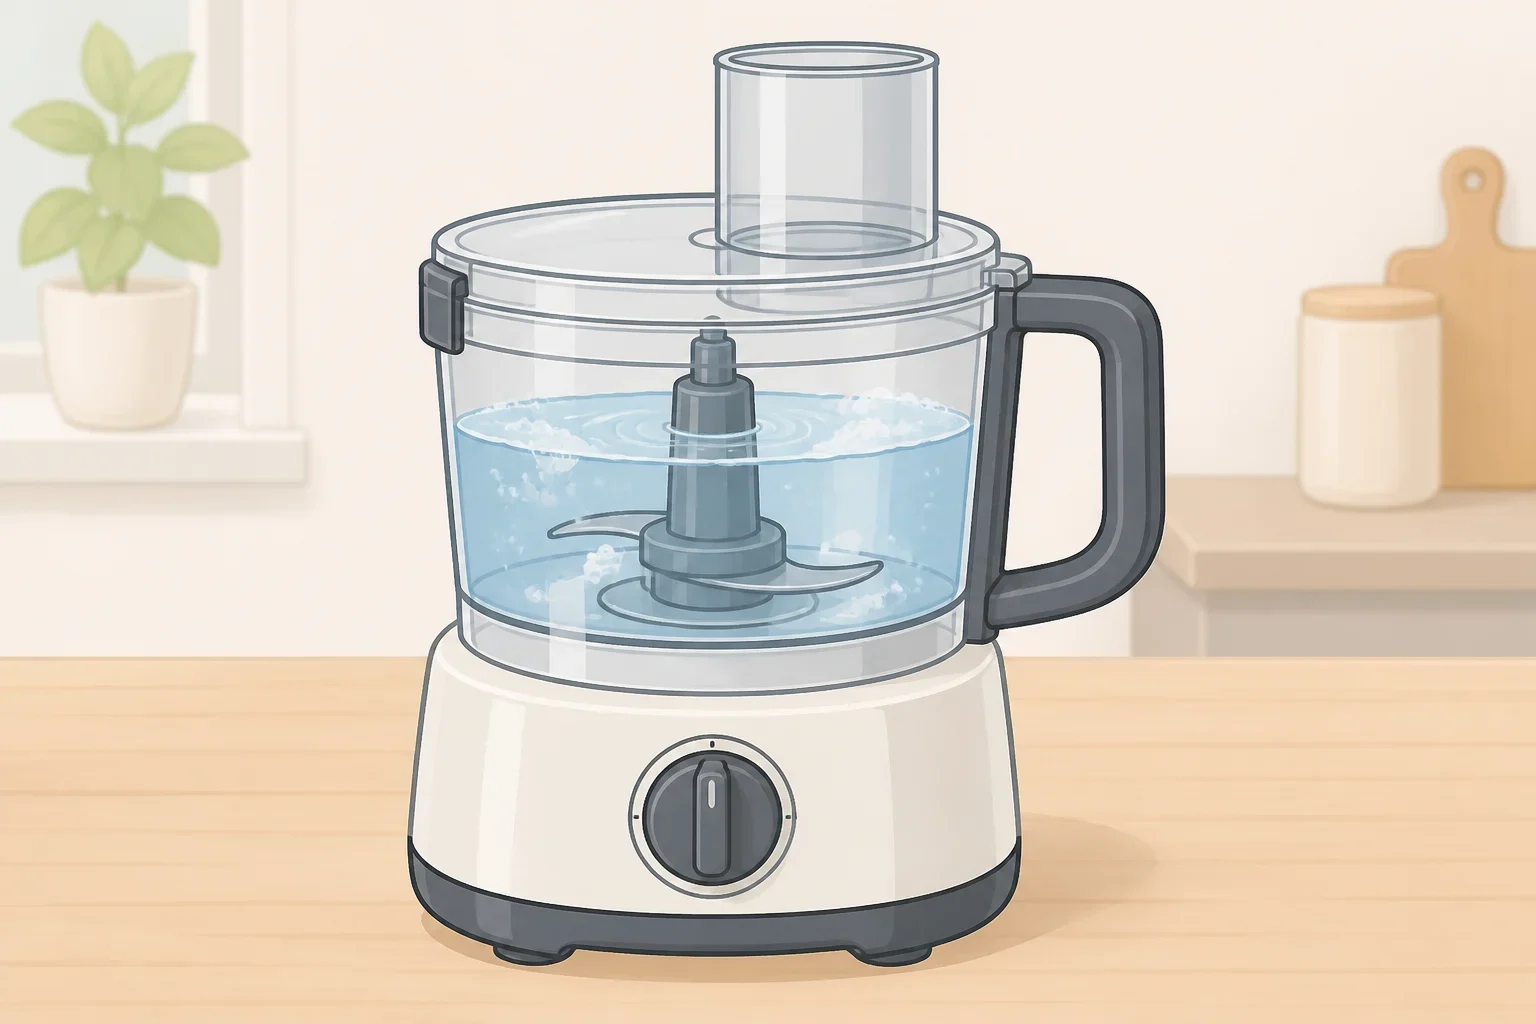
Before starting, make sure the bowl, blade, and lid are assembled correctly and that no hands or utensils are near the blade. Do not confuse “unplug the machine first” with permission to run it unplugged. The plug comes out before any part is removed or any blade is touched. For the water method, the processor must be reassembled and closed before it is plugged in.
Follow these steps:
- Remove loose food first. If the bowl contains sticky food, reassemble the empty bowl and blade, secure the lid, and pulse a few times if your manual permits this step. This can fling loose residue from the blade and bowl before water is added. Dry debris removal before wet cleaning is also part of the general cleaning sequence described by University of Minnesota Extension, although that professional guidance should not be treated as proof that every consumer processor can be pulsed empty.
- Add warm water and dish soap. Fill the bowl to about one-third full with warm water. Add one drop of dish soap, not a large squeeze that creates excessive suds.
- Secure the lid. Check that the lid is locked and that the bowl and blade are seated as the manual directs. Keep the counter around the machine clear.
- Run the approved cycle. Plug in the processor only after the assembly is closed and hands are away from it. Run it on high for 30 seconds, or pulse five to 10 times, following the option supported by your model. Stop the machine if water escapes or the unit behaves unusually.
- Switch off and unplug. Press Off or Pulse, unplug the processor from the outlet, and wait until the blade has stopped completely before opening the lid.
- Discard and rinse. Pour out the soapy water, rinse the bowl with clean water, and look closely at the blade area, lid, and bowl seams. A quick rinse is finished only when no food or soapy film remains visible.
Dish soap helps loosen grease and fat residue. More broadly, cleaning means removing food, soil, and debris, while sanitizing is a separate step that uses heat or chemicals to reduce microorganisms after a surface has been cleaned, as Michigan Department of Agriculture & Rural Development explains.
When the quick clean is not enough
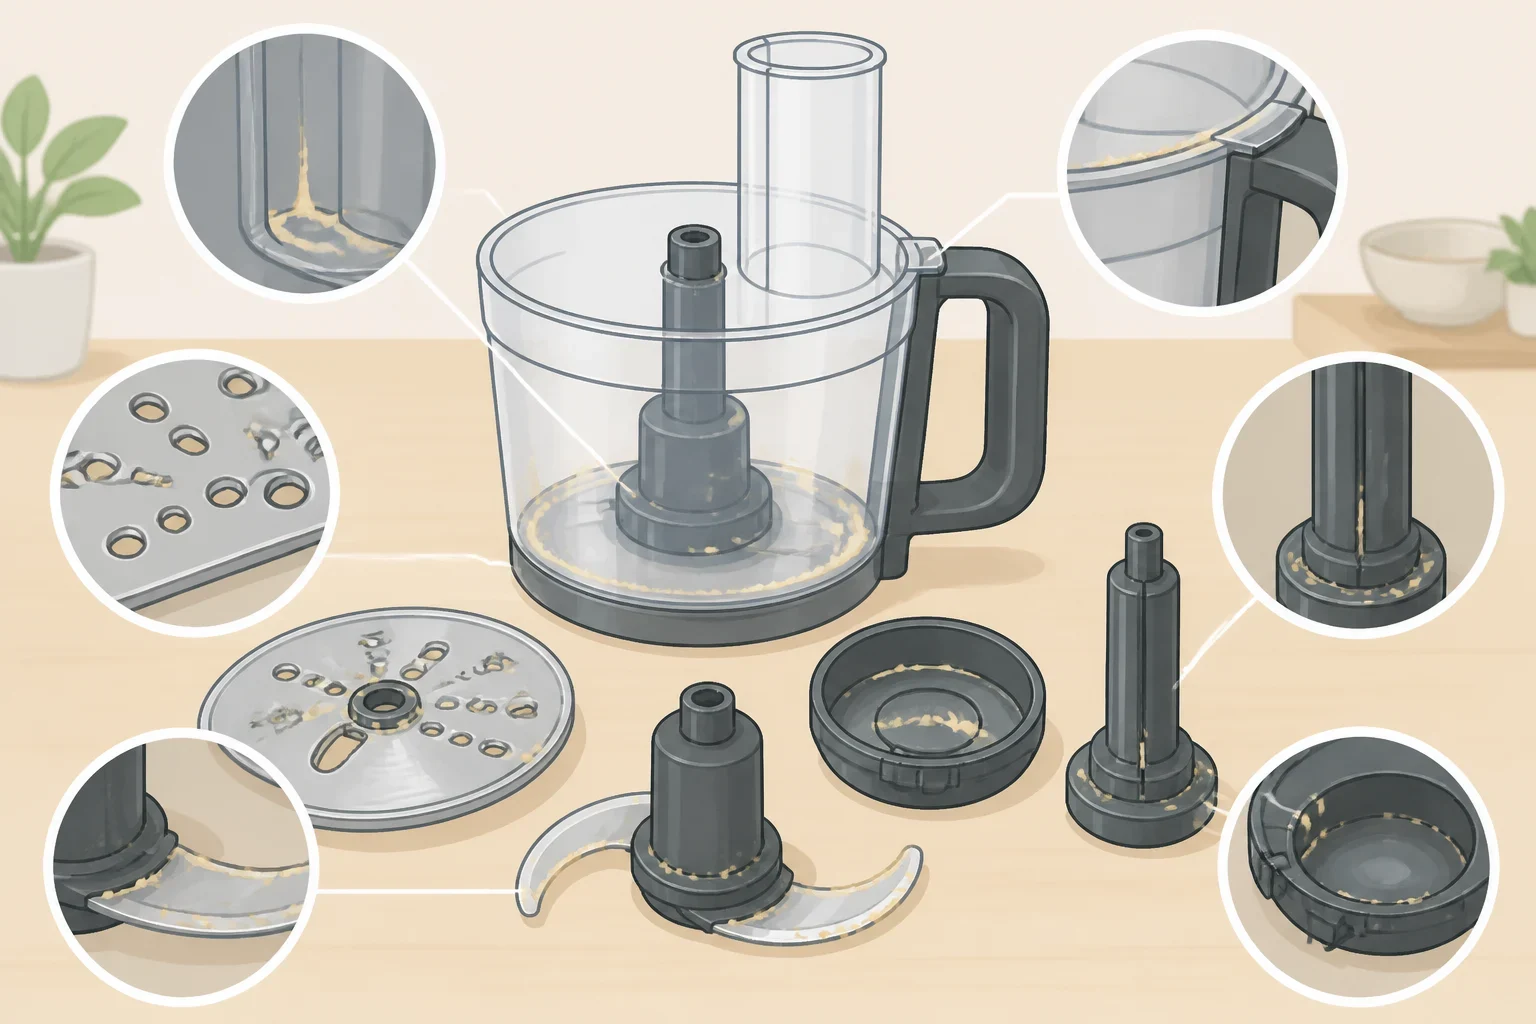
The water cycle is a shortcut for light residue, not a substitute for inspecting the processor. Stop relying on it when any of these signs remain:
- Food is visible in the blade hub or hollow center tube.
- The bowl, lid, or pusher still feels greasy.
- A sticky film remains after rinsing.
- Food is caught in a lid channel, gasket, seal, or narrow crevice.
- The processor still smells like the ingredient it handled.
- The machine has processed a thick mixture that the water cycle did not loosen.
When one of those problems appears, turn the processor off, unplug it, and disassemble it according to the manual. Remove the pusher, lid, blade assembly, and bowl. Inspect each piece rather than assuming the moving water reached every surface.
The pusher and lid deserve particular attention because residue can remain in channels that are easy to overlook. Check any gasket or seal that can be removed according to the manufacturer’s instructions. Do not pry out a seal simply to clean underneath it if the manual does not say that it is removable.
For a foggy or stained plastic bowl, KitchenAid suggests gently buffing the area with bicarb soda on a damp sponge, or making a bicarb soda and water paste and leaving it on for 15 to 30 minutes before rinsing and washing normally. Lemon juice can also be applied directly for a few minutes and then rinsed. Keep lemon mixtures away from the metal blade edges, and wash the part afterward rather than treating the stain and putting it straight back into service. These suggestions come from KitchenAid Australia.
How to clean food processor blades safely
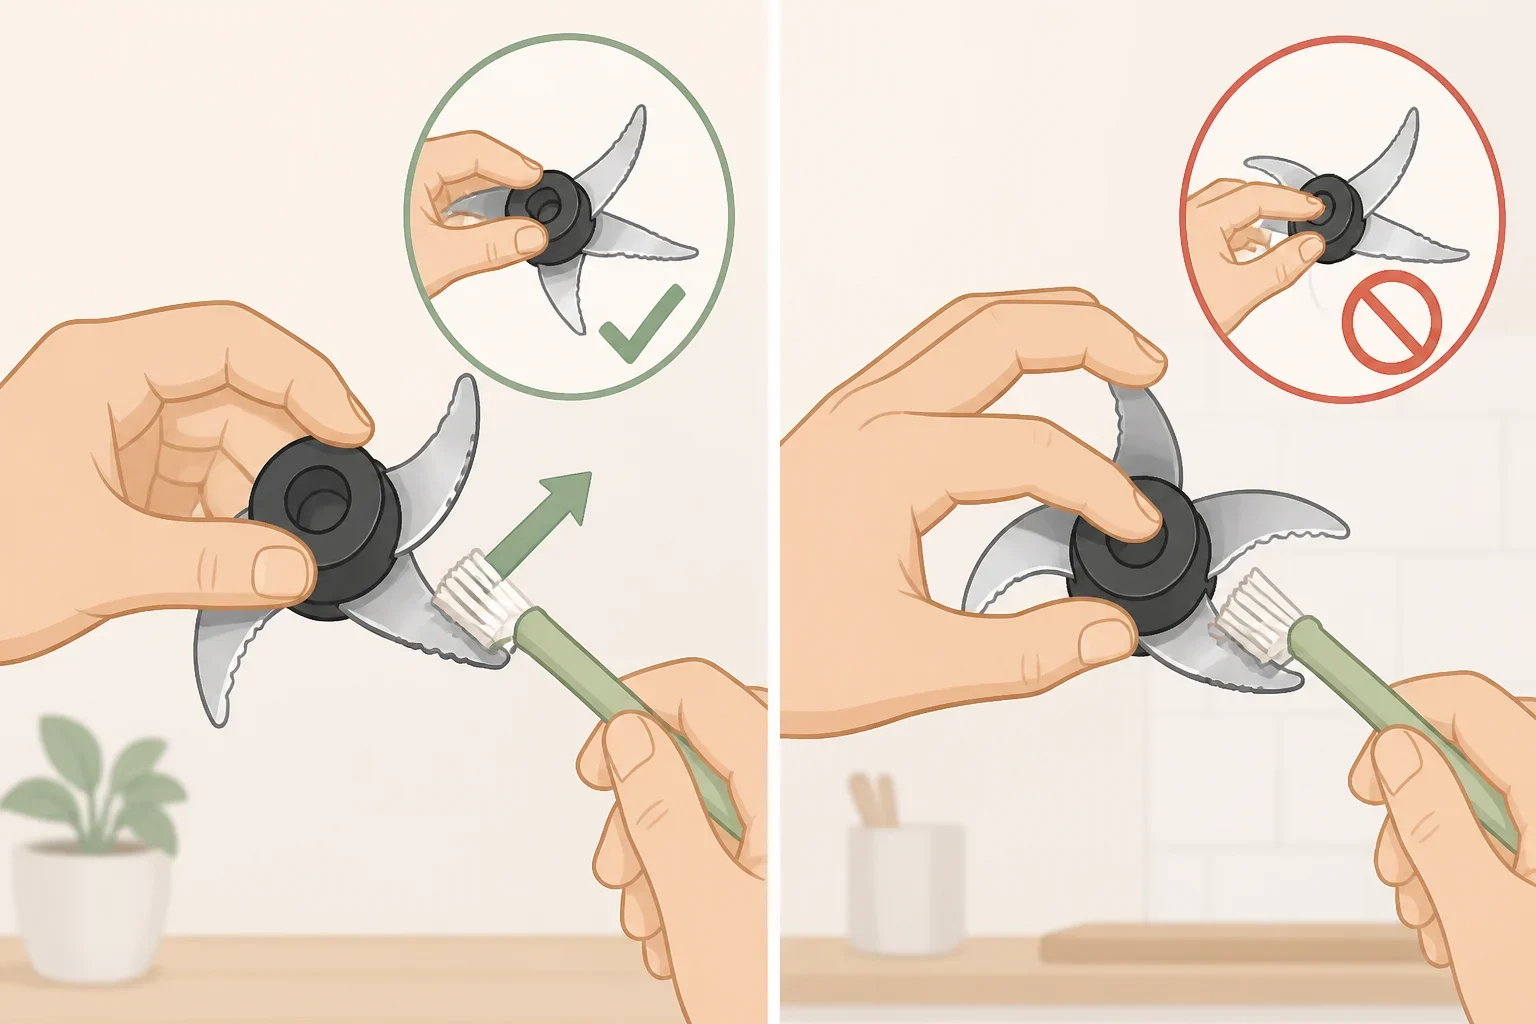
The blade is where speed matters least. Before reaching into the bowl, press Off or Pulse, unplug the machine, and wait for the blade to stop. Never reach into the bowl while the blade is installed, even if the appliance appears to be switched off.
Remove the blade by its central plastic hub. Do not grip the metal edges. Hold the hub securely and keep the blade away from the sink where it could disappear beneath cloudy, soapy water. KitchenAid advises washing blades promptly rather than leaving them soaking where they are difficult to see.
For hand-washing:
- Hold the hub. Keep fingers on the central plastic section, never on the cutting edges.
- Brush outward. Use a long-handled dish brush or an old toothbrush, working from the center hub toward the blade edges.
- Clean the hollow tube. Food can collect inside the hollow center of the blade assembly. A small bottle brush can reach this passage more effectively than a flat sponge.
- Rinse and inspect. Turn the assembly carefully so each side is visible. Check the hub, tube, and underside for trapped food.
- Set it somewhere safe to dry. Keep the blade away from the sink edge and other dishes until it is dry.
Do not use a sponge as an excuse to put your fingers near the cutting surface. A brush with a handle gives more distance and makes it easier to work from the hub outward.
How to wash a food processor bowl and lid
Wash the bowl, lid, and pusher in warm soapy water with a soft sponge or cloth. Use enough pressure to remove residue, but skip abrasive scouring pads and abrasive cleaners. They can scratch and cloud plastic, leaving more texture for future food residue to cling to.
Do not assume every removable piece is dishwasher-safe. KitchenAid says its bowls, lids, and attachments can go on the top rack using a normal or gentle cycle, and the KitchenAid operating manual available through ManualsLib also specifies top-rack washing for that model. The same guidance recommends hand-washing when possible for longer part life.
For any other brand, check the manual for the exact bowl, lid, gasket, blade, and attachment instructions. If the manual does allow the dishwasher:
- Use the top rack.
- Choose a normal or gentle cycle.
- Avoid high-temperature cycles, which can warp plastic components over time.
- Remove the parts promptly when the cycle ends and check that water has drained from channels and openings.
Hand-washing is the safer default when the care instructions are missing or unclear. Do not use bleach, a homemade sanitizer, or another chemical on food-contact parts unless the product label and appliance instructions specifically allow that use. Sanitizers have different dilution, contact-time, rinsing, and drying requirements. Never mix cleaning products.
For routine home cleanup, warm water, dish soap, rinsing, and thorough drying address the cleaning step. If sanitizing is needed for a particular food-safety reason, use only a food-contact-safe product as directed. Cleaning must happen first, since sanitizer is a separate step and cannot replace the removal of food and grease.
Protect the motor base and dry every part
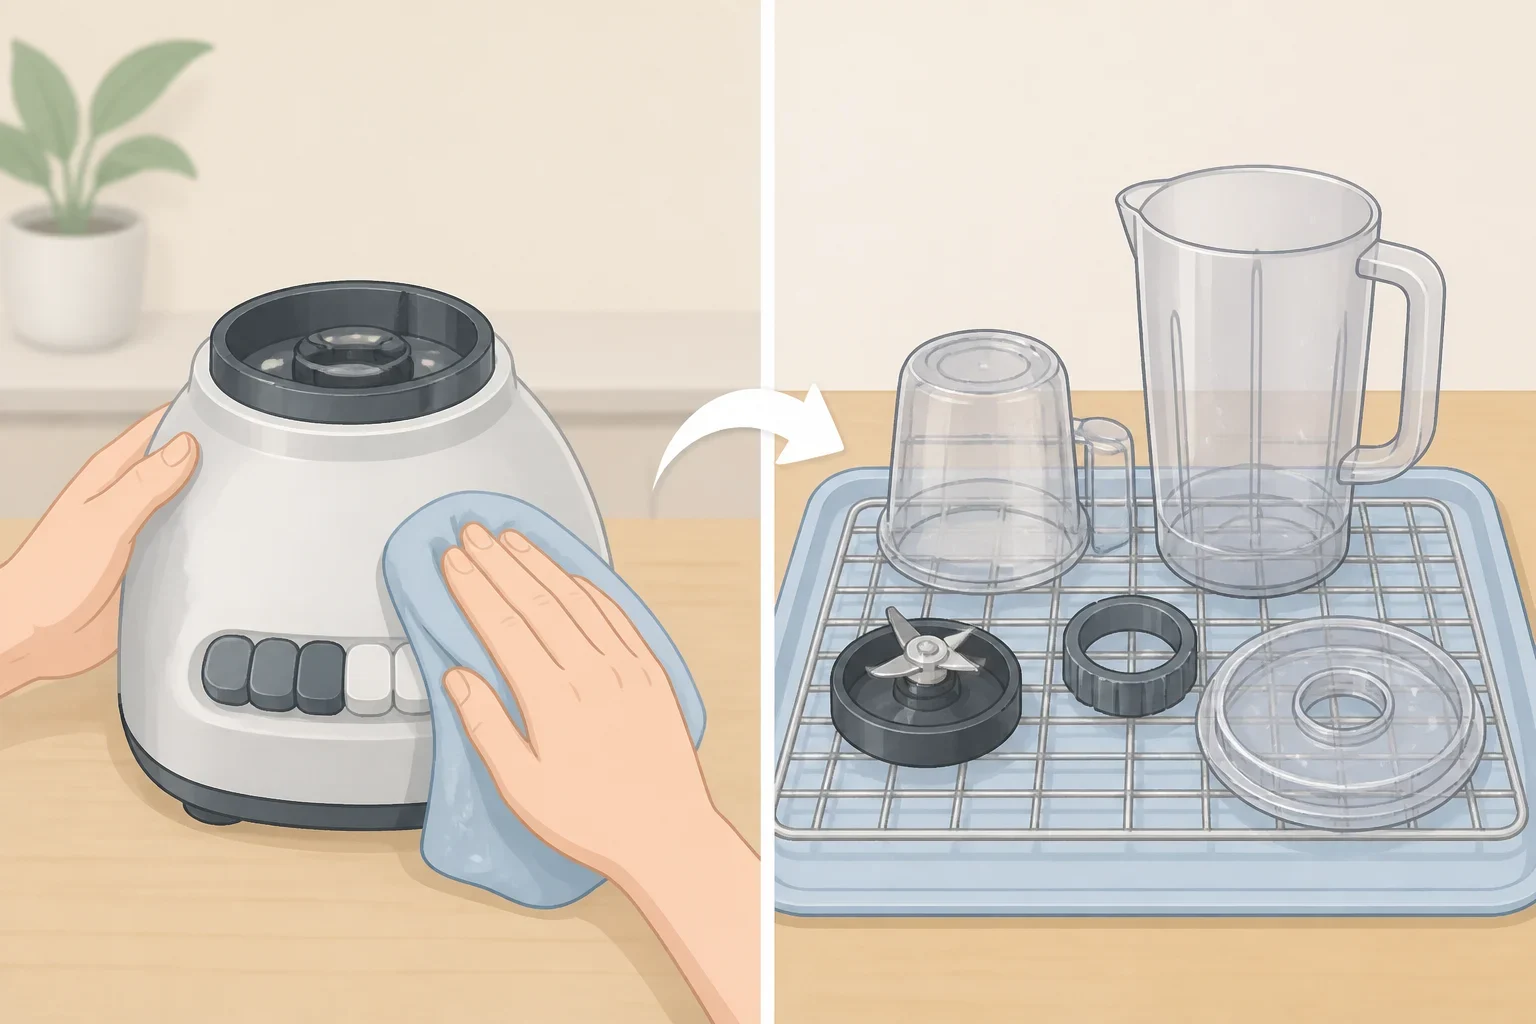
The motor base, cord, buttons, and electrical controls do not go in the sink. Never submerge the base or hold it under a running tap. Instead, unplug the processor and wipe the exterior, buttons, and cord with a warm, damp cloth. Dry the surfaces with a soft cloth. The KitchenAid operating manual gives the same direction and warns against immersing the base in water.
Keep the damp cloth damp, not dripping. Water should not run into the controls, the motor housing, or the connection points around the bowl.
After washing, place the bowl, lid, pusher, blade, and other removable components on a clean towel or drying rack. Let them air-dry completely before reassembling or storing them. Pay attention to the blade hub, hollow center tube, lid channels, and seals, where water can remain after a quick wipe.
Thorough drying helps limit unpleasant odors and reduces the chance that moisture will remain against metal components over time. It also makes the final inspection easier. If a part still feels greasy, smells strongly of food, or contains water trapped in a crevice, clean or dry it again before putting the processor away.
Avoid laying the bowl on its side if the model’s manual advises against it. Set it in a stable position where air can reach the inside and the piece will not roll into the sink.
The final decision rule
Use the manufacturer-approved warm-water method for light, everyday residue only. Reassemble the processor before running it, keep hands away from the closed assembly, and unplug it before opening or removing anything.
Choose a full clean when food remains visible, the blade hub or center tube is dirty, grease or a sticky film remains, or an odor lingers. Disassemble the pusher, lid, blade assembly, and bowl, then wash and inspect each piece by hand.
The essentials are simple: check the manual before using the quick cycle, handle blades by the plastic hub, keep the motor base and cord dry, avoid abrasive products, and let every removable part dry completely before storage.
