
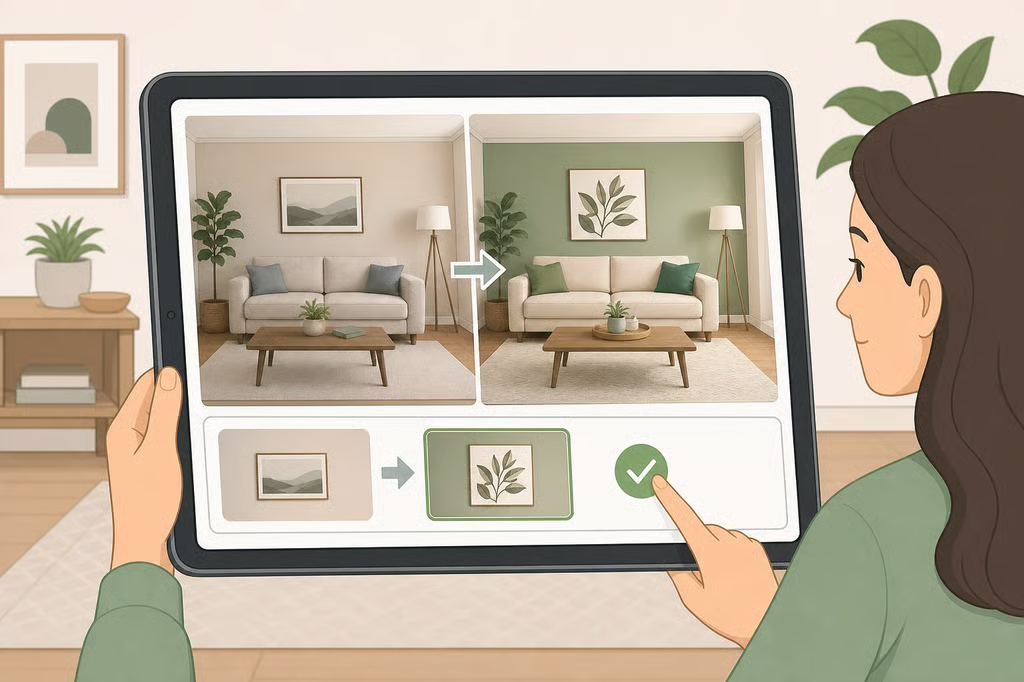
How to Redesign a Room with AI From a Photo Step-by-Step
A photo can help an AI interior design app suggest a new direction for a room, but the image is a concept, not a measurement or a safety approval. The most useful approach to how to redesign a room with AI is to look for one realistic change you can check in the actual space, rather than accept an entire AI room makeover as a renovation plan.
A plain fireplace mantel makes a good example. An AI-generated room design might reveal that the room needs a stronger color block, a more defined shape, or a tonal contrast around the mantel. That does not mean the render has proved that paint, materials, or placement will work. It gives you a question to investigate.
The workflow is simple: photograph the room carefully, write a specific brief, review the result, isolate one idea, and verify the real surface, cost, measurements, and safety requirements before buying anything.
How to redesign a room with AI from one photo
1. Photograph the room you actually have
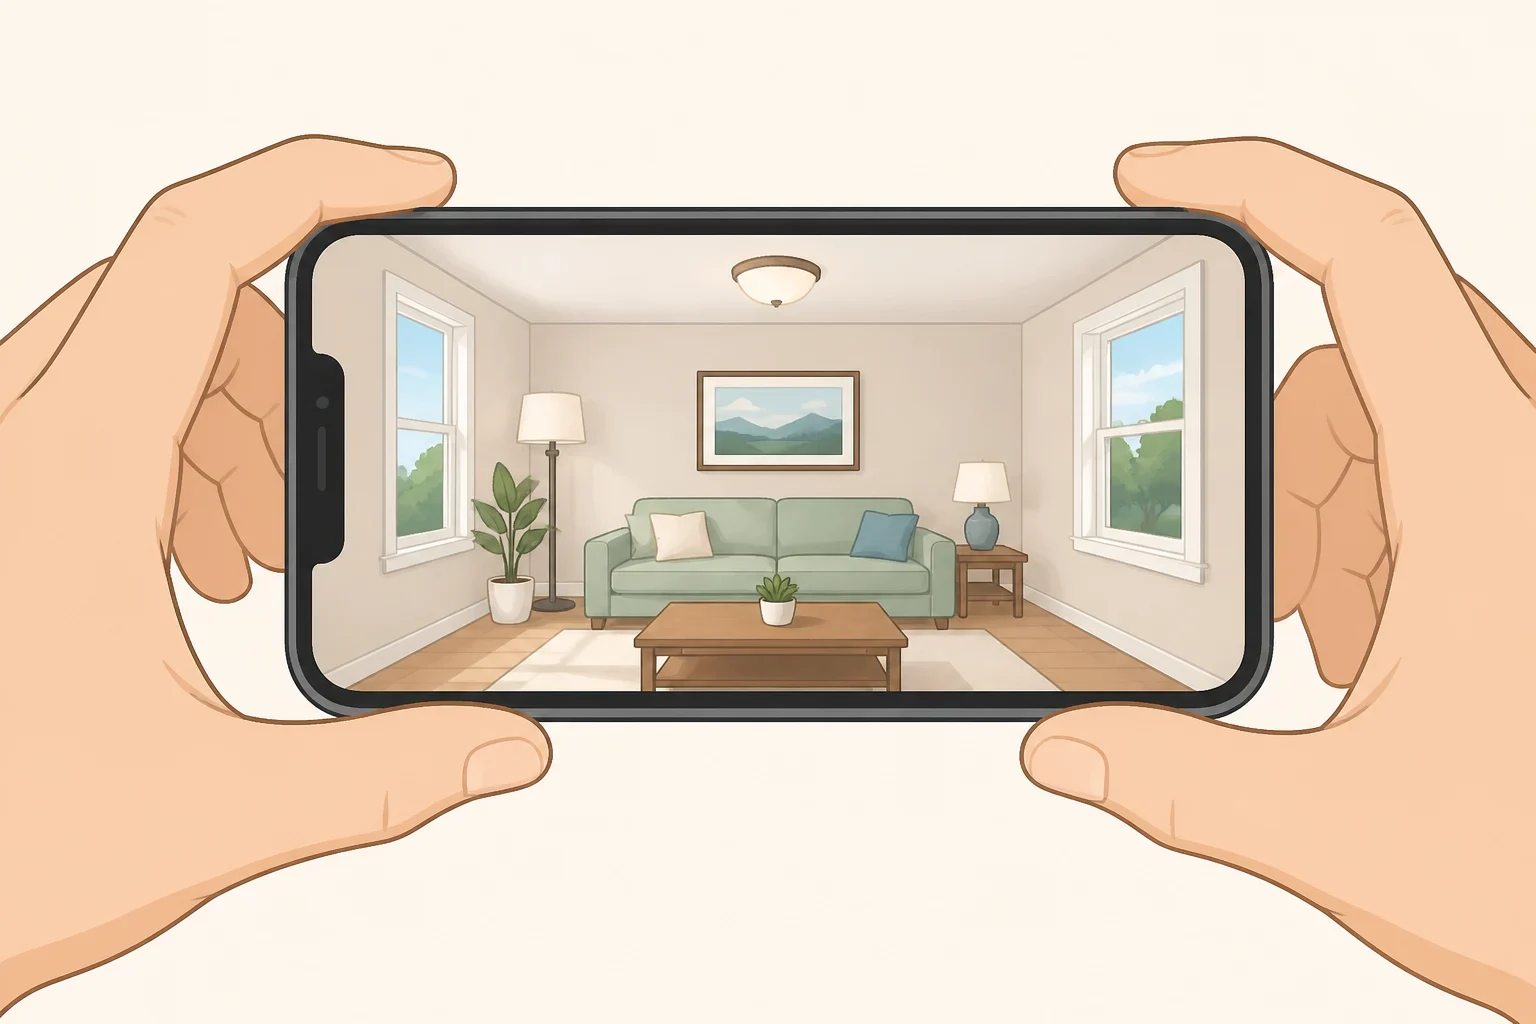
Start with a clear photo from a corner of the room. Use daylight, but switch on the room’s lamps and overhead lighting too. Aspire Interiors, one example of a photo-based AI design tool, says this helps capture both the natural light direction and the room’s artificial lighting. Its guidance also recommends uploading the image at full resolution and choosing the room type before generating a design. Aspire Interiors describes the resulting image as a photorealistic redesign generated in about 30 to 60 seconds.
Keep the fireplace, mantel, windows, trim, flooring, and nearby furniture in the frame. A partial image can produce a partial idea. Clutter is less important than the room’s fixed features, so do not spend an hour styling the space before taking the picture.
Avoid the phone’s extreme 0.5x setting. The wide-angle effect can bend wall lines near the edges of the image, and the AI may interpret those distorted proportions as part of the room. A standard camera setting is a better starting point.
Before uploading, look for details the camera might not explain clearly:
- Is the mantel centered on the chimney breast?
- Does the room have a sloped ceiling or an L-shaped section?
- Is the fireplace decorative, electric, gas, or wood-burning?
- Are the trim and surround uneven?
- Is a radiator, door, outlet, or vent close to the area you want to change?
Include those details in the brief. The tool may design around an awkward feature when you describe it, but the render can still miss things that are visible in the original photo. The physical room remains the reference point.
2. Write a brief that asks for one useful change
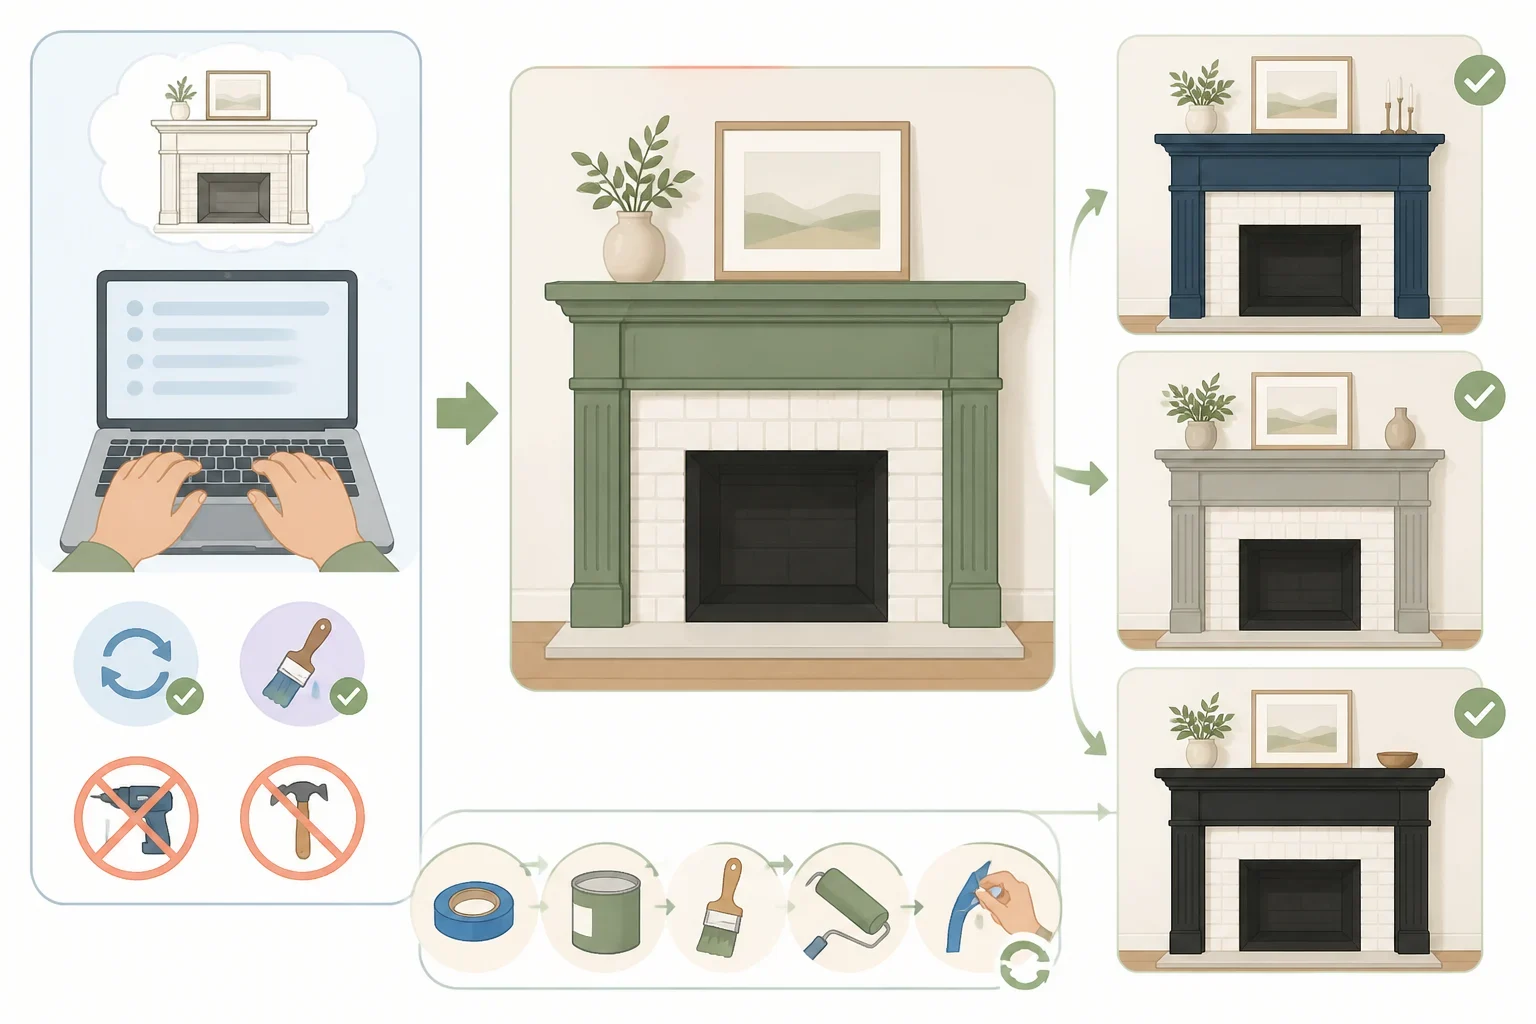
A broad request such as “design my living room” often leads to a polished but familiar result. Designers interviewed by House Beautiful describe generic AI interiors as attractive but lacking some of the character that makes a home feel personal. Jenna Gaidusek, founder of AI for Interior Designers, argues that the most interesting use of AI can happen before the image is generated, while the brief and concept are still taking shape.
That means the prompt should give the tool something specific to interpret. Name the colors, materials, areas to leave alone, and type of change you want to see.
For a non-heated decorative mantel, try a prompt like this:
Keep the existing mantel, firebox, trim, windows, flooring, furniture, and room proportions exactly where they are. Show three reversible, paint-only treatments for the flat mantel surround using warm white, muted olive, and terracotta. Use simple geometric shapes such as a centered rectangle, a wide horizontal stripe, or a color-blocked lower section. Do not move the firebox, add shelving, change the trim, or introduce combustible materials. Make each option easy to compare in the existing room lighting.
The wording does two jobs. It asks for a design idea, and it limits the fantasy. “Keep the existing mantel” is more useful than “make the fireplace dramatic.” “Paint-only” is more useful than “make it look expensive.”
Aspire’s guidance recommends describing materials, colors, and fixtures in plain English. A phrase such as “warm oak flooring, oatmeal linen sofa, and picture lights over the artwork” gives the tool more to work with than “cozy neutral.” Specific descriptions are not a guarantee of accuracy, but they make the output easier to evaluate.
If the style is difficult to describe, add a small mood board. Keep it focused, with three to six images that share a palette or feeling, rather than collecting every room that looks appealing. Aspire’s instructions present a consistent group of three to six images as more useful for communicating a direction than a large, unfocused collection.
Personal references can help, too. House Beautiful describes designers using memories, clothing, artwork, travel, and even the qualities of a particular wine to shape a brief. The point is not that a wine will produce a safe or buildable mantel treatment. It is that personal details can lead to a more individual color or material direction than a style label alone.
3. Read the brief and extracted choices before generating
Do not rush from the upload screen to the first render. If the app extracts style fields such as palette, materials, lighting mood, or fixture types, read them before generating. Remove anything that does not belong in the room.
For example, a brief for the mantel might accidentally pick up:
- dark stone when the goal is paint only
- new built-ins when the project must remain reversible
- a different fire feature
- a finish that is unsuitable for the existing surface
- a color that works in the reference images but not with the room’s flooring or upholstery
This is the inexpensive point in the process to correct the direction. Edit the text before spending time comparing images.
The app’s edit functions can also help you test a narrower question. Instead of regenerating the entire room with a new style, ask for one change: “Keep everything else unchanged and show the mantel surround in muted olive.” Then compare that version with a warm white or terracotta option.
Do not treat the edit as proof that the real project will work. It shows a visual possibility. It does not confirm the paint type, surface condition, heat exposure, clearance, or final cost.
4. Choose one detail, not a whole-room makeover
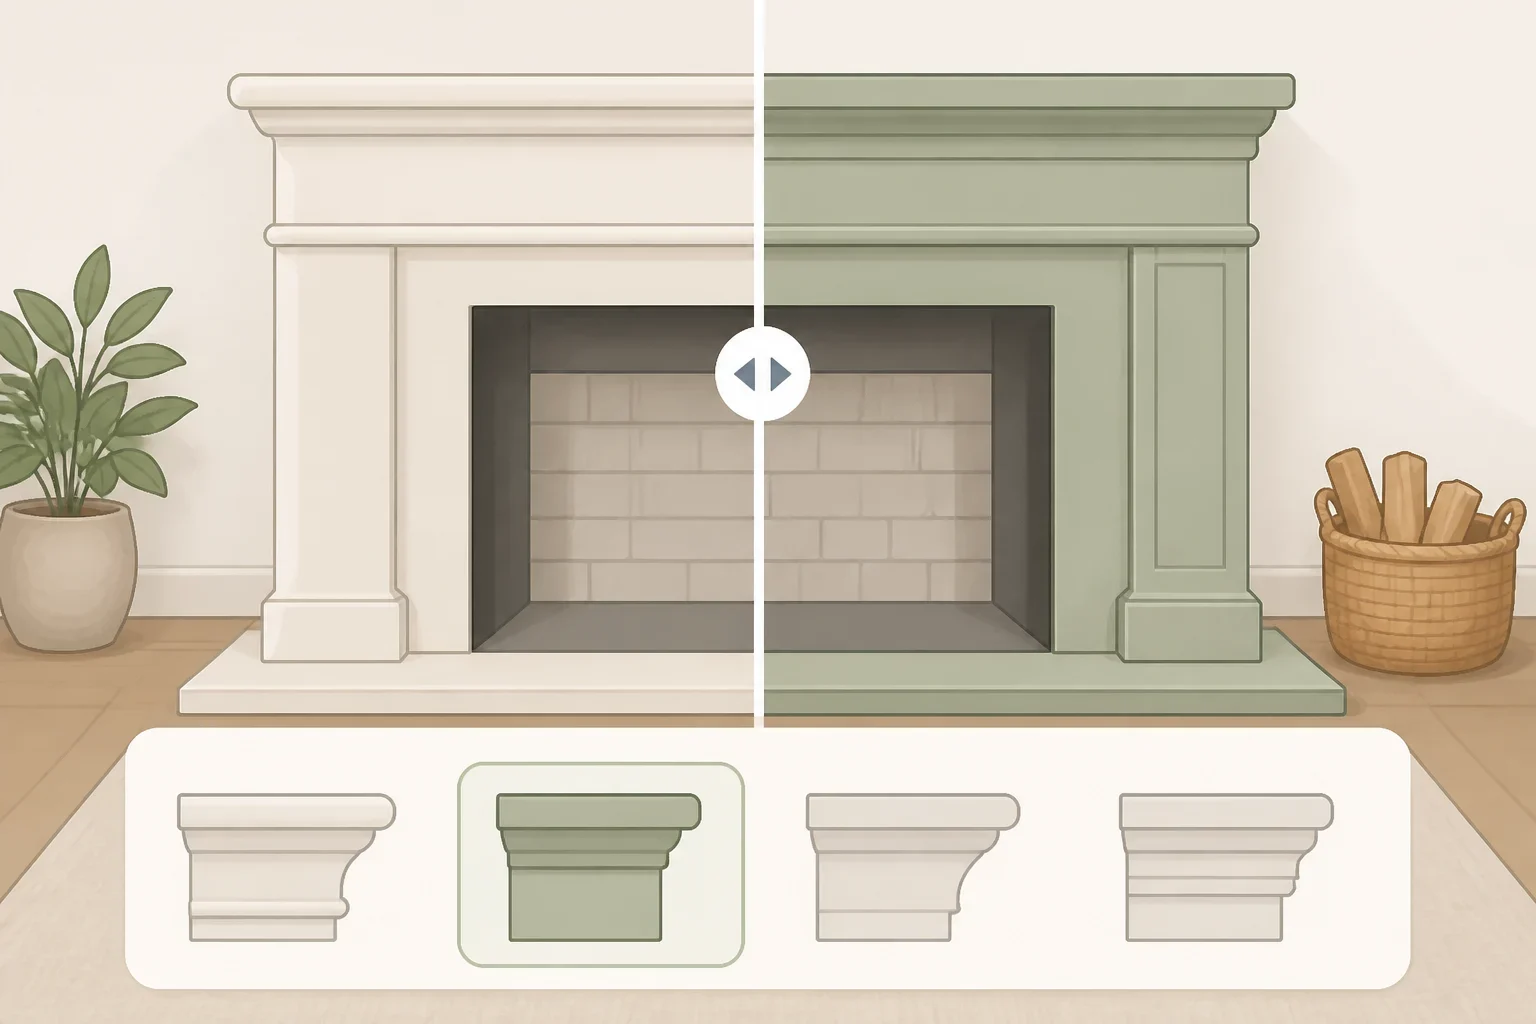
Once the images are ready, ignore the urge to copy everything. Look for one detail that is clear enough to describe and small enough to verify.
For the mantel example, that might be:
- a centered painted rectangle
- a broad stripe across a flat surround
- a darker lower section
- a tonal shape that frames the opening without changing the trim
- a contrasting color that repeats a shade already present in the room
Use the before-and-after view if the app provides one. Aspire describes a before/during/after slider and Edit Mode as ways to spot drift and correct missed elements. The same source notes that renders can occasionally omit obvious features such as radiators or doors. That makes the comparison useful, but it also shows why the image cannot replace an inspection of the room.
Run the idea through this checklist:
- Can the proposed shape be measured and marked on the real surface?
- Is the surface actually suitable for the proposed finish?
- What is the complete cost, including paint, tape, primer, brushes, rollers, and touch-up supplies?
- Can the change be reversed without damaging the mantel?
- Does the idea affect heat, ventilation, wiring, gas, or the firebox?
- Do the fireplace and finish manufacturers permit the change?
- Is the design still appealing when viewed from the room’s normal seating position?
If any answer is unclear, pause there. A low-cost idea is not automatically a low-risk idea.
5. Verify the mantel before preparing it
The fireplace example needs a stricter boundary than an ordinary painted wall. Keep this project limited to a non-heated decorative mantel unless the fireplace manufacturer’s instructions specifically address the proposed finish and placement.
Do not rely on the AI image to establish clearance around a firebox. Check the fireplace installation and care instructions for the exact unit. If the instructions are missing, the surface is exposed to heat, the mantel is part of a gas or wood-burning surround, or the proposed change would move closer to the opening, choose a different decorative update or ask a qualified professional.
Also stop before sanding if the existing paint is old or its contents are unknown. Unknown older painted finishes should not be disturbed without appropriate lead-safety precautions. A damaged, veneered, specialty, or heat-exposed surface may also need a different approach.
For a renter, get written permission before painting. For a homeowner, check the manufacturer’s instructions before treating the surround as an ordinary trim surface. A hidden test swatch is helpful for seeing color and adhesion, but it cannot make an unsuitable surface safe.
6. Test the visual idea on the real room
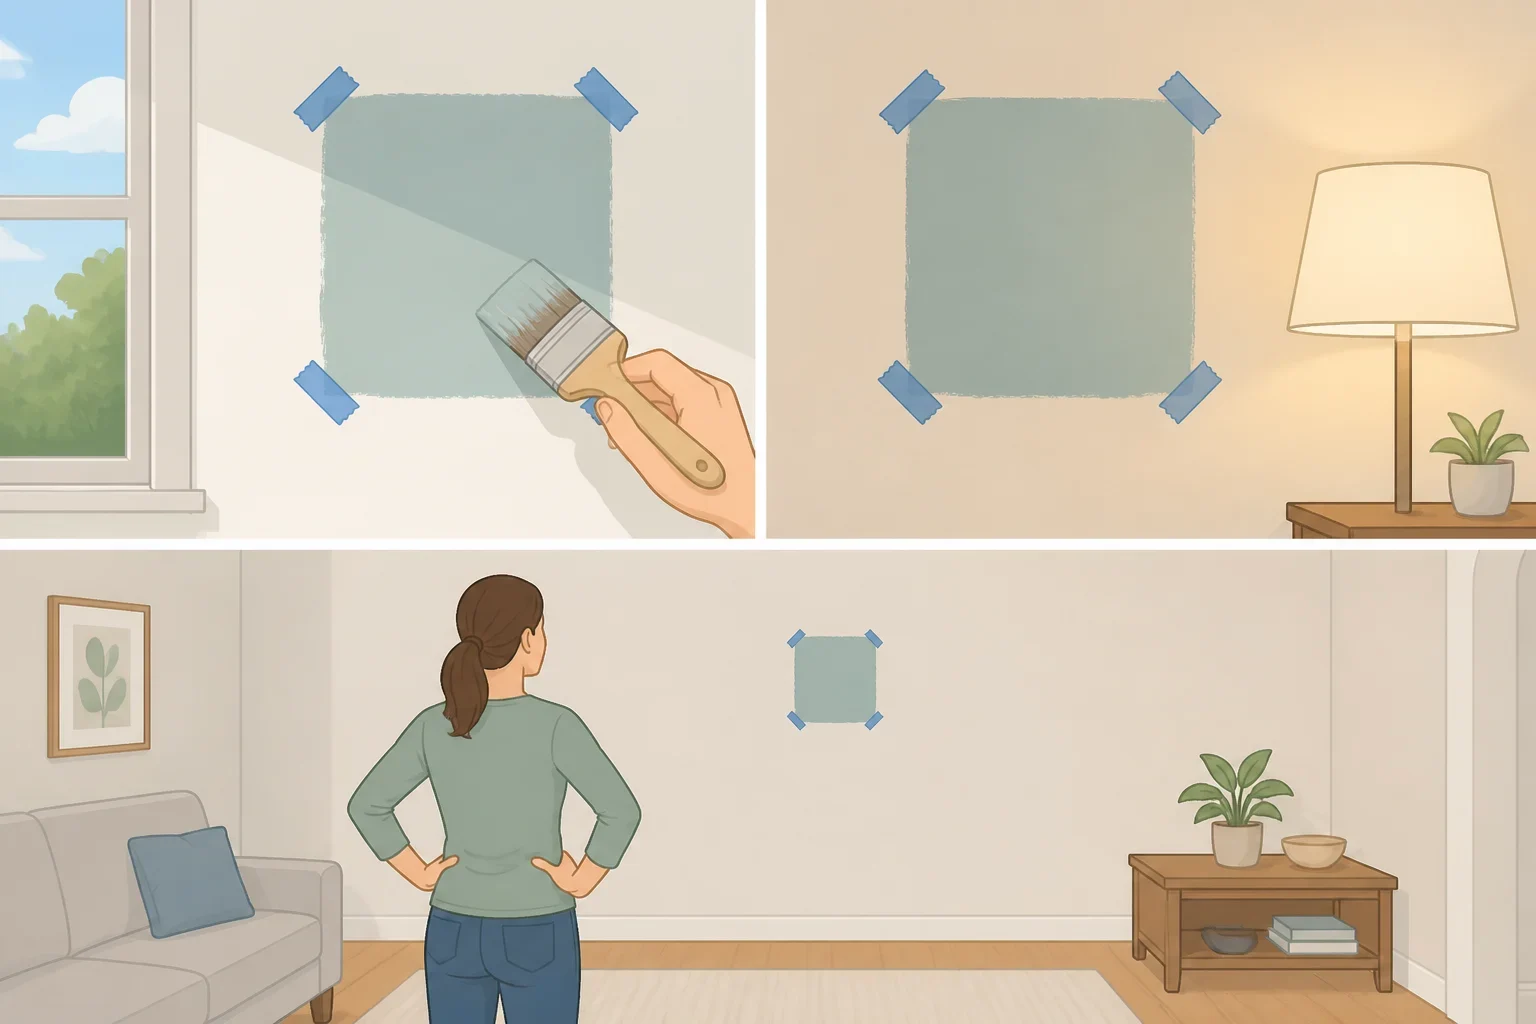
After the surface and manufacturer guidance have been checked, gather only the materials allowed for that surface. Keep the project modest: a sample of the proposed color, painter’s tape if appropriate, and the application tools required by the paint manufacturer. The cost should be based on the actual paint, tape, preparation materials, and tools needed, not on the AI render or a fixed headline price.
Test the color in a small, permitted area. Place the swatch where it will receive the room’s real daylight and artificial light, then view it from across the room. A color that looks balanced in the generated image may feel too bright, too cool, or too heavy beside the actual flooring and furniture.
If the test works, map the shape with a ruler or measuring tape rather than copying the perspective of the render. Keep the design within the existing surface and away from any area that the manufacturer excludes. Follow the paint label for surface preparation, coats, drying, cure time, ventilation, and cleanup.
Remove the tape, if used, and finish the edges according to the product instructions. Do not place decor against the surface until the label says it has cured sufficiently. If the test looks wrong, stop with the test swatch. That is a successful result too. The point of AI room design from a photo is to narrow the choices before the room, budget, or mantel has been committed.
What the AI image can and cannot decide
An AI-generated room design can help reveal relationships that are difficult to picture from a paint card. It may show that a small color block is enough, that a warm neutral needs a darker companion, or that the mantel should stay quiet while another wall carries the contrast.
It cannot measure the room for you, identify every hidden feature, approve a finish near heat, or calculate the complete project cost from a picture. Even the tool’s own workflow depends on iteration and correction. Use the render as a creative sketchpad, then let the actual mantel, product instructions, and household budget make the final decision.
Start with one photo and one question: which small change could give this room more character without altering its structure? Generate a few controlled options, choose the one that survives a measurement and safety check, and test the color in the real lighting before doing anything permanent.
