
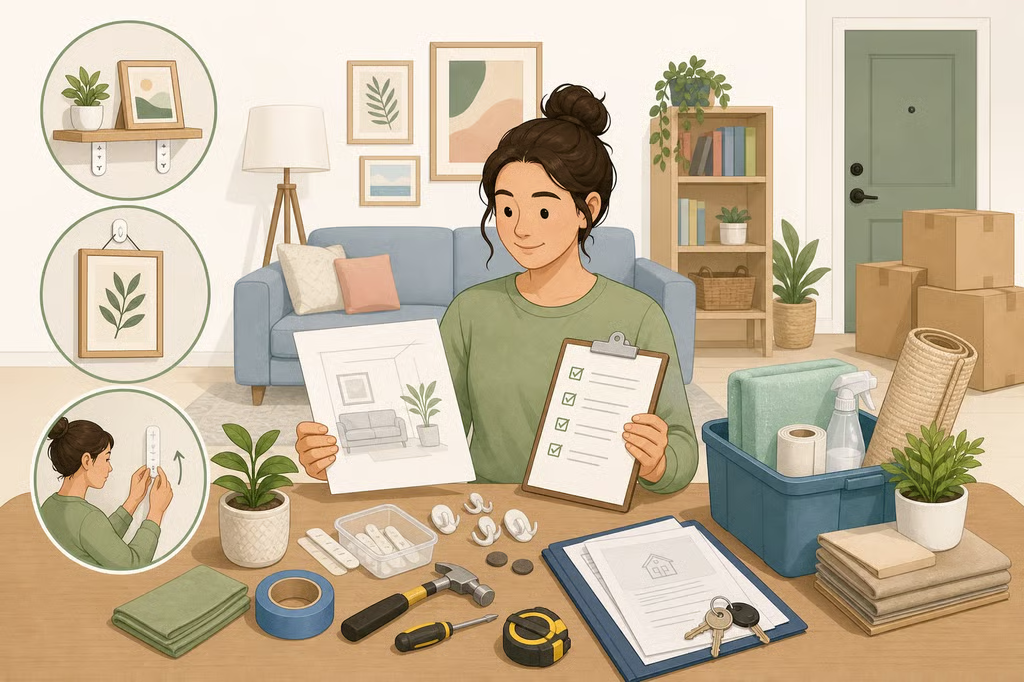
- Renter-friendly small apartment DIY ideas to protect your deposit
- Gather the information before the materials
- 1. Audit the lease and surfaces
- 2. Add color and zones without drilling
- 3. Refresh a surface only when the product fits
- 4. Recover storage with low-commitment options
- 5. Test the finished arrangement
- Plan removal before move-out
Renter-friendly small apartment DIY ideas to protect your deposit
A rental can have color, storage, and personality without turning every improvement into a move-out problem. The safest way to start with renter-friendly small apartment DIY ideas is not at the paint aisle. It is with the lease, the surfaces, and a clear sense of what can come down cleanly.
Sort each project into one of three permission levels: no-drill and fully reversible, landlord-approved, or not worth the risk. Then photograph the apartment, check every product’s instructions, and choose one project that solves a specific problem. That approach leaves room for a renter-friendly apartment makeover without treating the deposit as a project budget.
The order matters. Audit first, add color second, recover storage third, and test the finished arrangement before committing to more. Keep the lease, original photos, approvals, receipts, packaging, and removal instructions together from the beginning.
Gather the information before the materials
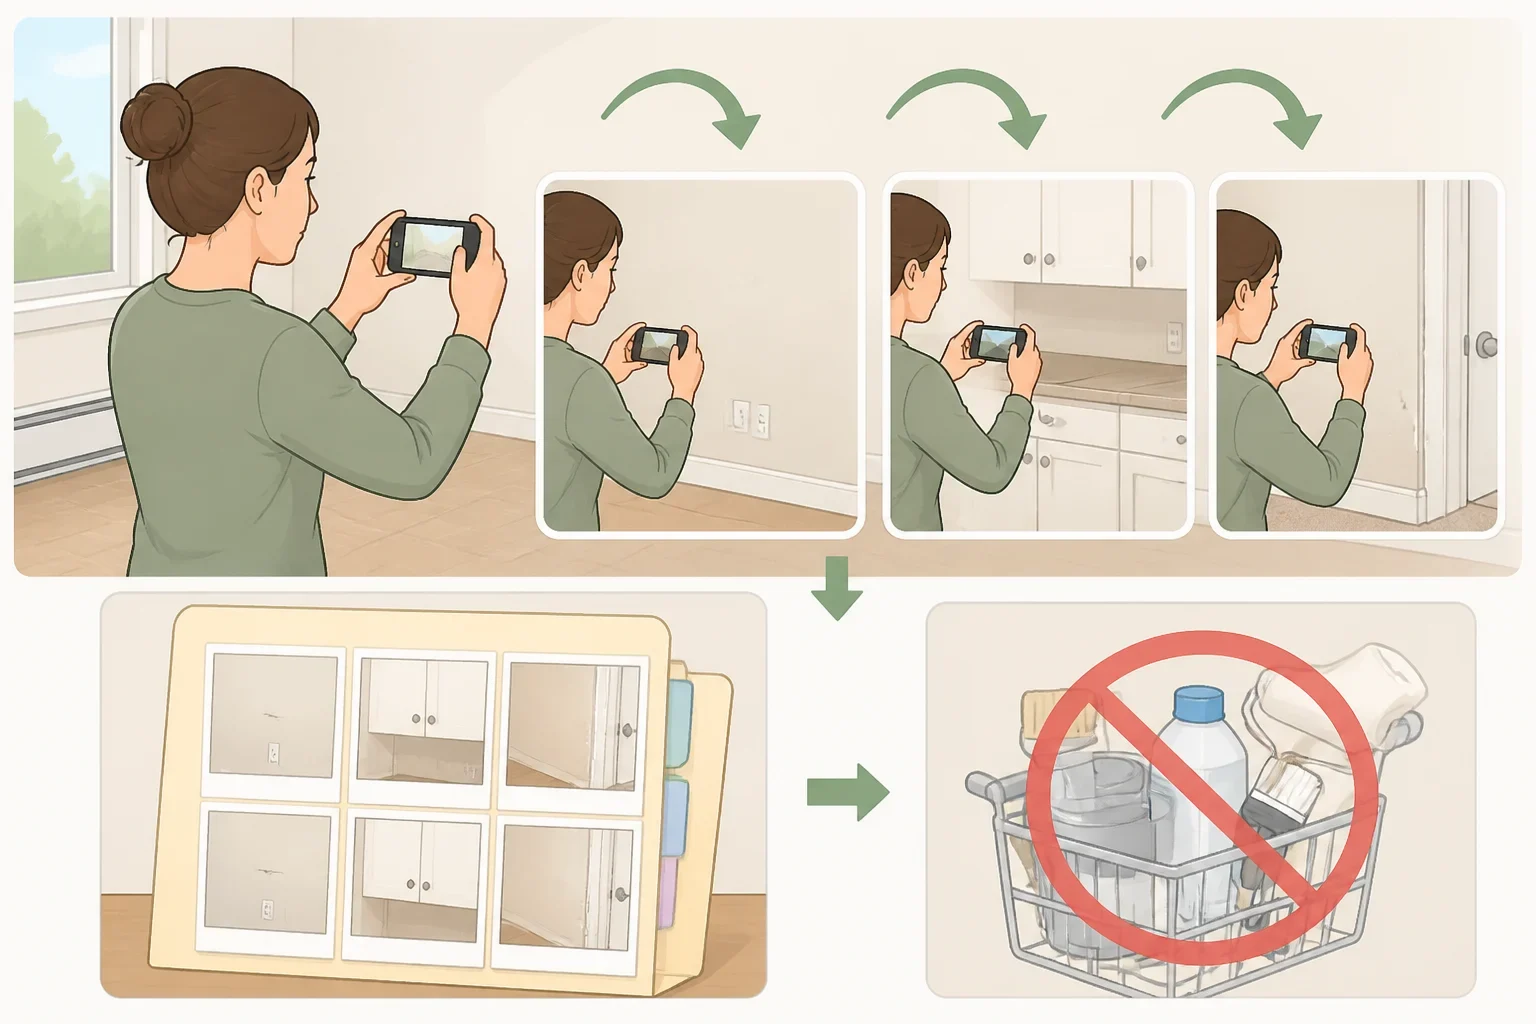
A tape measure and a phone camera will be more useful at the beginning than a cart full of décor. Gather:
- A copy of the lease
- Dated photos of walls, cabinets, countertops, doors, trim, and existing marks
- A tape measure
- Painter’s tape
- The packaging and instructions for each hook, rod, adhesive, film, or organizer
- A folder for written approvals, receipts, and removal instructions
- A clean cloth and only the surface cleaner permitted by the product instructions
Keep the original photos in a labeled folder by room. Include wide images that show where a mark is located and close-ups of scratches, chipped paint, stains, bubbling finishes, or existing holes.
Before buying anything, sort the project into this menu:
Project goal Lower-commitment options Check before starting Add color Textiles, painter’s-tape designs, some peel-and-stick products, freestanding décor The lease, product-approved surfaces, and removal instructions Create a visual zone A curtain on a tension rod or a freestanding piece of furniture Opening width, product instructions, floor stability, and clearance Add storage Bins, a rolling cart, a freestanding drawer unit, or an over-the-door organizer Door operation, available floor space, and stated load information Refresh a surface Contact paper on an approved, testable surface Surface compatibility, heat and moisture exposure, and removal method Mount something heavy A shelf, television, or heavier mirror with approved hardware Written landlord approval, wall type, hardware instructions, and load requirements Change a wall or built-in Paint, permanent shelving, or anchored hardware Written approval and the required restoration method
The product should provide instructions for the surface, installation method, placement, or load involved. If it does not, pause rather than filling in the gaps with a guess.
1. Audit the lease and surfaces
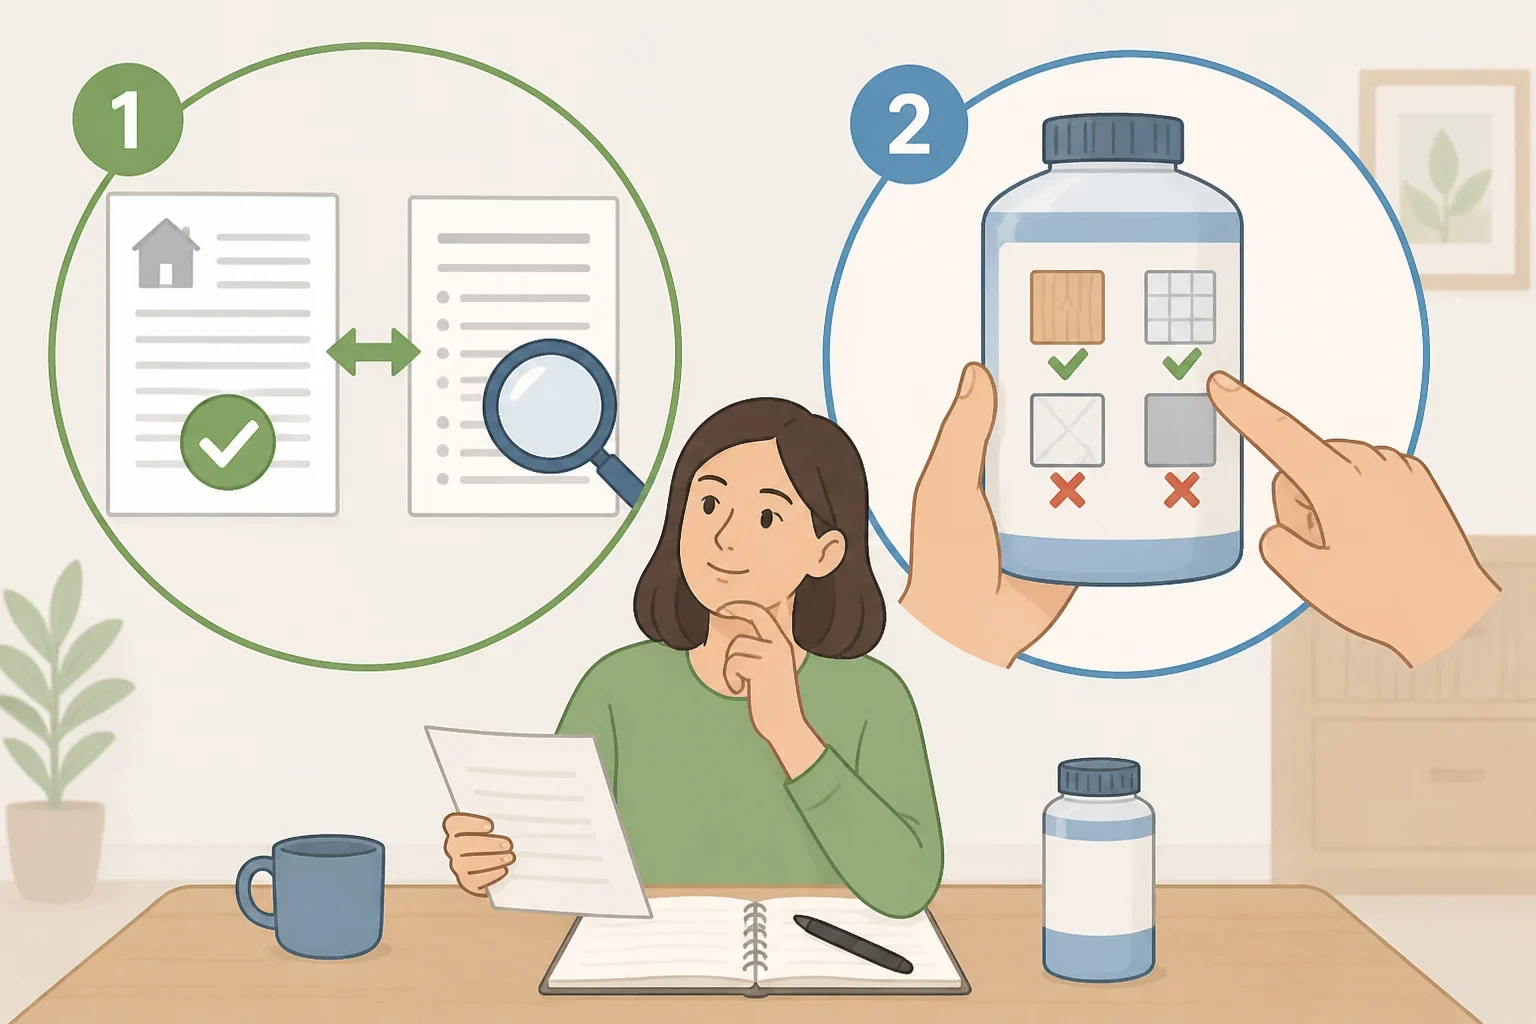
Read the lease for language about painting, wall-mounted items, adhesive products, alterations, and restoration. If approval is required or the wording is vague, send a written request before purchasing supplies.
A useful request names:
- The exact wall, cabinet, door, or other surface
- The product or material
- The color, if paint is involved
- Whether drilling or anchors are required
- How the project will be removed
- How the surface will be restored at move-out
Identify the surface before selecting a product. Painted drywall, plaster, laminate, tile, wood veneer, stone, and finished metal may have different care and compatibility requirements. Check the product label and the surface’s care instructions rather than assuming that a removable product will work everywhere.
If the instructions do not address the surface, treat that as a stop sign. If they call for a test area, use a concealed section and follow the stated timing and removal method. Stop if paint lifts, residue remains, the finish changes, or the surface becomes soft.
For Toronto renters, a building’s RentSafeTO evaluation is separate from permission to decorate inside a unit. Registered buildings receive a colour-coded sign based on their evaluation score, and building owners and operators must share the score and evaluation details with existing and prospective tenants, according to the City of Toronto. That information can help distinguish a building-wide issue from damage created inside the apartment, but it does not replace the lease or written approval.
This first audit separates existing damage from anything caused by the project. A dated photo cannot guarantee how a dispute will be resolved, but it gives the household a clearer record than memory alone.
2. Add color and zones without drilling
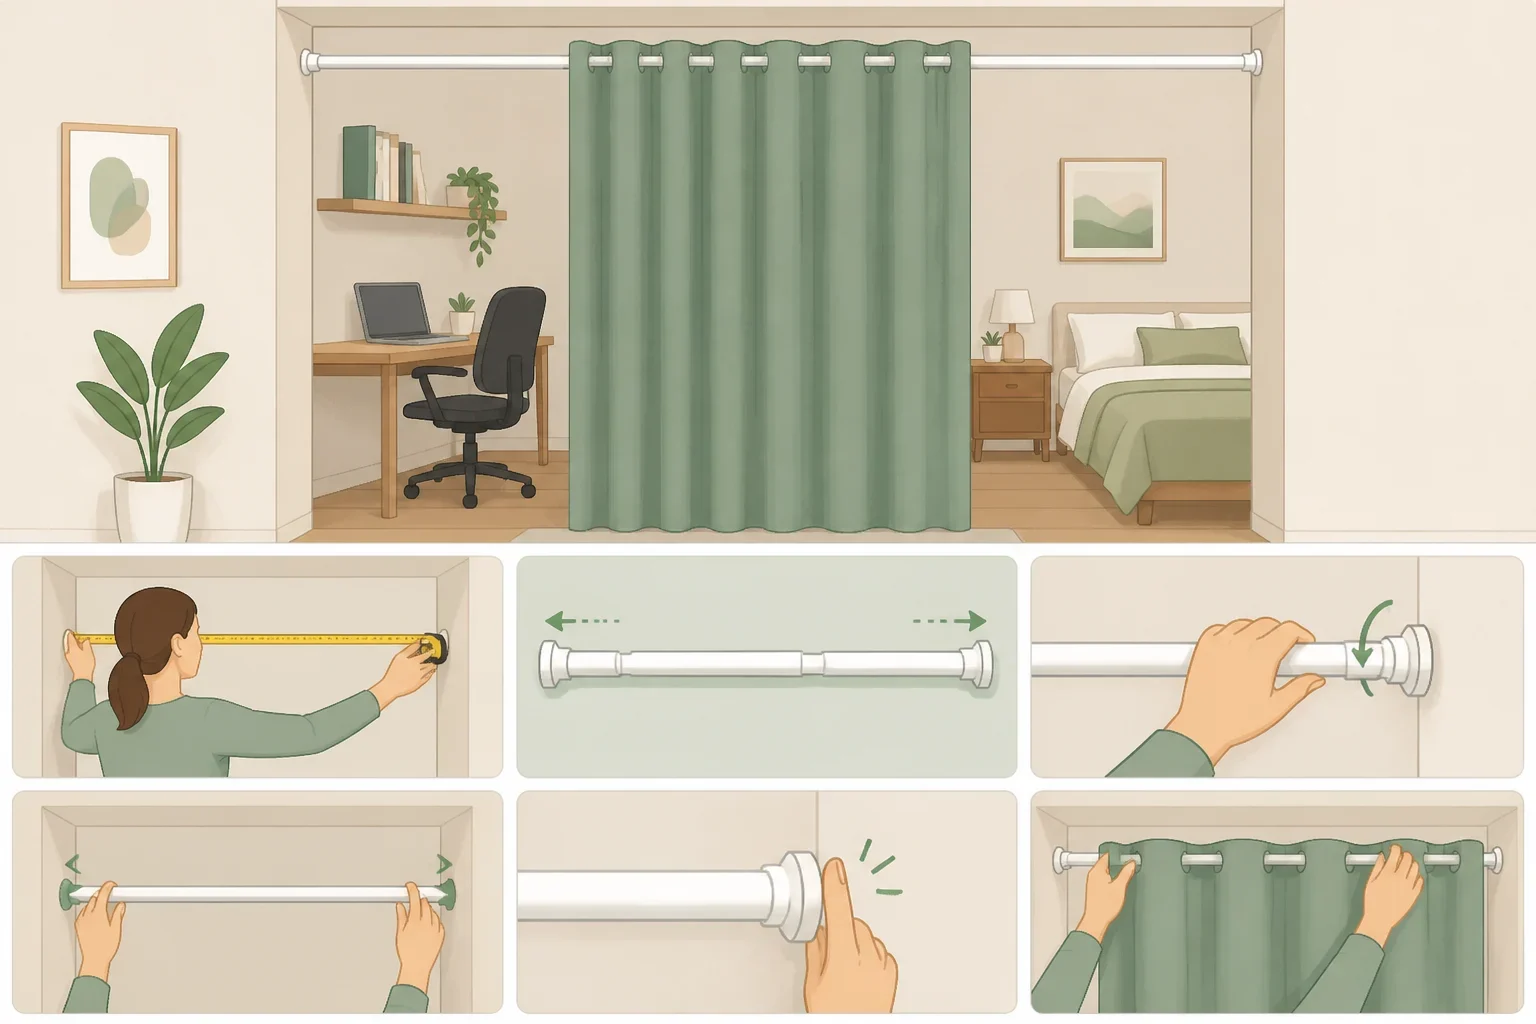
For small apartment decorating ideas for renters, start with a place that needs definition. An entry nook, sleeping area, closet interior, or work corner can become a distinct zone without covering every wall.
Choose a method that matches the permission level:
- Use textiles when the lease does not allow wall changes.
- Try painter’s-tape designs only on a surface where the tape instructions and the existing finish make that reasonable.
- Use peel-and-stick wallpaper or film only when the product lists the surface and gives removal directions.
- Choose a painted accent wall only after written approval.
A curtain on a tension rod can divide a sleeping or work area, but the rod’s instructions control the setup. Measure the actual opening, check the stated width and weight information, and confirm that the placement is suitable for the trim or other surface. Do not treat the rod as structural support or add weight beyond its instructions.
A freestanding bookcase can provide a visual boundary and storage at once. Place it on a stable, level floor and check the manufacturer’s instructions for anti-tip requirements. If the instructions require anchoring, the project belongs in the landlord-approved category. Choose a shorter or different piece instead of improvising a safety attachment.
Keep the finished arrangement from interfering with doors, windows, heaters, vents, or the main walking path. The best zone is one that makes the room easier to use, not one that creates a new obstacle.
3. Refresh a surface only when the product fits
Contact paper can give cabinet fronts or another approved surface a new look, but it is a cosmetic covering, not a guarantee of a durable work surface. Keep the project small enough to remove if the material does not behave as expected.
Before applying it:
- Check that the product lists the surface as suitable.
- Read the cleaning and preparation instructions.
- Measure the area before cutting.
- Test the material where it will not be noticed.
- Apply it gradually from one edge.
- Smooth it with a card or squeegee if the instructions recommend one.
- Watch the edges after the first use and after cleaning.
Do not proceed when the surface is already peeling, crumbling, wet, or damaged, or when the product gives no guidance for the area. Be especially cautious around heat, steam, standing water, and surfaces used for food preparation. Those conditions require instructions that specifically address them.
Cabinet doors may be easier to monitor than a frequently used counter, but that does not make every cabinet finish compatible. Keep the packaging so the removal directions remain available.
If the project uses adhesive remover or another household chemical, follow its label and store the container securely after use. Check the label or contact the municipality about household hazardous-waste disposal. Never pour leftover chemical products down a drain or toilet.
4. Recover storage with low-commitment options
Storage is what makes color and décor livable in a small apartment. Start with solutions that rely on the floor, a door, or an existing closet rather than the wall:
- Stackable bins
- A rolling cart
- A freestanding drawer unit
- A narrow bookcase
- An over-the-door organizer
- A closet system that uses tension rather than screws
Measure the space before shopping. Record the available width, height, depth, door swing, and clearance around the item. For anything that holds weight, write down the product’s stated load information and the required installation method. Do not transfer a rating from another model or assume that a hook rated for one surface works the same way on another.
Adhesive hooks are appropriate only for items that fall within the product’s stated limit and placement instructions. A small frame or dish towel may fit the intended use; a loaded basket or heavy mirror may not. Avoid placing attached items where a failure could affect someone or damage something difficult to replace.
Over-the-door organizers need their own check. Confirm that the door still closes, the latch still works, and the product’s hooks or brackets are intended for that door. If the organizer interferes with operation or leaves marks, remove it instead of forcing the door around it.
A wall-mounted shelf, television, or heavy mirror requires a separate decision. Obtain written permission, confirm the wall type, and use hardware and installation instructions that match the load. If the wall condition is uncertain or the work involves significant drilling, ask a qualified professional rather than relying on a general tutorial.
5. Test the finished arrangement
Treat the first setup as a test, not the final installation. Place freestanding storage where it will live, check that it is level and stable, and operate nearby doors and drawers. Add belongings gradually while watching for movement, tipping, bowing, slipping, scraping, or blocked access.
For color and surface projects, inspect the edges after use. Peeling corners, bubbling film, tacky residue, or a changed finish are reasons to stop. Do not cover the problem with another layer.
Stop and get help when the project involves electrical work, structural changes, uncertain wall conditions, heavy loads, or an older unknown finish. A landlord, product manufacturer, or appropriately qualified professional can address questions that general DIY rental apartment upgrades cannot.
Plan removal before move-out
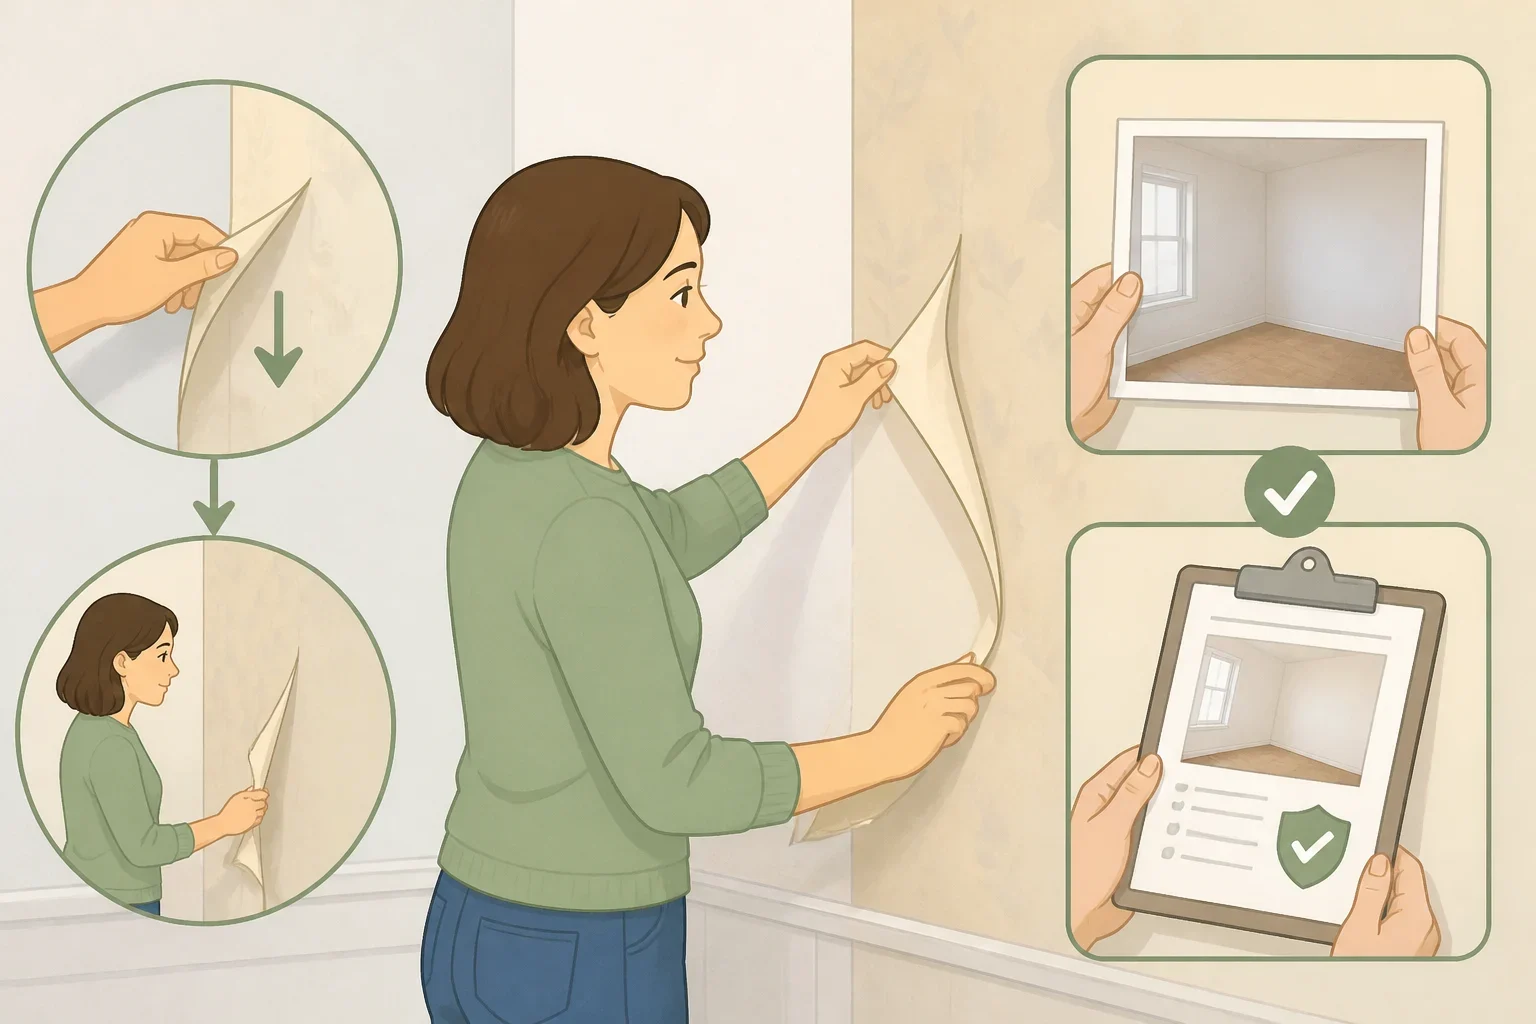
Save the starting photos, approval emails, receipts, packaging, and instructions together. When moving, compare each wall and surface with its original condition.
Remove peel-and-stick products slowly, beginning with the test area or a small corner and following the product’s stated method. Patch paint or anchor holes only as required by the lease or written approval. Do not assume that matching paint, aggressive adhesive remover, or a quick patch will restore the surface.
If removal starts lifting paint or finish, stop and contact the landlord before making the damage larger. The free first step remains the most useful one: read the lease, photograph the apartment, measure the space, and choose one reversible project whose instructions match the actual surface and intended use.
